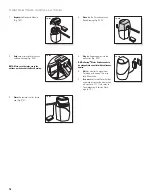
T R O U B L E S H O O T I N G
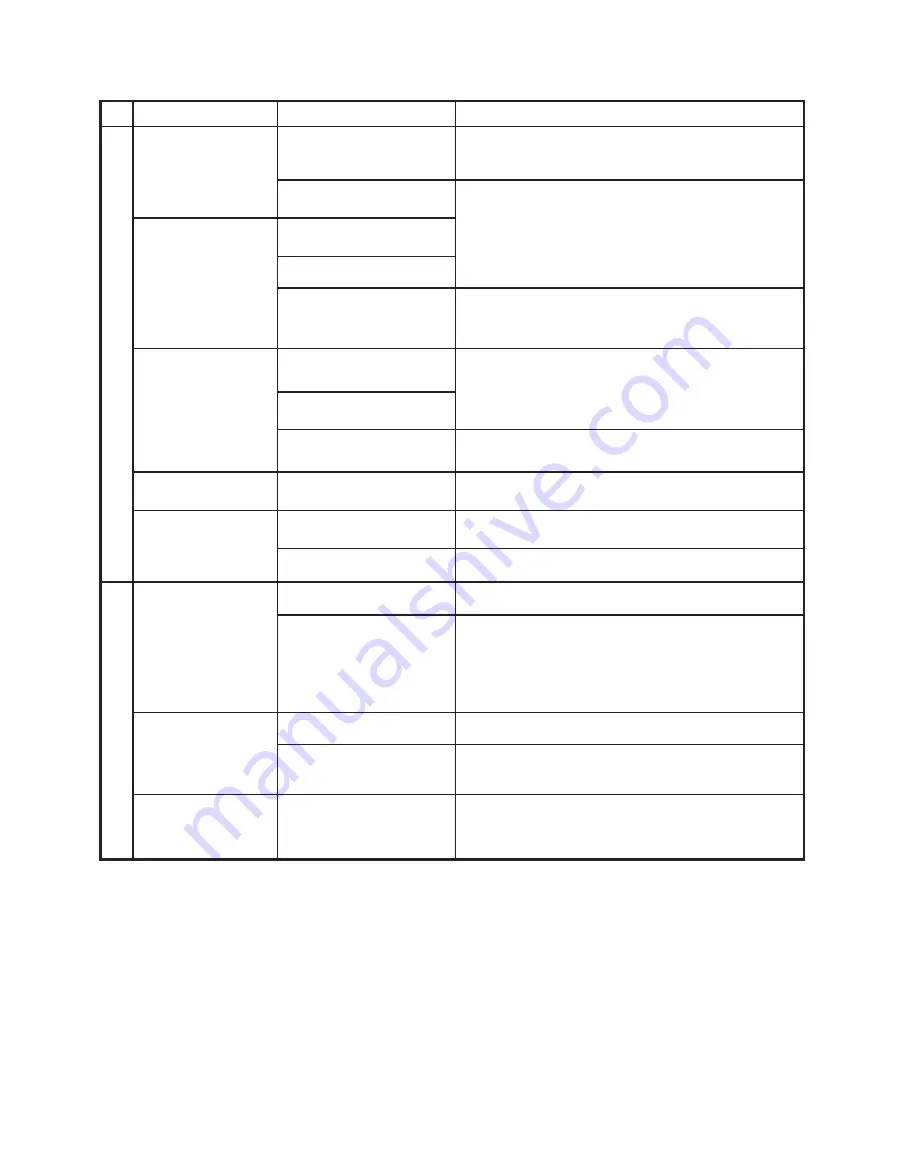
CONCERN
CAUSE(S)
SOLUTION(S)
W
A
TER LEAKS
Water leakage around the
tubing connections on the
bracket for the Diverter
tubing connections.
Tubing supports not installed.
- Remove tubing (p. 14, 5C).
- Locate and install tubing supports in white tubing only (p. 4,16A).
- Call Customer Support to order tubing supports.
Tubing cut where it was
bonded.
- Remove tubing (p. 14, 5C) and supports.
- Re-trim and install tubes (p. 4,14A-18A).
NOTE: If tubing is too short call Customer Support to order
replacement tubing.
Water leakage around the
tubing connections on the
Bracket or Auxiliary Faucet
tubing connections at
supply connector with fl ow
controller.
Tubing is not cut evenly or
thoroughly.
Tubing damaged on the surface.
Tubing not inserted far enough or
not seated well in notches on the
back of the unit.
- Remove tubing (p. 14, 5C).
- Mark tubing (p. 4, 15A and p.7, 2B).
- Install tubing (p. 4, 17A & 18A and p. 9, 16B & 17B)
Water leaks at the
Diverter.
Tubing not pushed all the way onto
the barbs.
Tubing needs to be pushed completely onto the barbs and nuts
completely hand tightened (p. 3, 8A & 9A).
Nuts not tightened all the way.
Connections at the faucet and/or
adapter are loose.
Tighten all connections between the faucet and the Diverter (p. 3, 3A
or 4A or 5A).
Water leaks at the
Diverter pin.
Damaged internal seal.
Call Customer Support to order replacement.
Water fl ows
simultaneously from the
treated and untreated
ports on the Diverter.
Diverter pin not pushed in after
each use.
Follow Diverter use instructions (p. 5, 20A).
Damaged internal seal.
Call Customer Support to order replacement Diverter.
REDUCED W
A
TER FLOW RA
TE
Water fl ow rate out of
the Auxiliary Faucet has
reduced.
Shut-off valve not fully opened.
Make sure shut off valve is completely opened.
Screen on the fl ow controller may
be clogged.
Turn off cold water supply and drain water from the line by opening
the auxiliary faucet. Hold down each side of the connector and pull
to remove the tube (p. 9, 13). Clean the screen with a brush and
re-insert the tube (p. 9, 13).
Water fl ow rate out of the
Diverter has reduced.
Screen on inlet is clogged.
Clean inlet screen with a brush. Inlet shown on p. 3, 3A.
Screen on the treated water port
is clogged.
Unscrew treated water port and clean screen with a brush.
(p. 5, 19A)
Water fl ow rate has
reduced.
If all above solutions did not help,
Cartridge is clogged with dirt due
to high particle content in the
water.
Call Customer Support to order replacement cartridge (follow
instructions on pp. 14-16).
12
Summary of Contents for eSpring
Page 67: ...21 ...


