Installation
8
6" Color Video Wall Panel
3.
Thread the incoming AXlink wiring through the cutout in the wall.
4.
Disconnect the AXlink connector from the Central Controller and thread the terminal end of
the 4-pin AXlink cable through the circular cutout provided on the wallbox.
5.
Attach the data and power wiring to the touch panel.
6.
Test the connection by reconnecting the AXlink connector to the Central Controller. Verify that
the panel is receiving power and functioning properly to prevent repetition of the installation.
7.
Disconnect the AXlink connector from the Central Controller until installation is complete.
8.
Connect the data and power wiring to the rear of the touch panel.
9.
Insert the main unit into the wall cutout until firmly positioned and flush with the wall.
10.
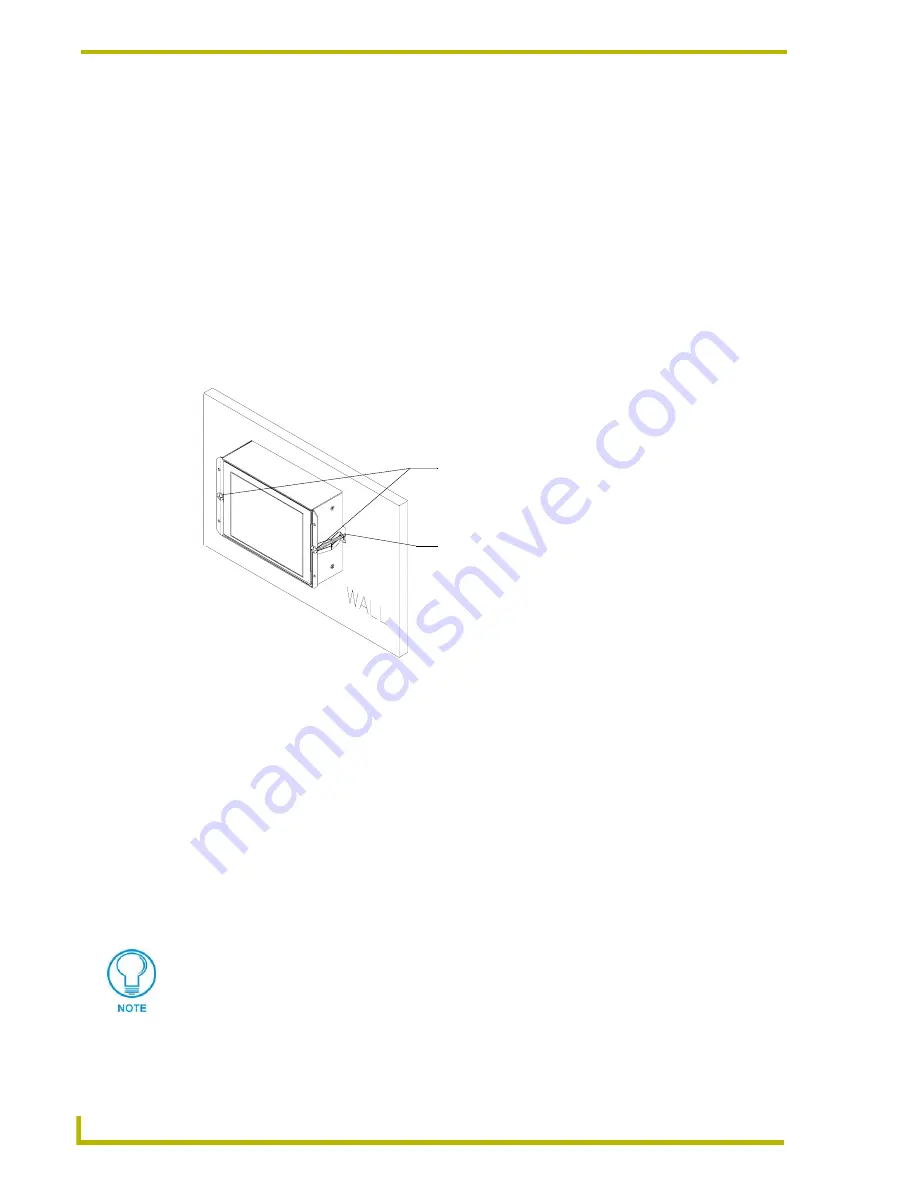
Fasten the main AXD unit to the surface using the two (2) drywall clip sets (consisting of
screws and clips) supplied with the enclosure (FIG. 10).
11.
Place the magnet faceplate (
A
in
FIG. 8) onto the main AXD unit (
B
in
FIG. 8) by gripping the
faceplate and placing it on with gentle force.
12.
Reconnect the AXlink wiring to the Central Controller. The touch panel beeps when power is
applied.
Wiring the Touch Panel
The touch panel uses a 4-pin AXlink connector for power and data (FIG. 11). If the distance
between the panel and Central Controller exceeds power consumption limits, you must connect an
optional 12 VDC power supply to the 2-pin PWR connector. If the panel is connected to an AXlink
cable and receiving power from a 2-pin PWR connector, power is not sent through the AXlink cable
to any connected device.
FIG. 10
Screw and clip locations for plasterboard (dry wall) mounting of main AXD unit
Dry wall screws
are inserted through the
center holes on the housing.
Dry wall clips and screws
are inserted through the
notches cut out in the wall.
Some installations may require a 90° right-angle BNC adapter to accomodate a
sharp bend in the video cable. Be careful not to crimp the video cable and possibly
damage the BNC connector by bending the video cable too far.


