Setup Mode
9
Mio Modero R-3 Remote
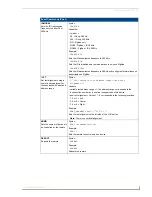
LED Sleep Mode Brightness
The red LEDs that backlight the Power button when the remote is awake are also used to indicate
charging status. These LEDs will slowly blink on and off if the remote is place in the charging cradle and
the Lithium-Ion battery pack is being charged. The LEDs will remain on when charging is complete.
This setting controls the brightness of these LEDs when the remote is sleeping. When the remote is in
Setup
mode, pressing the
8
button will toggle between four brightness settings -
Sleep
:
Low
,
Med
, and
Off
. Pressing the button again toggles to the new mode. 30 seconds after selecting the mode, the menu
returns to
Setup
mode.
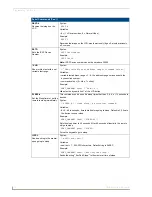
ZigBee ID PAN, Channel, and System Connection
Pressing the
9
button will display the current ZigBee Personal Area Network (PAN) ID and channel for
the device. (For more information on ZigBee Personal Area Networks, refer to the
NXR-ZGW and NXR-
ZRP User Manual
.) In order to display the NetLinx Master IP and ZigBee gateway EUI addresses, press
the
Move Up
arrow on the scroll wheel to scroll up. and pressing the
Move Down
arrow will scroll
down. When finished, press
Exit
to save the PAN ID and channel information and leave
Setup
mode. The
display will return to
Setup
mode 30 seconds after releasing the
9
button.
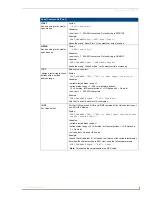
Site Survey
Pressing the
0
button makes the Mio R-3 scan all frequencies and store all active PAN IDs and Channels
in memory. The display will show the first accessible PAN ID and Channel.
To display other PAN IDs and Channels found in the area, press the
Move Up
or
Move Down
arrows on
the scroll wheel until the remote displays the desired PAN ID and Channel.
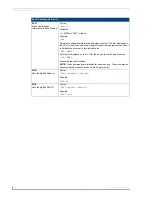
To connect to a particular PAN ID, pressing the center button on the scroll wheel will initiate the remote
to connect to a network.
If no networks were found, the display will read
SCAN FAIL
before returning to
Setup
mode. To exit
the Site Survey, press the
Exit
button.


