84
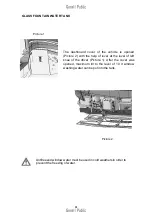
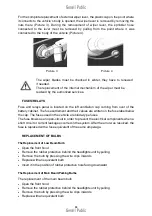
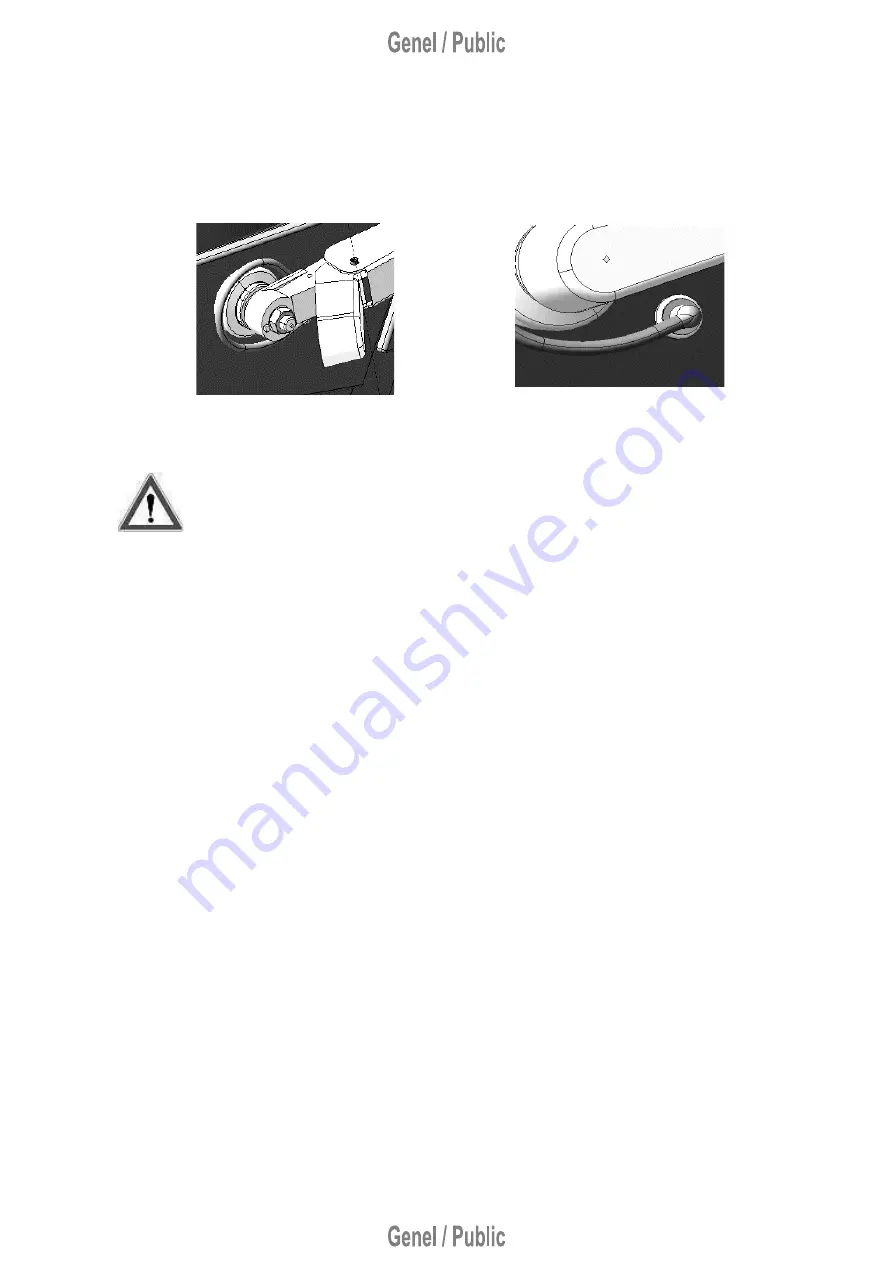
For the complete replacement of external wiper lever, the plastic cap on the point where
it connects to the vehicle’s body is opened, the wiper lever is removed by removing the
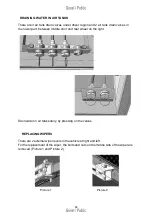
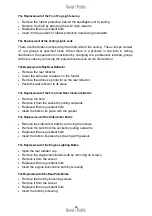
nuts there (Picture 3). During the removement of wiper lever, the sprinkler hose
connected to the lever must be removed by pulling from the point where it was
connected to the body of the vehicle (Picture 4).
Picture 3
Picture 4
The wiper blades must be checked in winter, they have to renewed
if needed.
The replacement of the internal mechanism of the wiper must be
realized by the authorized services.
FUSES/RELAYS
Fuse and relays panel is located on the left ventilation cap coming from over of the
battery cabinet. The fuse settlement and their values are written on the fuse label below
the cap. The fuses used in the vehicle are blade-type fuses.
The fuse blows as an open-circuit in order to prevent the electrical components when a
short circuit or current leakage occurred in the system. After the error was resolved, the
fuse is replaced with a fuse equivalent of the same amperage.
REPLACEMENT OF BULBS
The Replacement of Low Beam Bulb
•
Open the front hood
•
Remove the rubber protective behind the headlights unit by pulling
•
Remove the bulb by pressing the wire clips inwards
•
Replace with an equivalent bulb
•
Insert it in the position of rubber protective hole facing downward
The Replacement of Main Beam/Parking Bulbs
The replacement of the main beam bulb
•
Open the front hood
•
Remove the rubber protective behind the headlights unit by pulling
•
Remove the bulb by pressing the wire clips inwards
•
Replace with an equivalent bulb
Summary of Contents for CITIPORT E6 2019
Page 1: ...1 USER MANUAL Revision No 01...
Page 2: ...2 It is a symbolic photograph of Citiport vehicle...
Page 6: ...6 1 INTRODUCTION...
Page 7: ...7 It is a symbolic photograph of Citiport vehicle...
Page 13: ...13 2 GENERAL INFORMATION...
Page 17: ...17 3 CONTROLSANDINDICATORS...
Page 33: ...33 4 VEHICLE EQUIPMENT...
Page 43: ...43 Set of Front Headlight Rear Lights...
Page 65: ...65 5 SERVICE and MAINTENANCE...
Page 91: ...91 6 TECHNICAL INFORMATION...


