Rev 20 Feb 2014 17:53 | Page 9
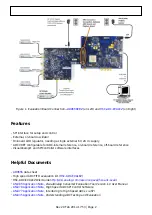
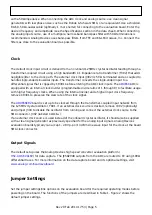
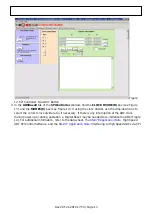
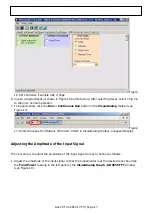
Figure 6. VisualAnalog, Main Window Expanded Display
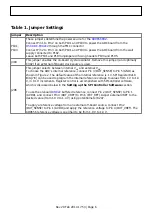
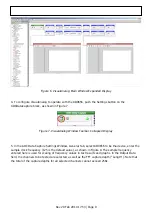
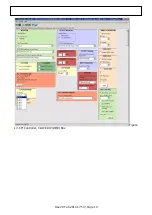
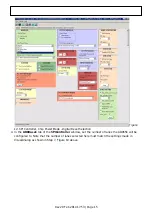
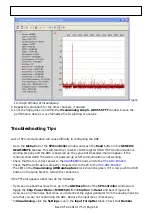
4. To configure VisualAnalog to operate with the AD9656, push the Settings button on the
ADCDataCapture block, as shown in Figure 7.
Figure 7. VisualAnalog Window Toolbar, Collapsed Display
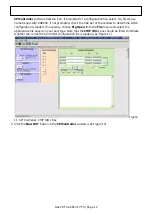
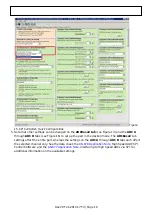
5. In the ADC Data Capture Settings Window, General Tab, select AD9656 to be the device, enter the
sample clock frequency (125 is the default value), as shown in Figure 8. The sample frequency
entered here is used for scaling of frequency values in test results and graphs. In the Output Data
field, the channels to be tested are selected, as well as the FFT capture depth (“Length”). Note that
the total of the capture depths for all selected channels cannot exceed 256k.

