ATA Pro
Technical Manual
Int. Approved
Document ref: HEL-810-12
December 2017
Page 7 of 27
Copyright © 2017 Analox Ltd. All Rights Reserved.
Commercial in Confidence
3.3
Helium Sensor Zero Adjust
The Helium sensor zero adjust enables you to retain the accuracy of the analyser
over its operational life, as the sensor ages.
1. Remove the flow adaptor from the sensors.
2. Use the mode button to change the display to read Helium.
3. Expose the analyser to clean air for two minutes and adjust the calibration
knob until the display reads 0.0. If the Helium sensor adjustment is
turned too far to the left the instrume
nt display may show ‘Err’, this is not
a fault, just return the adjustment to the mid-point then re-adjust for a
reading of 0.0
3.4
Analysing Your Mix
The
ATA pro
is provided with a flow adapter and tubing which can be connected
to the gas Sampling Dome.
1.
Ensure the
ATA pro
has been calibrated as per the instructions in sections
3.2, and 3.3.
2.
Push the flow adaptor into the sensors, as per the picture over the page.
3.
Attach the tubing from the flow adaptor to the Sampling Dome
4.
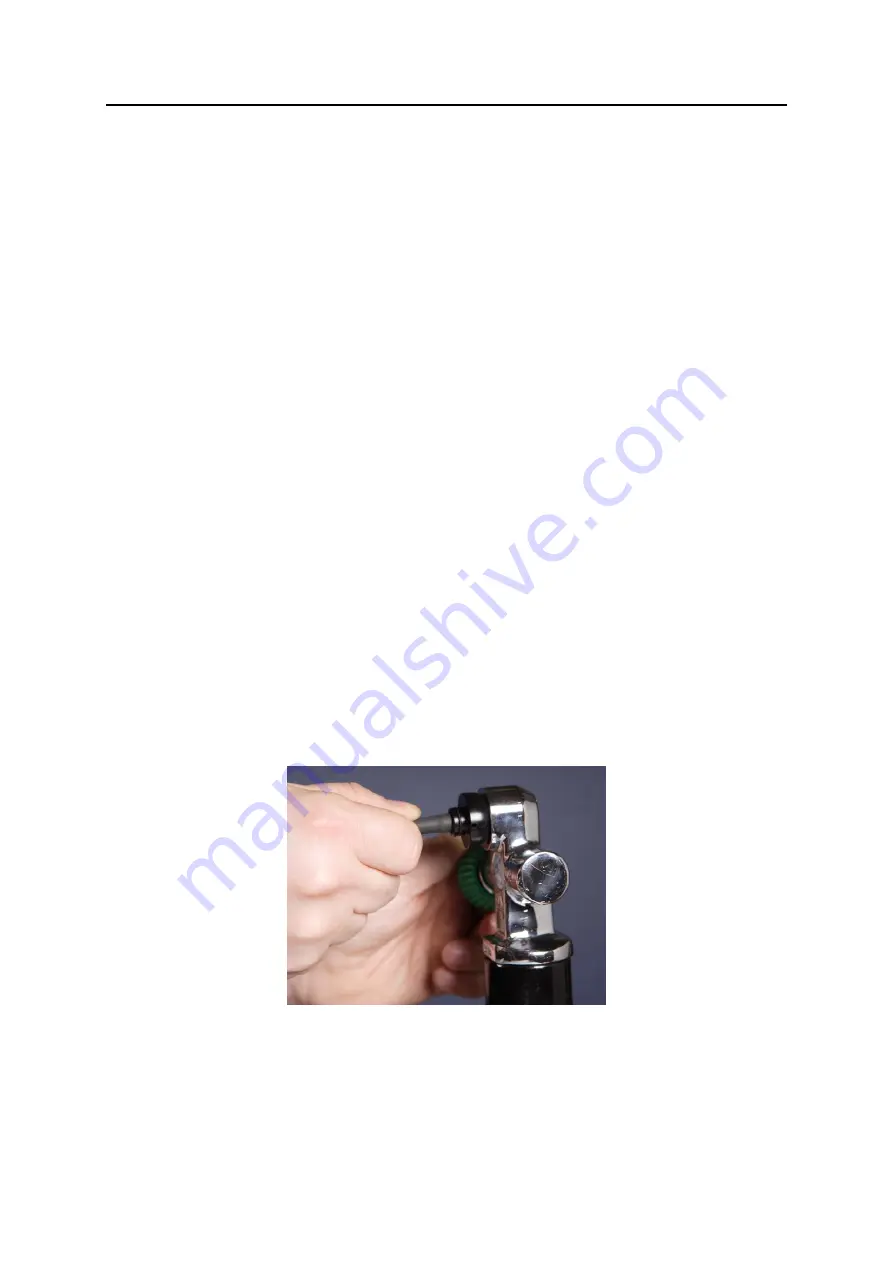
Very slowly open the Tank valve until gas can just be heard quietly hissing
out.
5.
Press the sampling dome firmly against the tank outlet.
6.
Allow approx. 10-15 seconds for the reading to stabilise on the display, and
take the O2 reading.


