


10
User manual Zitzi Guppy G2
www.anatomicsitt.com | +46 11 16 18 00
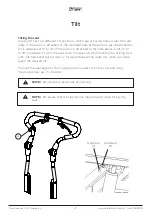
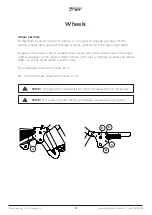
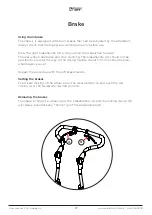
Driving bow
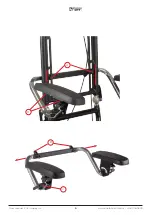
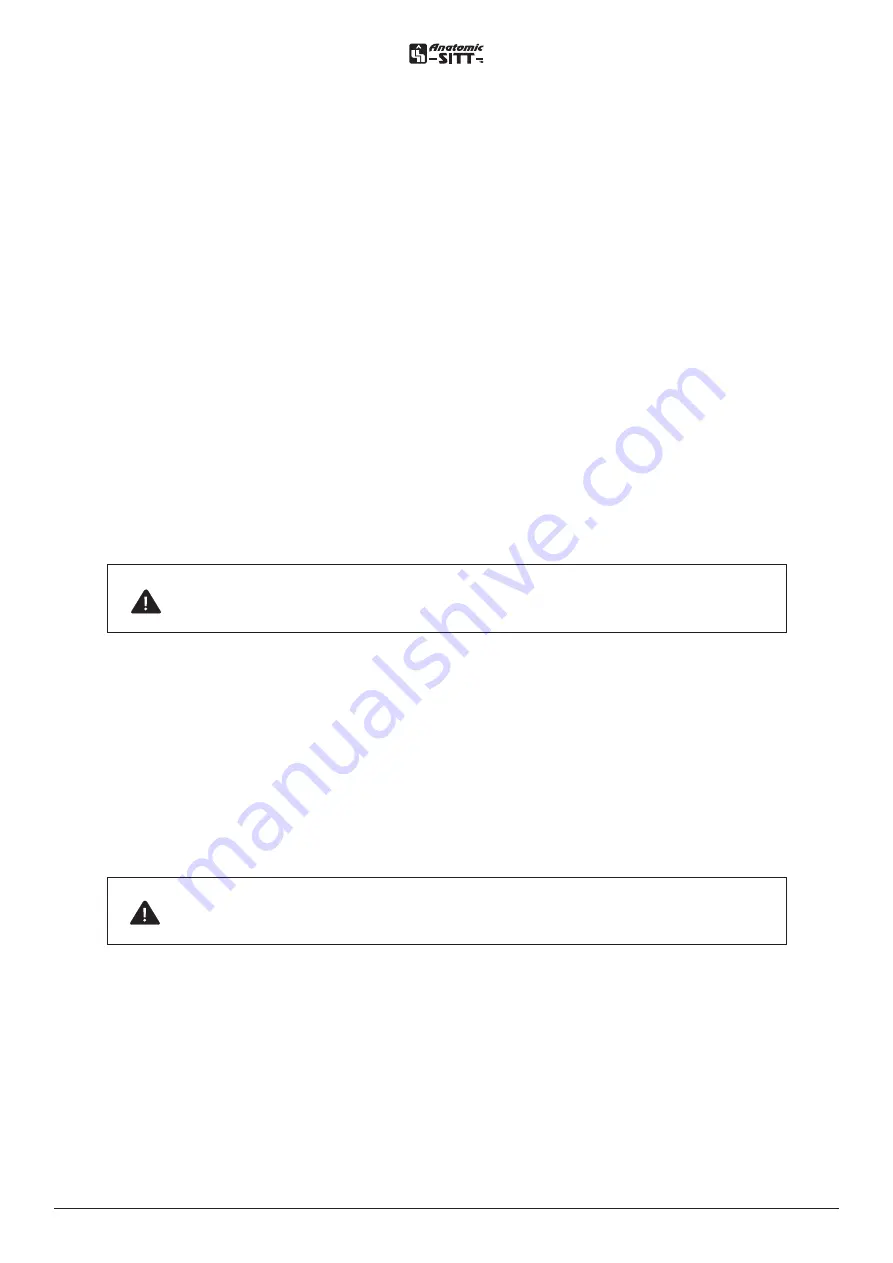
Mounting of driving bow
Insert the driving bow into the brackets at the rear edge under the seat part plate.
Tighten the screws (A) after mounting.
Depth adjustment of the driving bow
To deep adjust the driving bow (extending the seat depth), loosen the screws (A)
slightly, under the rear part of the seat plate. Move the driving bow to the desired
depth. Tighten the screws (A).
Angle adjustment of driving bow
The driving bow can be adjusted according to seating system. Release the locking
of the bow by loosening both levers (B) and adjust to the desired angle. Then tigh-
ten both lever handles (B).
Angle adjustment of driving bow handle
To adjust the driving handle angle, press the buttons (C) the inside of the frame
joints and then adjust to the desired angle.
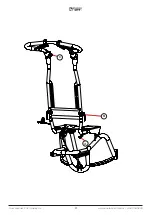
Folding of driving bow
Losen both lever handles (B) and lower the chassis forward. Then tighten the levers
(B) again.
NOTE!
The driving bow should always rest against the back of the
seat system during transportation in a vehicle.
NOTE!
Do not hang bags or heavy objects on the chassis. This, together
with other factors, can cause the chassis to tip backwards.
Summary of Contents for Zitzi Guppy G2
Page 1: ...User manual Zitzi Guppy G2 EN ver 2 0 2020 04 15 ...
Page 9: ...9 User manual Zitzi Guppy G2 www anatomicsitt com 46 11 16 18 00 D B A C ...
Page 11: ...11 User manual Zitzi Guppy G2 www anatomicsitt com 46 11 16 18 00 A B C ...
Page 19: ...19 User manual Zitzi Guppy G2 www anatomicsitt com 46 11 16 18 00 C A B F E D ...


