Azimuth
Drive Cable
Tension
Adjustment
Step 1
Step 2
Step 3
Step 4
10
Maintenance
CAUTION!
Before/during the initial azimuth rotation of the re-calibrated antenna, verify by
inspection that there are no pinch points with any antenna accessories (example:
waveguide, cables, etc.) passing through the center of the antenna mount.
With the Software and hardware limits reset for to 175° azimuth counter-clockwise rota-
tion the following azimuth cable tension adjustment will now be possible.
Required Tools
•
Precision 1/8-inch key stock, at least 6 inches long (supplied with antenna)
•
¼-inch drive ratchet with 7/16 standard or thin walled socket (not supplied with antenna)
Check cables around drum for proper alignment. Cables should be evenly spaced from
one another as they wrap around the drum (height/centering). Rotate drum if necessary
to align cables.
Remove the rear rain shield, which covers the azimuth axis opening.
Remove cable tension access port cover, located near azimuth drive gear reducer.
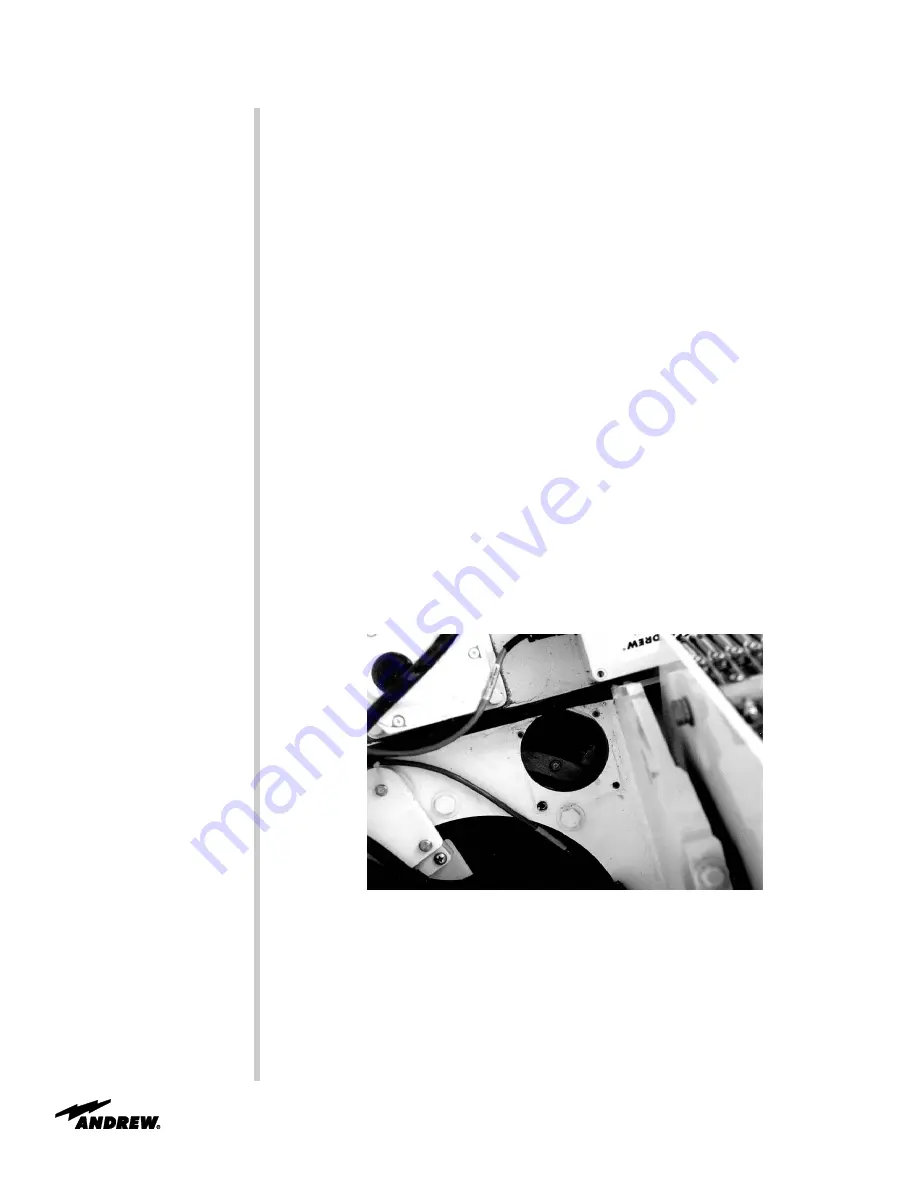
Starting from the stowed position, deploy antenna and rotate in azimuth approximately
80° clockwise to align access port on panning frame with spring end of cables, until
directly under access port (Figure 1).
CAUTION!
Be sure no interference is present in and around the azimuth axis opening during
antenna rotation.
Figure 1. Azimuth Access Port Positioned Over Cable Adjusting Nuts
Note
To ensure that the cables are not tensioned beyond the design value, the precision key
stock must be used to detect when the cable tension adjusting nut has been tightened
so that the "Thrust Sleeve" is 0.005 to 0.010 inches from contacting the spring housing.
This will ensure the nominal spring compression and cable tension.


