

Step 6:
Feed the battery strap through the top of the slot,
loop around and through the buckle. This strap can be left
permanently attached to this bracket.
Step 3:
Secure the assembly to the End Plate using
eight #10-32 x 0.500” SHCS and #10-32 Nylock Jam
Nuts.
Step 7:
Insert the Battery into the Battery Tray with leads
facing upward and on the same side as the SB Connector...
Pull the strap around the center of the battery and
underneath the spacer and clamp assembly.
Step 5:
Secure the Robot Side SB-Series Battery
Connector to the tab on the C Plate using two #6-32
x 0.750” Hex Head Screws (am-1424) and #6-32
Nylock Jam Nuts (am-1419). The wires from this
connector should go to your main robot breaker and
power distribution panel.
Note:
The screws should be oriented such that
the heads of the screws are on the Tab side.
Step 8:
Plug the SB connector from the battery into the
SB connector mounted to the tray. Secure with a cable
tie around both connectors through the small slot in the
C Plate to ensure the battery will stay connected during
match play.
Note
: Battery leads and connector not shown.
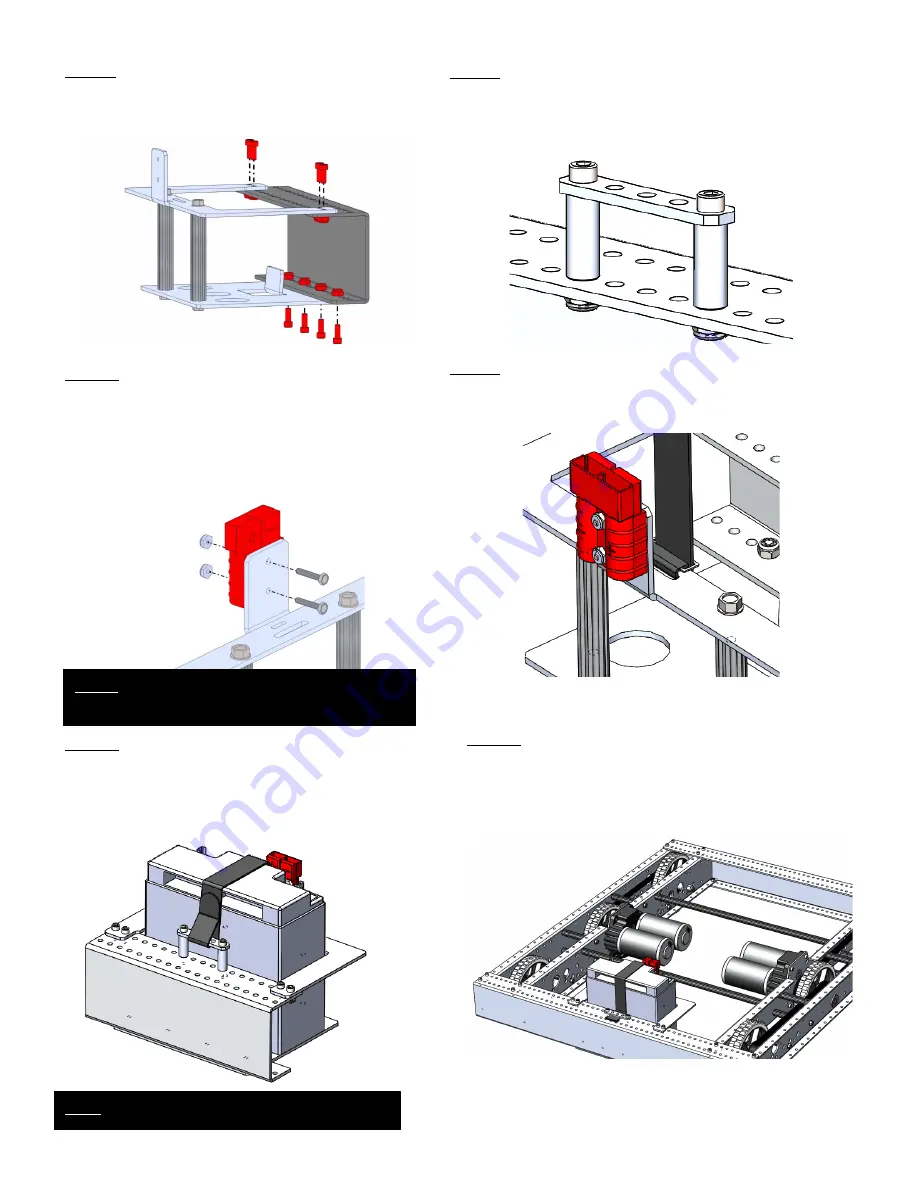
Step 4:
Attach the clamp to the end plate using two 10-
32x1.5”SHCS, nuts, and spacers. The clamp should be
centered with the assembly.


