EN
45
1
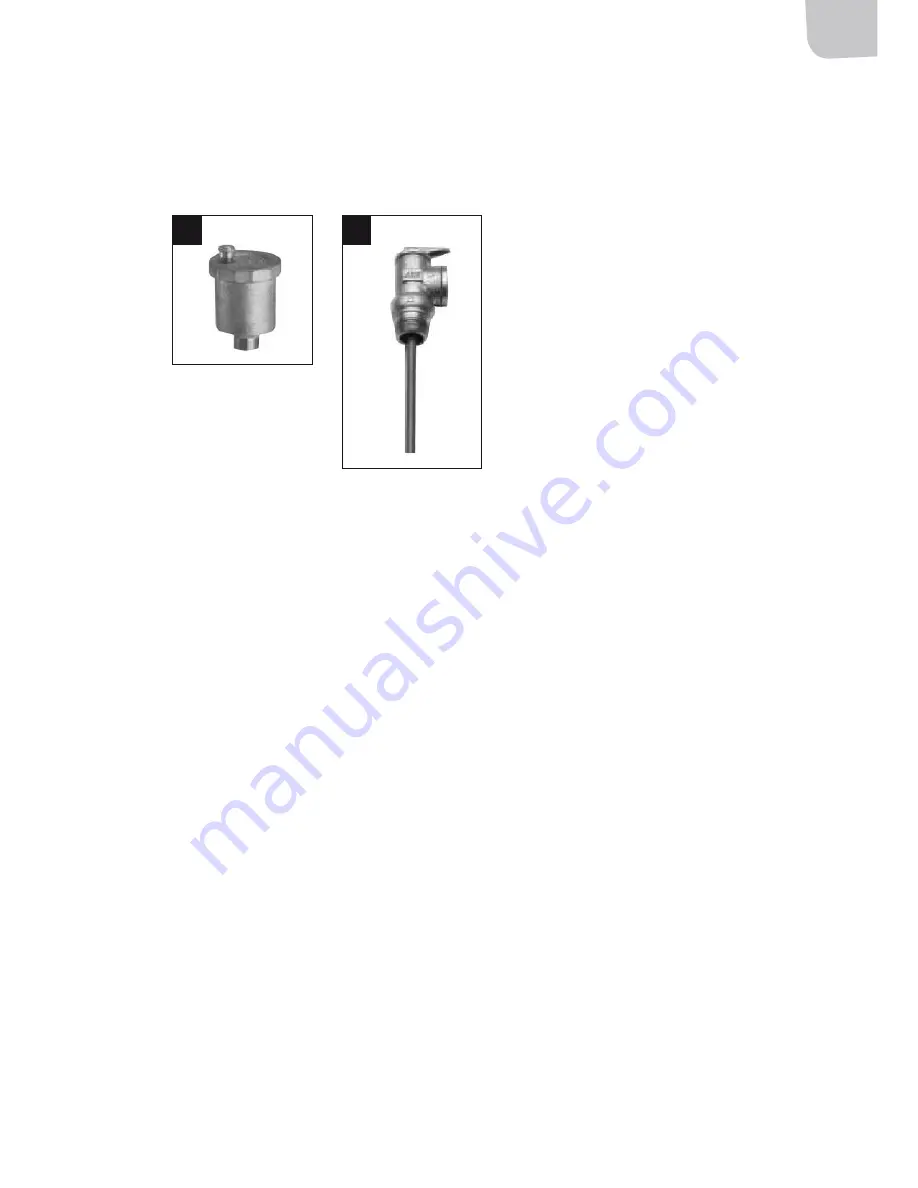
Install the valve in the right position Then loosen the small screw cap on the valve in order
to let out the air
2
If the valve is clogged, first pull on the screw cap on top of the valve Then remove the valve
from the safety valve kit and clean it Mount the valve onto the safety valve kit after cleaning
it and remove the screw cap again
SAfETY VALVE
• The hot water heater must have a safety valve (figure 11) which is triggered at a certain pressure
and a certain temperature
• The safety valve functions as a protection in the event that the thermostat or the gas valve stop
working and the pressure or the temperature rise
• The venting pipe should always be connected to the safety valve’s outflow so that the water is
directed to the closest vent in order to reduce the risk of personal injury and material damages
Check that the venting pipe freely drops to the drainage
The pressure pipe functions as a safety valve and the following requirements must be met
• The pipe:
– Must always be made of an approved material such as CPVC, copper, polyethylene,
galvanised steel, polybutylene or stainless steel
– Must have the same or a greater diameter than the drainage of the relevant valve
(normally 3/4”)
– Must be as short and straight as possible to avoid unnecessary loads on the valve
– Must be installed with a drop
– May not have a water-lock
– Must lead to the floor, to a floor drain or outdoors
– Must stop circa 150 mm from the floor or the floor drain
– May not be emptied in such a way that persons risk being scalded
– May not be emptied so that damages are brought upon buildings or inventories
10
11


