ENGLISH
67
Solar coil capacity
The length of the solar coil in the tank (where the heat exchange to the heating system in the house takes
place) should not be shorter than 10 metres, which is enough for up to 3 Anslut solar collectors. It is
recommended that the tank's solar heating coil is 15 metres for the connection of more than 3 solar
collectors.
Practical tips for pipe routing
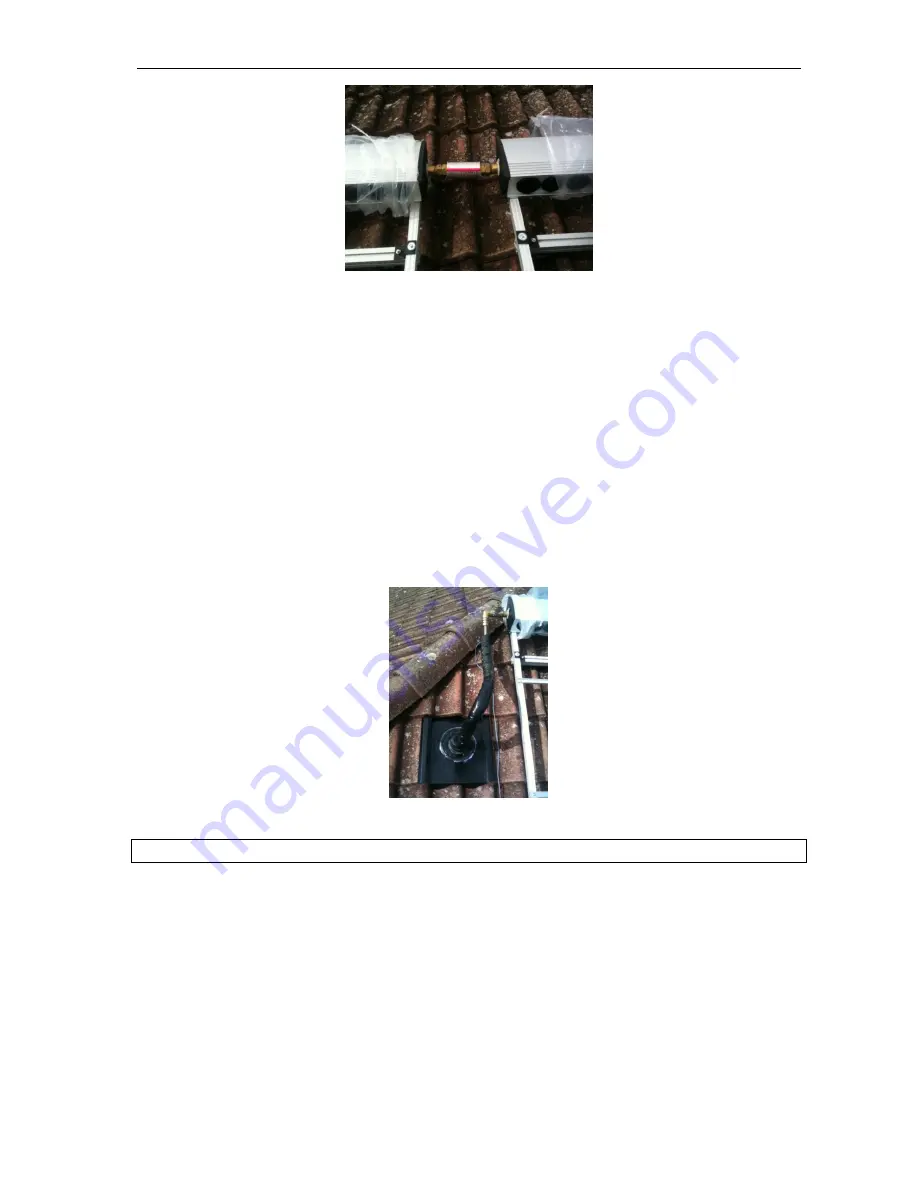
VILPE roof ducts are recommended when routing pipes through the roof, or other similar ducts for
watertight, simple and safe ducting. Alternatively a tinsmith can be employed to construct and install a
suitable sheet-metal cover. If the piping is routed through an existing free duct in the chimney it is
important to ensure that no water can get into the duct after making the holes and routing the pipes. If the
pipes are built into an inner or outer wall there must be no joints and couplings in the wall. If you are using
your own pipes (not complete solar culvert) we recommend using insulation of the Armaflex HT type. The
insulation used should in all circumstances withstand UV radiation and high temperatures, and be
diffusion-proof. Seal all joints carefully (special glue or tape that withstands high temperatures) and
preferably protect the insulation from bird attacks.
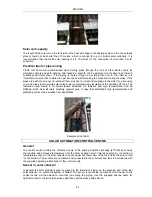
Example of roof duct
SOLAR AUTOMATION/CONTROL CENTRE
General
The control centre controls the circulation pump in the pump group/drive package (417032) by sensing
the required and achieved temperature from the solar heating circuit. This takes place by connecting a
temperature sensor to the solar collector and the upper and lower part of the tank which the solar circuit
is connected to. The sensors are numbered and connected to the collectors and tank in accordance with
the supplied operating instructions for the control centre.
Sensor in solar collector
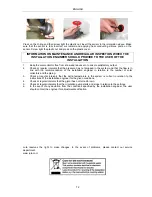
In general the solar collector sensor is placed in the immersion sleeve on the outgoing part of the last
solar collector, i.e. where the system is hottest. The sensor is connected by means of a connector to the
control centre via the extension cord that runs along the piping. Use the supplied silicone paste for
optimal contact in the immersion sleeve and then seal the sleeve with silicone.
Summary of Contents for 417-031
Page 88: ...SVENSKA 8 Montering av kontrollpanel 1 Montering av bakstycke...
Page 89: ...SVENSKA 9 2 Montering av panel...
Page 94: ...SVENSKA 14 HT Set verhetningsskydd 1 Inst llningar...
Page 100: ...SVENSKA 20 2 Hur man s tter gr sv rdena f r automatiskt l ge...
Page 101: ...SVENSKA 21 3 Hur man ndrar viktiga v rden 4 Anv ndning av knappen...
Page 107: ...NORSK 27 Montering av kontrollpanel 1 Montering av bakstykke...
Page 108: ...NORSK 28 2 Montering av panel...
Page 114: ...NORSK 34 HT Set overopphetingsvern 1 Innstillinger...
Page 120: ...NORSK 40 2 Slik settes grenseverdier for automatisk modus...
Page 121: ...NORSK 41 3 Slik endres viktige verdier 4 Bruk av knappen...
Page 127: ...POLSKI 47 Monta panelu sterowania 1 Monta tylnej cz ci...
Page 128: ...POLSKI 48 2 Monta panelu...
Page 134: ...POLSKI 54 HT Set zabezpieczenie przed przegrzaniem 1 Ustawienia...
Page 140: ...POLSKI 60 2 Spos b ustawiania warto ci granicznych dla trybu automatycznego...
Page 141: ...POLSKI 61 3 Spos b zmiany istotnych warto ci 4 Spos b u ycia przycisku...
Page 147: ...ENGLISH 67 MOUNTING OF CONTROL PANEL 1 Mounting of back...
Page 148: ...ENGLISH 68 2 Mounting of panel...
Page 154: ...ENGLISH 74 HT Set overheating protection 1 Settings...
Page 160: ...ENGLISH 80 2 How to set limiting values for automatic mode...
Page 161: ...ENGLISH 81 3 How to change important values 4 Using the button...


