4
Hard disk Drive Installation
There is a hard disk drive bracket with soft silicone grommets inside the HDD
chamber which can hold two hard drives.
1. Remove the HDD bracket from the chamber by
removing the four screws on top of it.
2. Mount the left side of the hard drives (facing from
the front of the hard drive) onto the drive bracket
through the top silicone grommets with the special
screws provided. (See picture 3)
Note:
Don’t over-
tighten the screws. Over-tightening the screws will
reduce the vibration and noise-dampening ability of
the silicone grommets.
3. Place the HDD/bracket assembly back into the
case. Each hard drive should rest on two soft
silicone grommets preinstalled at the bottom of the
case. It is optional, but not necessary to attach the hard drives with screws
through the bottom grommets.
4. Fasten the bracket using the screws provided.
5. Find a 4-pin Molex or a SATA connector on the power supply and connect it to
the power connector on the device.
5.25” Device Installation
NSK 2400 incorporates a rapid-release Flip Up Drive Cage inside the power supply
chamber for easy drive installation. The cage can hold two 5.25” devices.
To install an external 5.25” device:
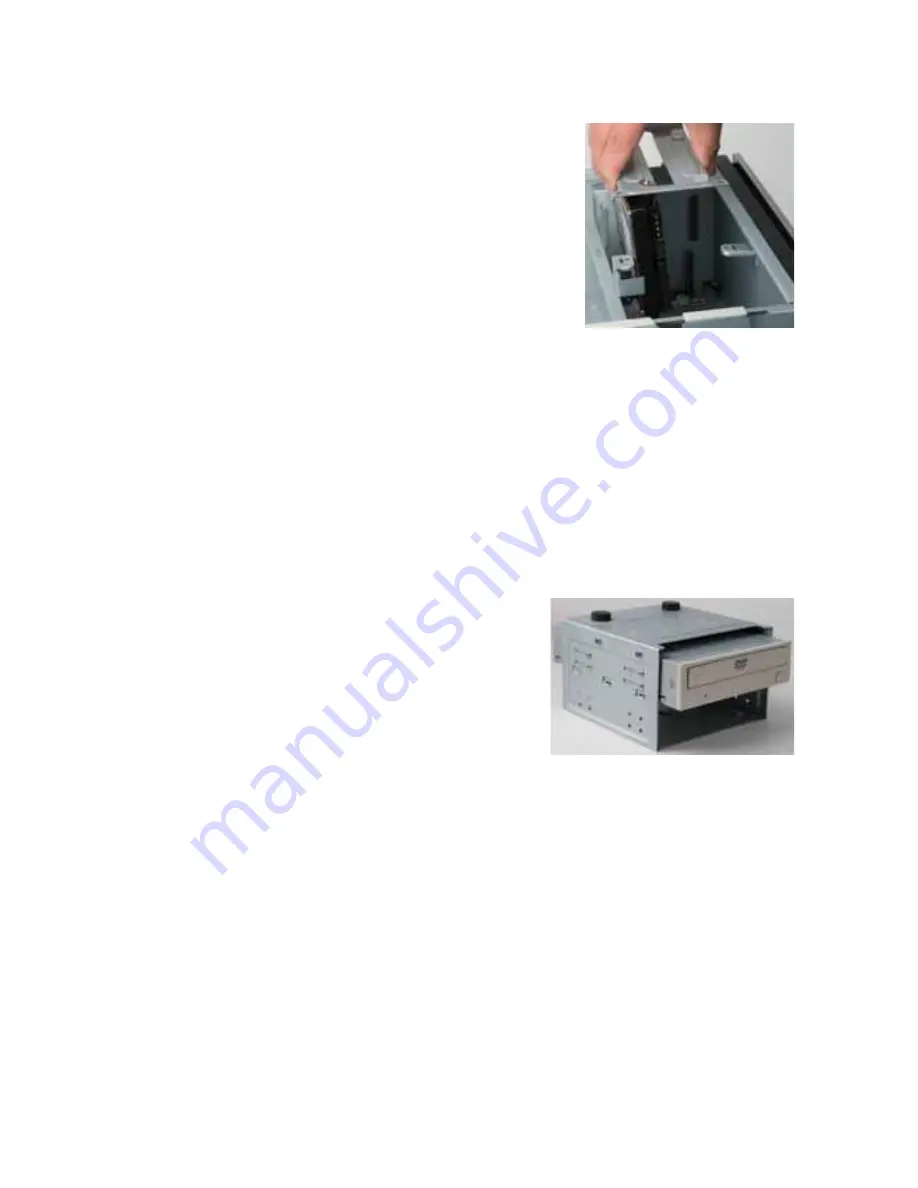
1. Remove the flip-up drive cage.
2. Remove the drive bay cover you intend to
install the device.
3. Insert the 5’25” device into the cage.
Fasten the drive with the screws included.
(See Picture 4)
4. Find a 4-pin Molex or a SATA connector on
the power supply and connect it to the power
connector on the device.
Cooling System
The 120 mm TriCool™ fans
The NSK 2400 comes with two 120mm TriCool™ fans preinstalled. These fans sit
right next to the CPU and are installed so that the air is blowing out of the case.
Please leave at least 1” (2.5cm) between the right side of the case and anything
that would block the exhaust from these fans. Failure to do so may cause the
chamber or CPU to overheat.
These fans have a three-speed switch that lets you choose between quiet, per-
formance, or maximum cooling. (See specifications below.) Connect a large 4-pin
connector from the power supply to the male 4-pin connector on the fan.
Note:
The default setting of the fans is Low. We recommend this speed to maxi-
mize quiet computing.
Picture 3
Picture 4


