34
3.
SETUP
continued …
Scaler Input
(MAIN only)
:
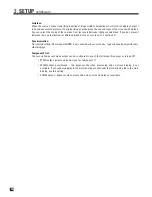
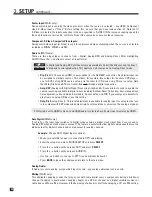
Assign which input is used by the video processor when the source is selected – any HDMI, Component
video, S-Video input, or “None”. Before setting this, be sure that you have read section 2.1. Note that if
S-Video is selected, the input connection is the one specified in S-VIDEO IN. To increase seeking speed for
the seek function in section 4.4, set this to None if the source does not use video processing.
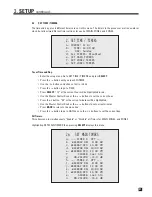
Component, S-Video, Composite Video Inputs:
Assign which video input (or None) is used for unprocessed video switching when the source is selected,
including in ZONE2, ZONE3, and REC.
Audio In
(MAIN only)
:
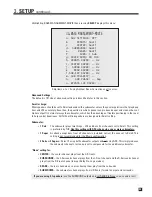
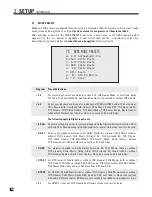
There are three input types to choose from – Digital, Analog-DSP, and Analog-Direct. After highlighting
AUDIO IN use the
34
buttons to select an input format.
In Digital and Analog-DSP, all channels are upsampled to 24-bit / 192 kHz ensuring the finest
in high-end sound reproduction. This applies on all sources not in Analog-Direct mode.
• Dig
(Digital)
:
Choose any HDMI, coaxial, optical, or the AES/EBU connection. Any digital input can
be assigned to multiple sources. This allows, for example, two setups for the same DVD player –
one for DVDs using DVD1 source setup, and the other for CD music using CD source setup. Note
that Dolby Digital and DTS are transmitted only through a digital connection.
• Anlg-DSP
(Analog with Digital Signal Processing)
:
High-end A/D converters are used to enable the
same processing available to digital inputs including Anthem Room Correction, bass management,
time alignment, surround mode, bass/treble, lip-sync delay, and THX. If you want your subwoofer to
play from an analog L/R input, use this setting.
• Anlg-Dir
(Analog-Direct)
:
Only level adjustment is available for analog input. Its only practical use
is to compare with DSP mode and demonstrate how far audio has come since the analog-only days.
If Preferred is set to HDMI in menu 1 and HDMI audio is selected here, Scaler Input must also be HDMI.
Auto Digital
(MAIN only)
:
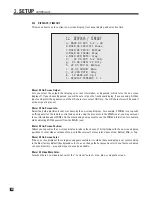
If set to Yes, the input type switches to Digital when sensing a digital clock signal from a source and to
Analog-DSP when no clock signal is present. This feature is useful with older digital cable boxes that use the
digital output for digital channels and analog output for analog channels.
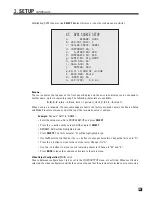
Example:
Change SAT1 Digital Input to optical.
• Make sure satellite receiver is connected to OPT1 and playing.
• Enter the setup menu. Go to SOURCE SETUP and press
SELECT
.
• Press the
6
button until you reach SAT1 and press
SELECT
.
• Press the
6
button until you reach AUDIO IN.
• Use the
34
buttons to change to OPT1 (sound will now be heard).
• Press
BACK
to leave the submenu and return to the main menu.
Analog Audio:
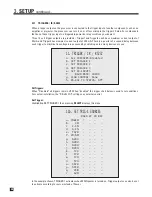
If Audio In is set to analog, assign which input is used – any analog audio input can be used.
Muting
(MAIN only)
:
This eliminates popping sounds that may occur with some digital source components during a bitstream
change. If popping is heard when changing chapter on a DVD or channel on a digital satellite receiver or
cable box, use Max setting. However, if the beginning of a track is cut off when playing a CD, use Min setting.
Summary of Contents for Statement D2v
Page 1: ...STATEMENT D2v OPERATING MANUAL UPDATES www anthemAV com S O F T W A R E V E R S I O N 2 0 x...
Page 8: ......
Page 87: ...79...
Page 100: ...THE BIG PICTURE FRONT PANEL...
Page 101: ...THE BIG PICTURE REAR PANEL...

