4 Putting DHS 1100 into Operation
C58IB004EN-D
19
4 Putting DHS 1100 into Operation
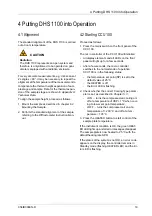
4.1 Alignment
The standard alignment of the DHS 1100 is carried
out at room temperature.
For very accurate measurements, e.g.
/2
scans at
2
angles < 60°, it may be necessary to repeat the
alignment at the temperature of the measurement to
compensate the thermal height expansion of sam-
ple stage and sample. Data for the thermal expan-
sion of the sample stage are shown in
.
To align the sample height, proceed as follows:
1. Mount the sample as described in
.
2. Perform the standard alignment of the sample,
referring to the
Diffractometer Instruction Man-
ual
.
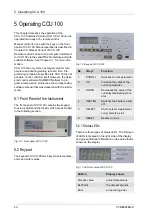
4.2 Starting CCU 100
Proceed as follows:
1. Press the mains switch on the front panel of the
CCU 100.
The micro controller of the CCU 100 will initialize:
• All display elements and all LEDs on the front
panel will light up for a few seconds.
• After a few seconds, the micro controller
switches to the normal mode of operation.
CCU 100 is in the following status:
- the temperature set point (SP) is set to the
default value of 25 °C
- the HEATER is off
- the Error LED is flashing
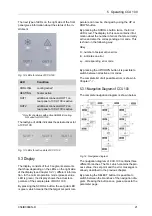
2. Check whether the correct Cooling Type param-
eter is set, as described in
- cON ... turns the compressed-air cooling on/
off at a temperature of dSP +1 °C when cool-
ing to lower set point temperature.
- cOFF ... turns the compressed-air on at a
temperature of > 200 °C and off at a tem-
perature < 195 °C.
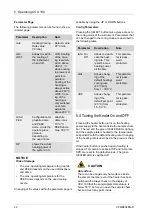
3. Press the HEATER button to start control of the
sample plate temperature.
If the instrument condition is OK, the green HEAT-
ER LED lights up and all error messages disappear.
The sample plate is now heated to 25 °C with the
default heating rate SPR.
If the status of the system is not OK, an error code
appears on the display, the controller remains in
Standby mode (flashing HEATER LED) and the Er-
ror LED is flashing.
CAUTION
Radiation
The DHS 1100 represents an open system and
therefore is only allowed to be operated on goni-
ometers equipped with a radiation enclosure.

