7
®
P/N 1011446 Rev. I 12/18
DAILY CLEANING
NOTE:
The following supplies and
cleansers are required for clean-
ing and have been validated by
Antunes to be the most ef-
fective. The use of alternative
supplies and chemicals may not
effectively clean the belts and
could cause belt damage.
y
Heat Resistant Gloves
y
Approved De-greaser
y
Non-Abrasive Pad
y
Clean Towels
y
Water
y
Sanitizer bucket
1. Press and release the Power button
to turn the unit off. The unit enters
a 45 minutes cool-down mode and
automatically shuts down when
complete.
NOTE:
Be sure to perform cleaning
steps during cool-down mode.
NOTE:
The conveyors continue to turn
during the cool-down mode.
2. Put on heat resistant gloves.
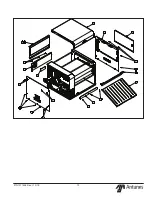
Remove the Top Cover, Feeder, and
Chute (Figure 3).
3. Wash, rinse and sanitize the Top
Cover, Feeder, and Chute at the
3-compartment sink.
Inspect the belts
NOTE:
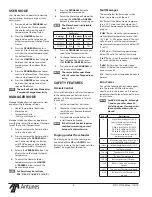
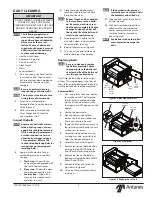
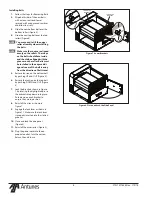
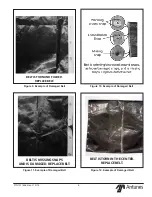
Replace any belts that are torn,
folded, missing snaps, or dam-
aged. Belts should be removed
ONLY during belt replacement
or when required in a service
situation (see images on page
9 for examples). Refer to the
section titled Replacing Belts for
instructions on removing and
installing belts.
4. Apply a small amount of an ap-
proved de-greaser on a non-abra-
sive pad.
A. Wash step – Wipe with the
non-abrasive pad damped with
the Grill & Toaster Cleaner.
B. Rinse step – Wipe with a clean
towel dampened with water.
C. Sanitize step – Wipe with a
clean sanitizer soaked towel
and allow to air dry.
4. Clean the top and bottom belts
(each belt should follow the Wash-
Rinse-Sanitize step):
NOTE:
Repeat Steps 4 and 5 as needed
to remove heavy carbon build-
up. Be sure to wash-rinse-sani-
tize the belts completely. Failure
to properly clean the belts will
shorten the life of the belts and
result in poor performance.
5. Wipe the exterior surfaces of the
unit with a clean, sanitizer-soaked
towel and allow to air dry.
6. Reinstall all accessories (Figure 3).
7. Turn the unit on and test the unit
before returning it to operation.
IMPORTANT
DO NOT INSERT HANDS BETWEEN
THE BELTS. USE CARE WHEN
CLEANING THE BELTS AS THEY ARE
MOVING. PERSONAL INJURY MAY
RESULT!
Replacing Belts
NOTE:
Be sure to clean and sanitize
the Belts completely. Failure
to properly clean the Belts will
shorten the life of the Belts and
result in poor performance.
Over time, the Belts begin to show signs
of wear. This wear appears in the form of
tears, folds, or other damage of the belt, at
which point all belts should be replaced.
Removing Belts
1. Press and release the Power button
to turn the unit off. The Flatbread
Toaster enters a cool-down mode.
Wait until the unit automatically
shuts down and OFF appears on the
display.
2. Unplug the power cord.
3. Wearing heat resistant gloves,
remove the Top Cover, Feeder, and
Chute and set aside (Figure 3).
4. Facing the front of the unit, move to
the right side panel. Rotate the unit
as necessary for access.
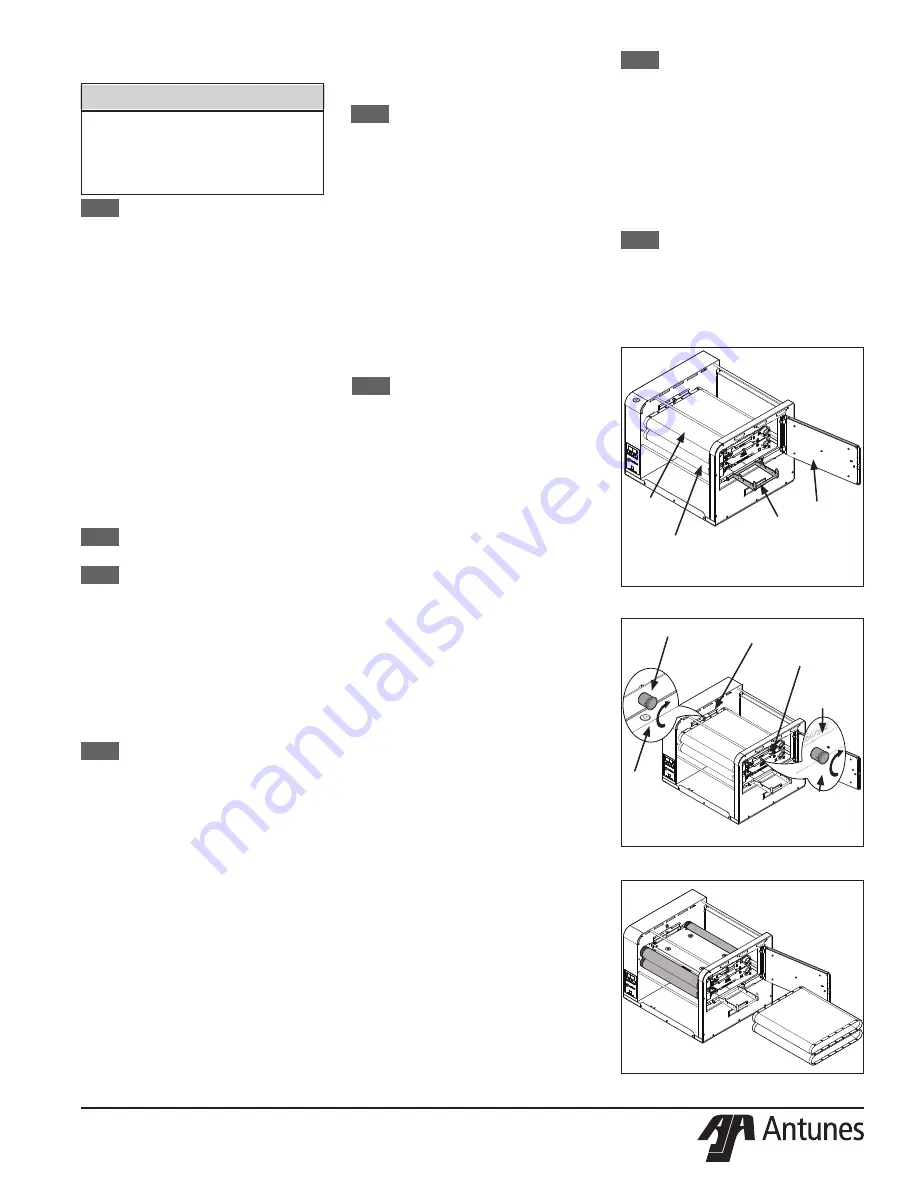
5. Unlock the side panel door using
a screwdriver, coin, or similar tool.
Open the side panel (Figure 4).
6. Unlock the Lock Lever (Figure 4).
7. Remove tension on the Top Belt by
pushing the Top FRONT Roller IN
and UP until it locks into position.
8. Remove tension on the Bottom
Belt by pushing the Bottom FRONT
Roller IN and DOWN.
9. Remove the clips and rotate the
pins shown in Figure 5.
10. Lift up on the two brackets shown
in Figure 5.
SIDE
PANEL
DOOR
LOCK
LEVER
Figure 4. Open Side Panel Door
TOP
FRONT
ROLLER
BOTTOM
FRONT
ROLLER
CLIP
CLIP
PIN
PIN
LIFT THIS
BRACKET
LIFT THIS
BRACKET
Figure 5. Lift Bracket
NOTE:
If the brackets will not move,
rotate the pins from Step 9 until
the brackets can be lifted up.
11. Slide the Belts out of the unit and
discard (Figure 6).
12. With belts removed, wipe all four
rollers and the top and bottom
heater cover plates with a clean
sanitized towel to remove any
debris (Figure 6).
NOTE:
Any debris stuck on the roller/
cover plates can damage the
belts.
Figure 6. Slide Belts Out of Unit

