9
3.Turning on/off the headset
· Press and hold the power button for 3
seconds to turn on the headset. Then the
power indicator ( “ANTVR” logo) should light
up, indicating that the headset is turned on;
and the device status in the ANTVR Hall
should show headset “connected”.
· Press and hold the power button for 3
seconds to turn off the headset.
4. Experiencing VR world with the headset
· ANTVR Hall features a wide range of VR
content and experiences. You can play VR
games, watch movies, and experience more
VR resources through ANTVR Hall.
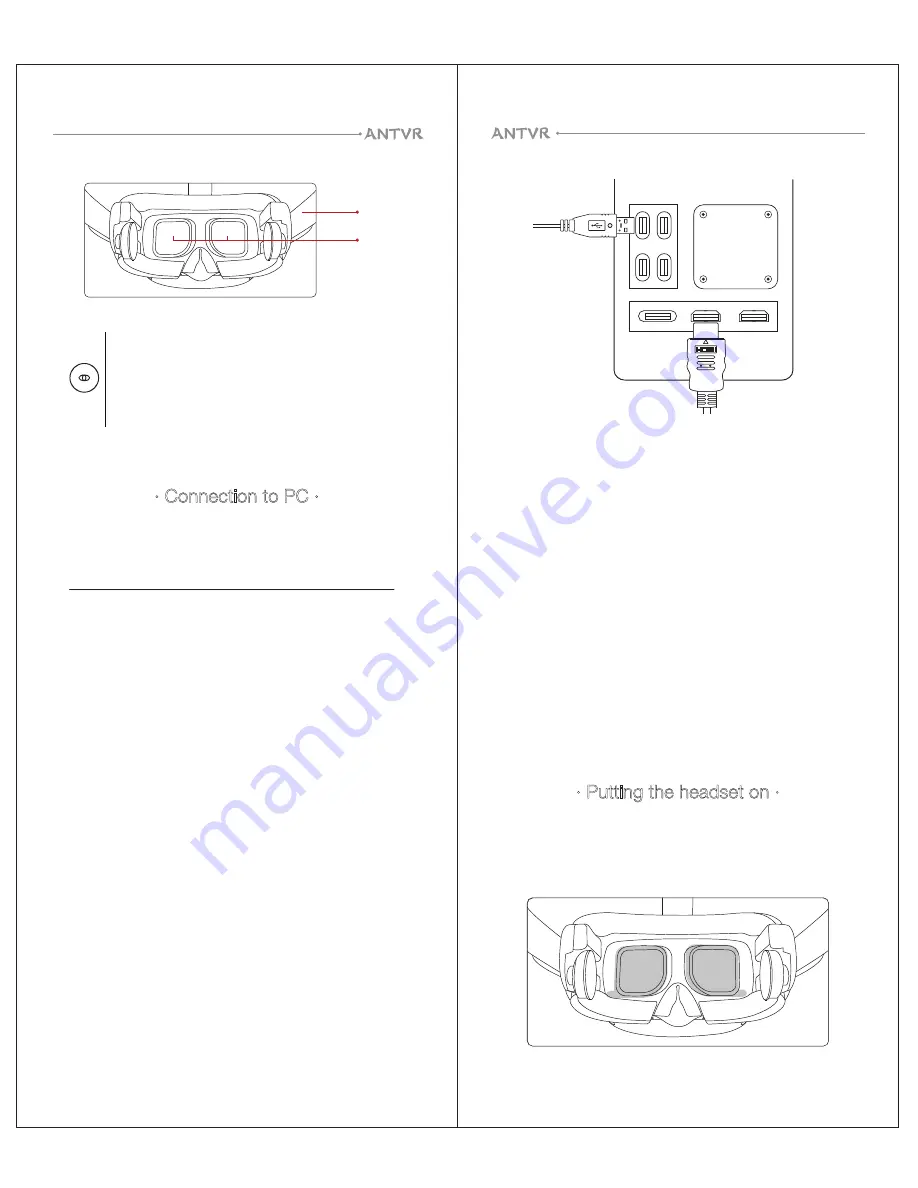
USB 3.0 cable
HDMI cable
· Putting the headset on ·
Before putting the headset on, make sure
that you've removed the protective film
from the lenses.
1.
8
Strap
Lenses
· Connection to PC ·
LCLV window button:
LCLV stands for Liquid Crystal Light Valve. LCLV
windows are specially designed for allowing to see
the environment around you (eg: your
keyboard/mouse/controller etc.) without taking the
headset off.
Before connecting the headset to your
computer, please go to
http://www.antvr.com/en/download/antvrhall
and download the “ANTVR Kit 2 Experience
Manual” and “ANTVR Hall” setup.
1.Installing ANTVR Hall
ANTVR Hall is the platform for virtual reality
content and experiences. It is also for device
pairing status check up and configuration.
· Install the “ANTVR Hall” app on your
computer and set up the ANTVR Hall
according to the “ANTVR Cyclop Experience
Manual”.
2.Connecting the headset to your computer
· Insert the HDMI cable from the headset on
the HDMI port of your computer's graphic
card (the same card connected with PC’s
monitor).
· Connect the USB cable from the headset to
your computer’s USB3.0 port.
ANTVR Kit 2
ANTVR Kit 2


