User Manual
18
After setting press [ESC] key to save and return to the previous menu.
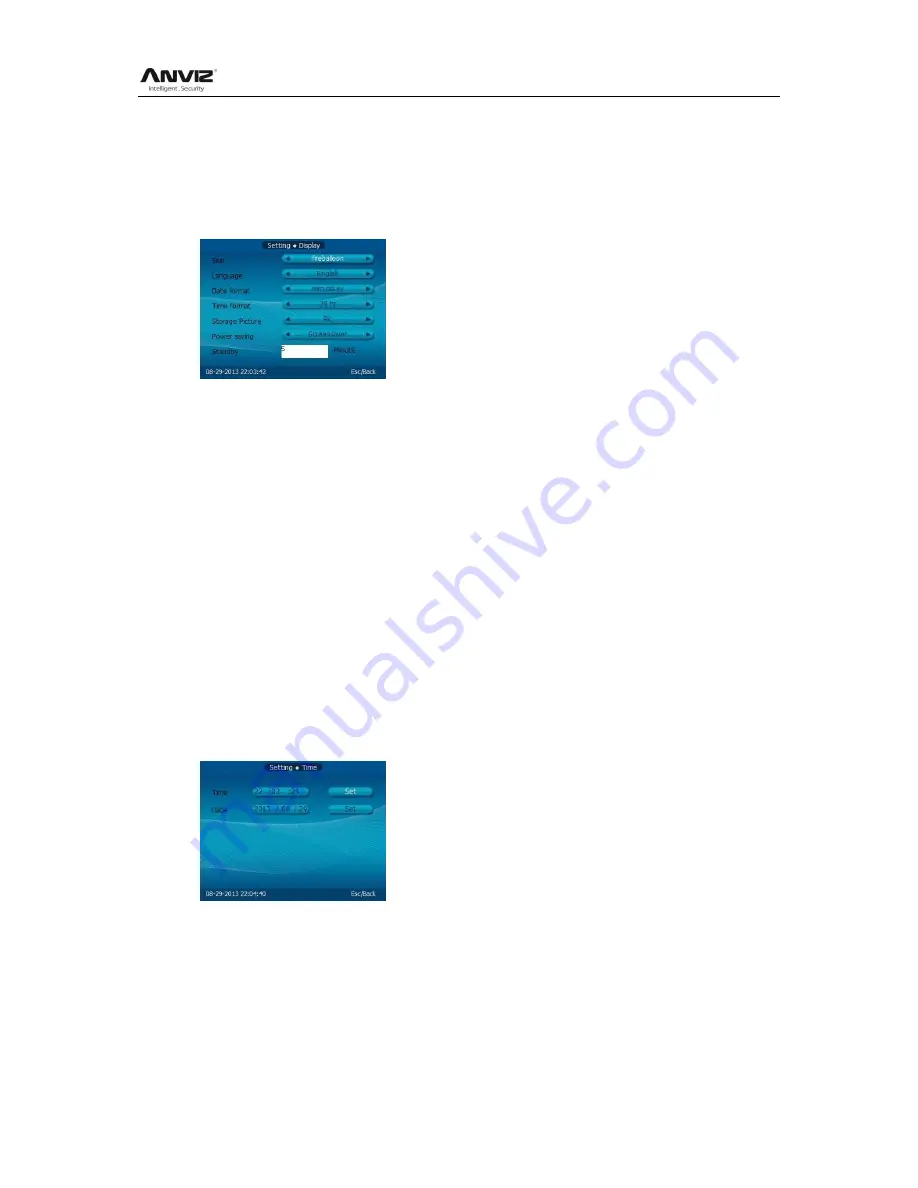
2.3.5.5 Display
Set system [language], [skin], [Date/Time format] and [Display box contents].
In [Main
Setting] menu, press [
] key to select [Display] option and press [OK] key to
enter [Setting
Display] interface.
[Skin]: The main interface shows the skin, there are three kinds of skin to choose.
[Language]: The system shows the type of language
[Date format]: the system date display format, there are three: dd-mm-yy, yy-mm-dd and
mm-dd-yy;
[Time format]: The system time display format, in 24-hour and 12 hour;
[Display content]: Attendance verified by the user, the display shows the contents of the
box, you can set the display fingerprints, photographs, real-time camera photos three
formats:
[Power saving]: Enable/Disable screen saver or close screen.
[Waiting time]:The waiting time for enable the screen saver
Modify the parameter values, is completed by [ESC] key to save and return to the
previous menu.
2.3.5.6 Time Setting
Time setting is mainly used to set the date and time of the device.
In [Main
Setting] menu, press [
] key to select [Time] option and press [OK] key to enter
[Setting
Time] interface.
Adjust the time and date, select [Set] button and press the [OK] button to confirm the
settings take effect.
2.3.6
Advanced Setting
Advanced settings include photographs, communications, identification and access
control function set.
In [Main] menu, press [
] key to select [Advanced] option and press [OK] key to enter
[Main
Advanced] interface:
Summary of Contents for OA1000 Mercury
Page 1: ... 2001 2013 Anviz Global Inc OA1000 User Manual V1 4 ...
Page 65: ...User Manual 58 Click the item Remove from the Quick Access Toolbar ...
Page 94: ...User Manual 87 Chapter6 FAQ Frequently asked questions and answers ...
Page 100: ...User Manual 93 5 Wiegand Card Reader Connection 6 RS 485 Interface 7 RS 232 Interface ...
Page 101: ...User Manual 94 ...


