Installation
10
Preinstallation of installation
variant A
Important information!
Dispose of the packaging according to locally applicable
regulations.
• Remove the operator from the packaging.
1
2
1
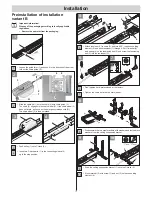
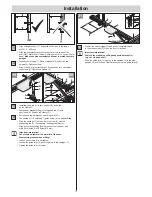
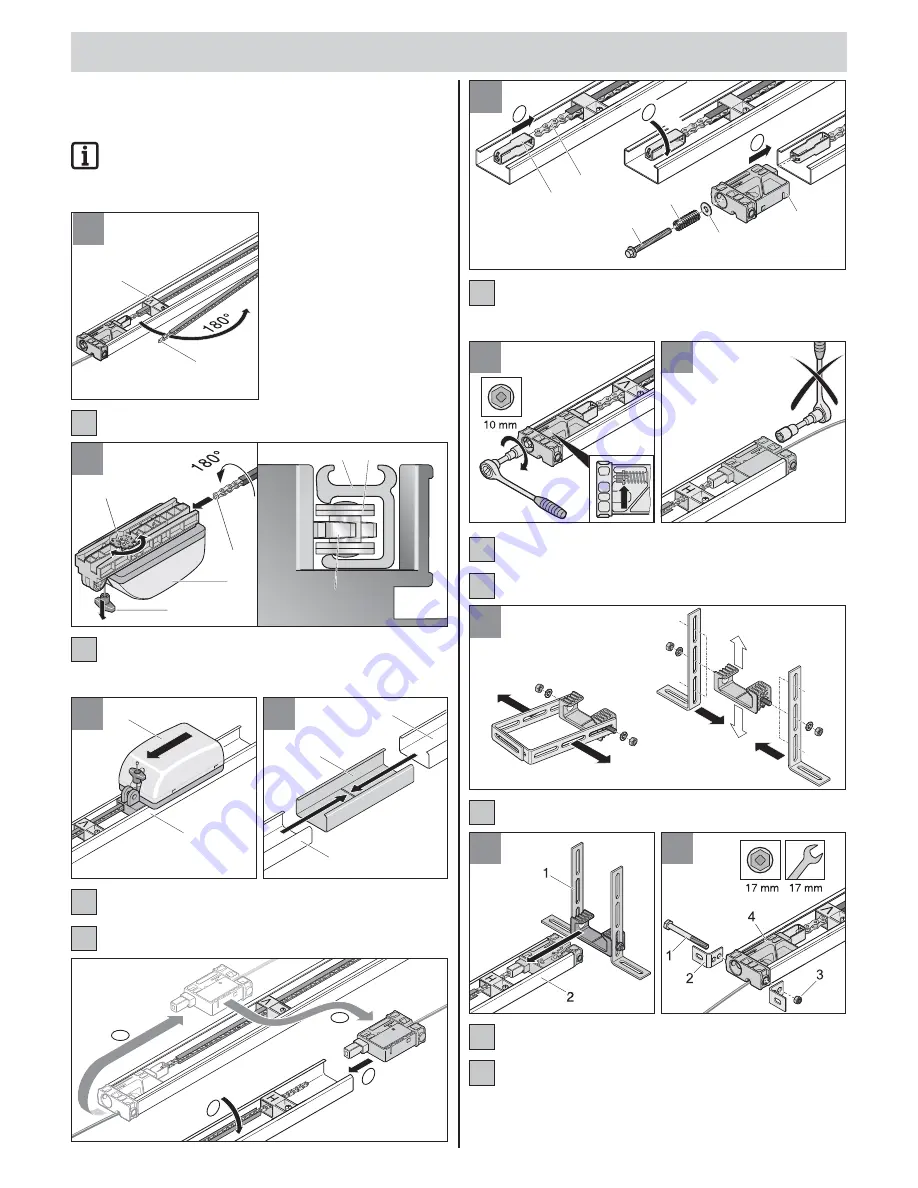
• Loosen the guide idler (1) and push it in the direction of the arrow;
fold out the chain guide (2).
N
2
1
3
2
4
33
3
2
• Slide the carriage (1) onto the chain (2) with chain guide (4).
The chain (2) engages in the chain wheel (3).
If the chain wheel (3) does not rotate, pull once on the emergency
release cord (N). The chain wheel (3) is then unlocked.
2
1
3
1
1
2
4
• Push trolley (1) onto C-track (2).
• Insert two C-track parts (1) in the connecting sleeve (2)
up to the stop position.
C
A
B
90°
D
a
c
90°
b
1
2
3
4
5
6
V
V
5
• Attach tensioner (1) to chain (2) and turn it 90°. Insert connecting
element (6) and push tensioner (1) through it. Put U-washer (5)
and spring (4) on the tensioning bolt (3) and screw the tensioning
bolt (3) into the tensioner (1).
6
7
• Tighten the chain as far as the mark (arrow).
• Don't tighten here; pretensioned at the factory.
8
• Disassemble the two steel brackets with washers and toothed lock
washers from the ceiling suspension bracket.
9
10
• Push the ceiling suspension bracket (1) onto the C-track (2).
• Mount bracket (2) with screw (1) and nut (3) on the connecting
element (4).
1
2
3
4
5
6
7
8
9
10


