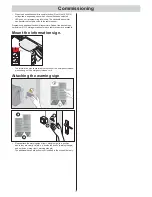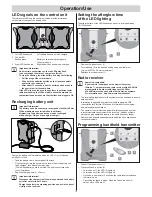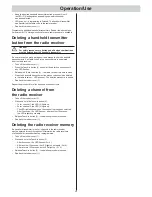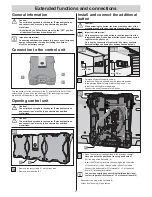
Maintenance and care
25
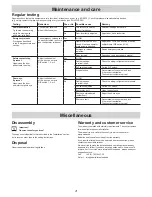
Maintenance and care
Safety instructions
Danger!
Never use a water hose or high-pressure cleaner to spray
down the operator or the control unit housing.
Always disconnect the XLR plug prior to working on the door
or operator.
Do not use acids or alkalis for cleaning.
Wipe the operator clean with a dry cloth as required.
Never reach into a moving door or moving parts.
There is a risk of persons being crushed or cut by the mechanism
or sharp edges of the door.
Check all fastening screws and bolts of the operator for tight seating
and retighten them where necessary.
Check the door in accordance with the manufacturer's instructions.
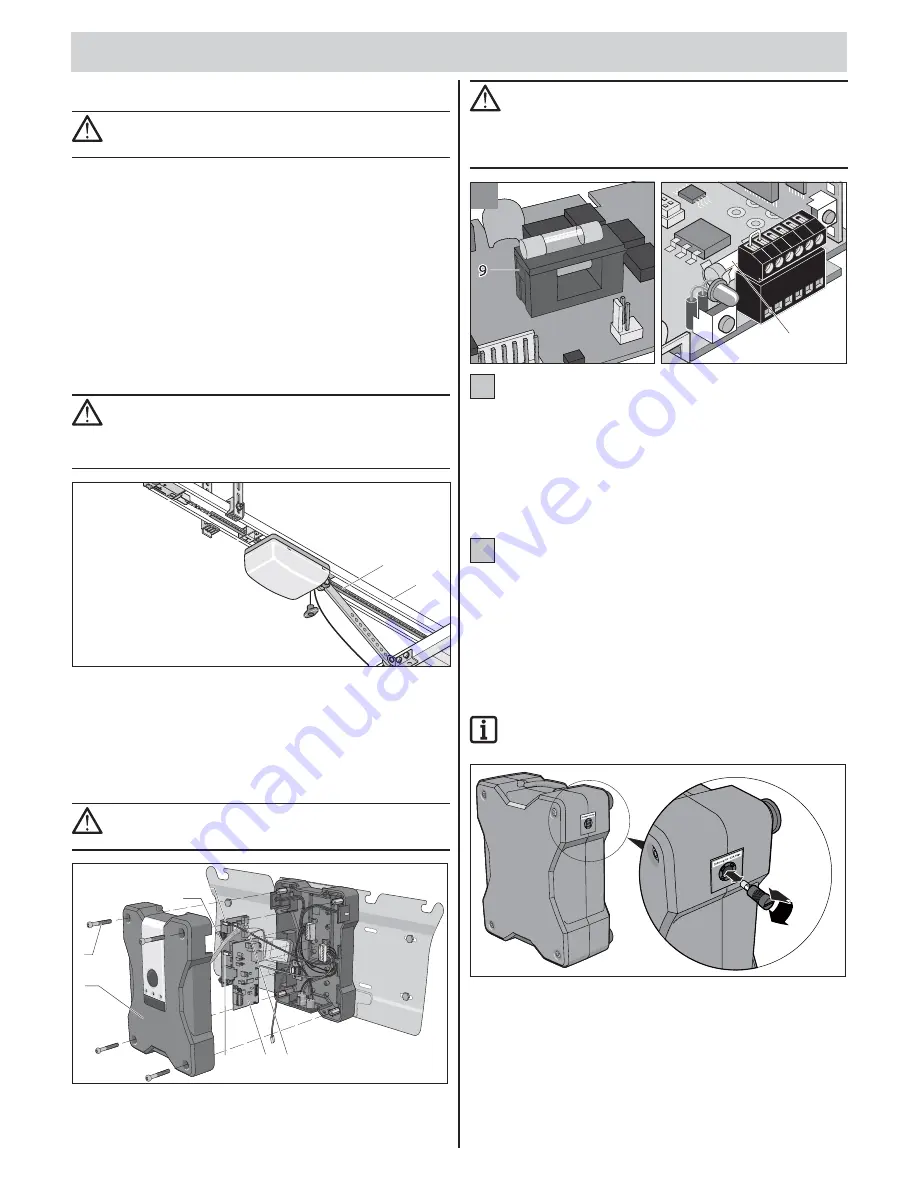
Cleaning chains and operator
unit track
Caution!
The power is supplied via the chain and the operator
unit track to the carriage. It is therefore important to make
sure that these parts are clean and oiled only with suitable
conductive oil. Use Ballistol or WD40 contact spray.
7
8
•
The chain (7) or the operator unit track (8) is very dirty – clean it with
a clean cloth on the inside as well.
•
If necessary, lubricate the chain (7) and operator unit track (8) inside
with a “conductive” oil. Do not use any grease!
Changing the control unit fuses
Opening control unit
Caution!
Disconnect the battery units from the control unit.
Pull the plug to the solar module (if necessary).
1
2
3 4
5
6 7
•
Remove the four screws (1) on the front side.
•
Remove front housing (2).
Caution!
First note the position of the plug and boards.
Make sure the board and plug position is correct when
reinserting them! Mixing up the contacts damages the device.
Only hold the outside edge of the boards (6 and 7)!
Do not touch the electronic components!
A
8 9
10 1
1 12
7
1
Loosen the guide idler (1) and push it in the direction of the
arrow; fold out the chain guide (2).
• Pull the
fl
at cable (3) plug and the two other plugs (4) and (5)
on the left board (7).
• Remove the left board (7).
• Remove defective glass tube fuse from the fuse holder (9) and
replace. (Type: T 8 A L 250 V)
• Reinsert the control board.
Make sure the alignment is correct.
• Connect the plugs.
• Reattach front housing (2) and fasten.
The fuse of the main control unit secures the door control unit.
• Pull the plug of the
fl
at cable (3).
• Remove the right board (6).
• Remove defective glass tube fuse from the fuse holder (10) and
replace. (Type: T 6 A L 250 V)
• Reinsert the control board.
Make sure the alignment is correct.
• Connect the plug.
• Reattach front housing (2) and fasten.
Replacing the battery unit fuse
Important information!
The battery unit fuse secures the discharging current from
the battery box.
The right-hand battery unit is pictured; the left side corresponds
to the illustration.
•
Screw fuse holder on the outside of the respective battery unit
•
Replace glass tube fuse (6 A–6,3 A, slow-acting)
•
Screw on fuse holder
A
B

