AHM-6XX6A User Manual
80
NOTE:
The older the touch screen, the more Advanced Mode calibration points you
need for an accurate calibration. Use a stylus during Advanced Calibration for greater
accuracy. Please follow the step as below:
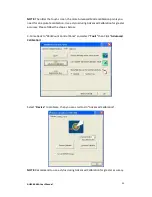
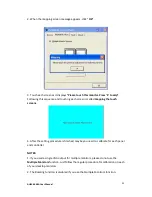
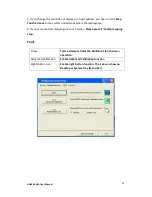
3.Come back to “PenMount Control Panel” and select “
Tools
” then Click “
Advanced
Calibration
”.
Select “
Device
” to calibrate, then you can start to do “Advanced Calibration”.
NOTE:
Recommend to use a stylus during Advanced Calibration for greater accuracy.
Summary of Contents for AHM-6XX6A
Page 9: ...AHM 6XX6A User Manual 8 1 2 Dimensions Figure 1 1 Dimensions of the AHM 6086A ...
Page 10: ...AHM 6XX6A User Manual 9 Figure 1 2 Dimensions of the AHM 6126A ...
Page 11: ...AHM 6XX6A User Manual 10 Figure 1 3 Dimensions of the AHM 6156A ...
Page 12: ...AHM 6XX6A User Manual 11 Figure 1 4 Dimensions of the AHM 6176A ...
Page 13: ...AHM 6XX6A User Manual 12 Figure 1 5 Dimensions of the AHM 6196A ...
Page 63: ...AHM 6XX6A User Manual 62 ...
Page 66: ...AHM 6XX6A User Manual 65 ...
Page 67: ...AHM 6XX6A User Manual 66 ...
Page 70: ...AHM 6XX6A User Manual 69 ...
Page 73: ...AHM 6XX6A User Manual 72 Click FINISH A Driver Installation Complete ...
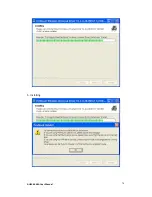
Page 77: ...AHM 6XX6A User Manual 76 5 Installing ...
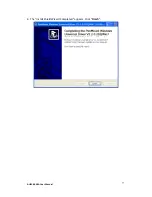
Page 78: ...AHM 6XX6A User Manual 77 6 The Install Shield Wizard Completed appears Click Finish ...


