APC-3296P User Manual
5
Table of Contents
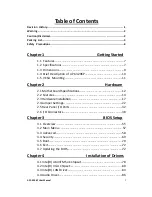
Revision History…………………………………………………………………………………………………….1
Warning................................................................................…………………………….…2
Caution/Disclaimer……..……………………………………………………………………………………..…2
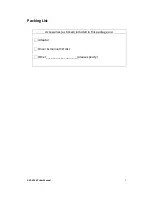
Packing List…………………………………….……………………………………………………………………..3
Safety Precautions…………………………………………………………………….…..……………………..4
Chapter 1 Getting Started
1.1 Features………………………..………………………...…………………………..7
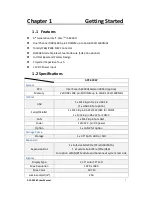
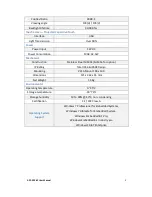
1.2 Specifications…………………...………………………………………………….7
1.3 Dimensions………………………....……………………………………………...9
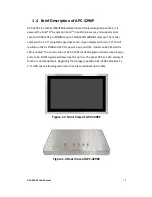
1.4 Brief Description of APC-3296P………….………………………….……10
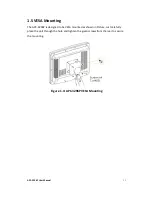
1.5 VESA Mounting…………………....…………..………………………….……11
Chapter 2 Hardware
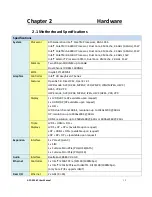
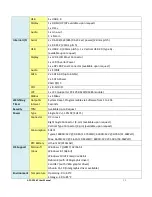
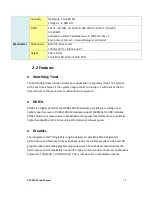
2.1 Motherboard Specifications..…………………...……………..………....12
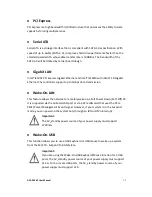
2.2 Features…..…..…………………………..…………………………………………14
2.3 Hardware Installation…………………..……………………………………...17
2.4 Jumper Settings………………………….…………………………………..……22
2.5 Rear Panel I/O Ports……………….……………………………………………32
2.6 I/O Connectors……………………….……………………………………………38
Chapter 3 BIOS Setup
3.1 Overview…………………………………...…….……...…………………………55
3.2 Main Menu………………………………………………………………………….57
3.3 Advanced……..……………………………………..………………………………58
3.4 Security……………….……………………………………………………………...69
3.5 Boot………………………………………………………….………………………...70
3.6 Exit………………………………………………………………….…………………..72
3.7 Updating the BIOS….…………………………………….……………………..72
Chapter 4 Installation of Drivers
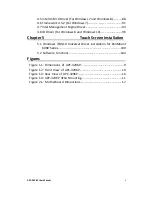
4.1 Intel(R) AtomTM SoC Chipset.……..…..……...………….………………78
4.2 Intel(R) VGA Chipset..……………………………………………….……......80
4.3 Intel(R) LAN Driver…….…..………………………………………..………....83
4.4 Audio Driver…………………………………………………………………………86
Summary of Contents for APC-3296P
Page 10: ...APC 3296P User Manual 9 1 3 Dimensions Figure 1 1 Dimensions of APC 3296P ...
Page 66: ...APC 3296P User Manual 65 ...
Page 75: ...APC 3296P User Manual 74 ...
Page 76: ...APC 3296P User Manual 75 For Windows 8 ...
Page 77: ...APC 3296P User Manual 76 For Windows 7 ...
Page 100: ...APC 3296P User Manual 99 Step 6 Setup is now installing the driver Step 7 Click Finish ...
Page 104: ...APC 3296P User Manual 103 Step 7 Click Finish to complete installation ...


