OPD-1XX6A User Manual
10
Chapter 2 OSD
2.1 AD Board OSD Functions
Auto Adjust Up/Left Down/Right Power
Menu/Entry Power Indicator
Power switch: To turn ON or OFF the power
Shift the icon to the right side or shift it up
Shift the icon to the left side or shift it down
Menu: To enter OSD menu for related icon and item.
Auto Button: One-touch auto adjustment
1.)
Getting into Burn-in Mode
Before setting into a burn-in mode, first disconnect the AC power cord. Then press (don’t let them go) the
buttons until the AC power cord is connected and the “RGB” appears on the top left corner of your screen.
Now it can be put into the burn-in mode for changing colors.
2.) Getting Out of Burn-in Mode
Before getting out of the burn-in mode, please first disconnect the AC power cord. Then press the
button
(If not workable, press the
button and don’t let them go) until the AC power cord is connected. Please
don’t let your fingers go until the AC power cord is connected again and the wording of “RGB” appears on the
top left corner of your screen, and wait for 3 second. Under the non-signal entry situation, if
is seen, exit is thus successfully made.
When the Burn-in Mode is Unable to Eradicate…
1.)
If the “RGB” is still on the top left corner of the screen, press
to enter “Miscellaneous” and choose
“Reset”, and then
Yes,
and press
. When the screen goes black, disconnect power and repeat the
above steps.
Cable Not Connected
Summary of Contents for OPD-1086C
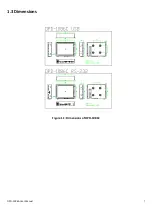
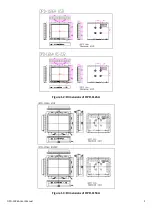
Page 7: ...OPD 1XX6A User Manual 7 1 3 Dimensions Figure 1 1 Dimensions of OPD 1086C ...
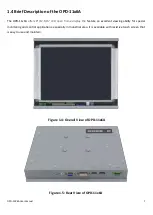
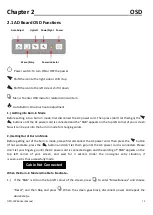
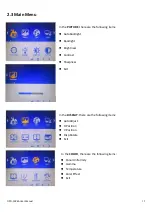
Page 8: ...OPD 1XX6A User Manual 8 Figure 1 2 Dimensions of OPD 1126A Figure 1 3 Dimensions of OPD 1156A ...
Page 14: ...OPD 1XX6A User Manual 14 Information part ...
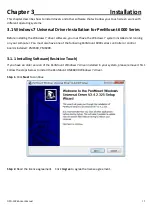
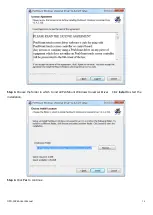
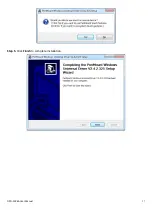
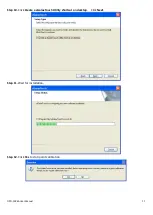
Page 17: ...OPD 1XX6A User Manual 17 Step 5 Click Finish to complete installation ...
Page 37: ...OPD 1XX6A User Manual 37 Hardware Saturn Hardware Configuration ...
Page 38: ...OPD 1XX6A User Manual 38 About To display information about eGalaxTouch and its version ...


