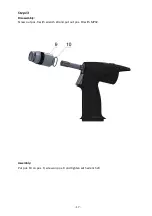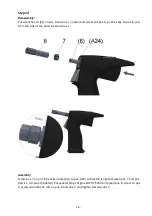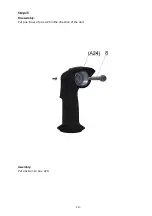
- 16 -
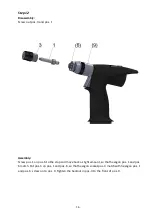
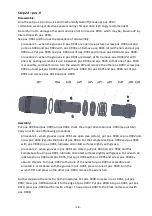
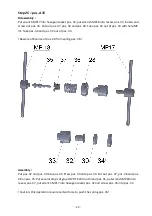
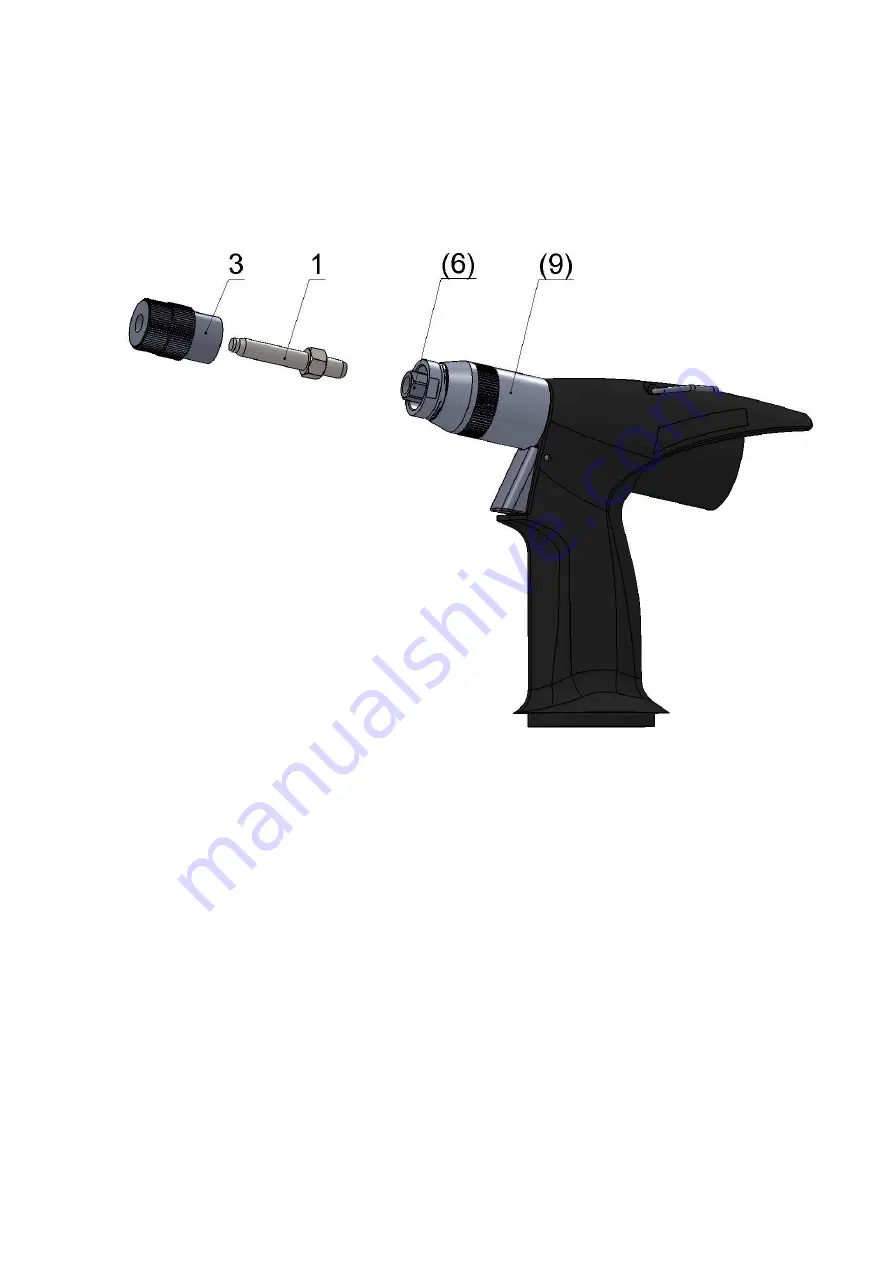
Step 12
Disassembly:
Screw out pos. 3 and pos. 1
Assembly:
Screw pos. 1 on pos. 6 to the stop and move back a slight amount, so that hexagon pos. 1 and pos.
6 match. Put pos. 3 on pos. 1 and pos. 6, so that hexagon socket pos. 3 match with hexagon pos. 1
and pos. 6, screw on to pos. 9. Tighten the backnut in pos. 3 to the front of pos. 9.
Summary of Contents for AirPower Series
Page 1: ...Repair Manual AirPower4 Model Z 14026001 Hydraulic Threaded Insert Tool ...
Page 4: ... 3 4 Assembly drawing of riveting tool ...
Page 7: ... 6 Step 2 Disassembly Release pos A45 Assembly Put on pos A45 ...
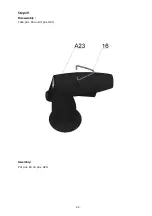
Page 24: ... 23 Step 19 Disassembly Take pos 16 out of pos A23 Assembly Put pos 16 on pos A23 ...
Page 34: ... 33 10 Service set Order Nr of service set is S 1002002 ...


