71
image.
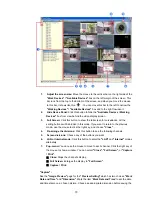
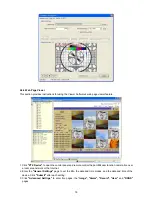
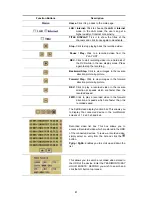
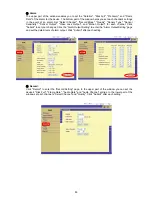
To save the image, click
"Save"
at the bottom to enter the
"Save Page"
window.
Give the file name. If you want to exit, click
"Cancel"
.
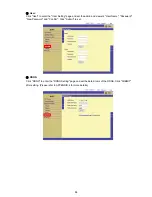
"Print":
Click the
"Print Preview"
button and go to the
"Preview"
option to adjust the image size.
Go to the
"Print Settings"
area and then to
"Mark Date and Time"
if you wish to stamp
the date and time of the image on the image itself. Select
"Dimension"
to scroll the
appropriate pixels
from the drop - down list. Click
"Print"
to start the printing. Click
"Cancel"
to exit.
Summary of Contents for DVR-3016, DVR-3016D
Page 2: ......
Page 100: ...98 Figure 7 RMN040200255 V5 2 ...

