13
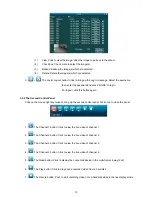
(1)
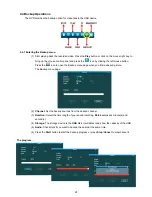
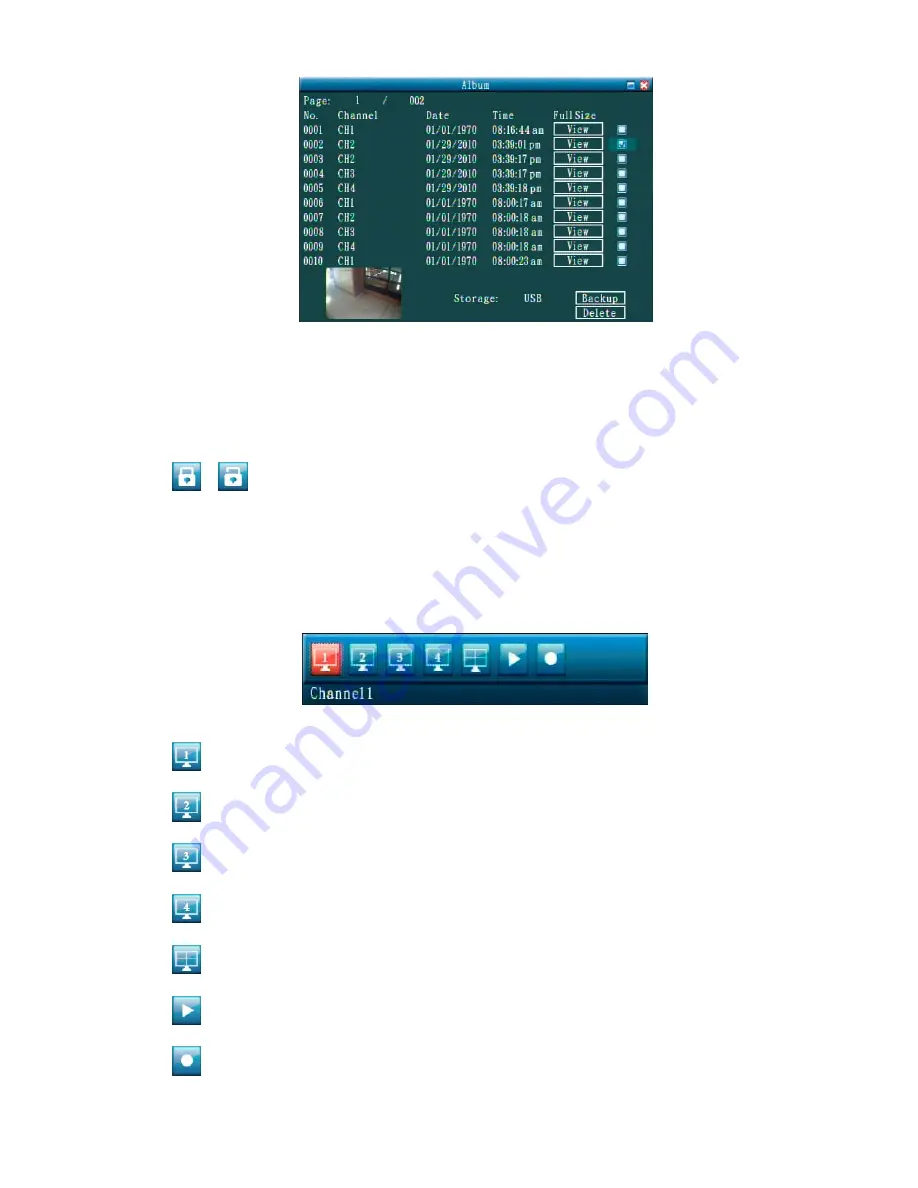
View: Click to view the image. Click the image to go back to the album.
(2)
Check box: Check mark to select the image(s).
(3)
Backup: Backup the image(s) which are selected.
(4)
Delete: Delete the image(s) which are selected.
9.
/
The Login/ Logout button: Click to bring up the Log In message. Select the username
then enter the password and press “DONE” to login.
For logout, click this button again.
3.2.2 The Second Control Panel
Click on the mouse right key twice to bring up the second control panel. Click once to close the panel.
1.
The Channel 1 button: Click to view the live video of channel 1.
2.
The Channel 2 button: Click to view the live video of channel 2.
3.
The Channel 3 button: Click to view the live video of channel 3.
4.
The Channel 4 button: Click to view the live video of channel 4.
5.
The Quad button: Click to display the connected device in the multi-format 4-way (2x2).
6.
The Play button: Click to play back a recorded video from a hard disk.
7.
The Record button: Push to start recording video onto a hard disk while in the live display mode.
Summary of Contents for DVR-3254S
Page 2: ......
Page 74: ...72 Figure 7 Verifying IP Address of DVR RMN0400372 V1 2 ...

