39
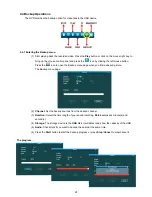
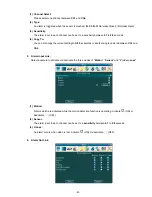
Determines what size targets you want detected, ranging from
1
to
396
.
(4) Duration:
Choose a particular duration period to set off an alarm. The range is from
0
to
5
seconds. For
example, if you choose
0
second, the DVR will begin detecting immediately once the motion is
started. If you choose
5
seconds, then the DVR will start detecting when the motion is continued for
5 seconds.
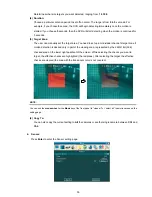
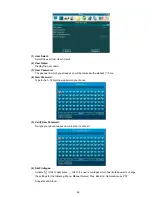
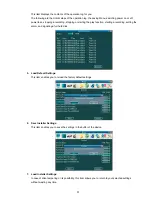
(5) Target Zone:
The user can manually set the target area. You need to set up an individual channel’s target zone if
motion detection is desired only in part of the viewing area, represented by the 22Wx18H (396)
checked area on the lower right quadrant of the screen. While selecting the checks you want to
target, the effective checks are highlighted (the red areas). After selecting the target, the effective
checks are cleared (the area with the translucent color is not covered).
NOTE:
You can use the
mouse wheel
or the
Mode
key of the front panel to “clean all” or “select all” the motion areas on the
setting page.
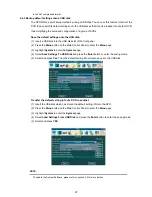
(6) Copy To:
You can also copy the current setting to
All
the cameras or another single camera between
Ch1
and
Ch4
.
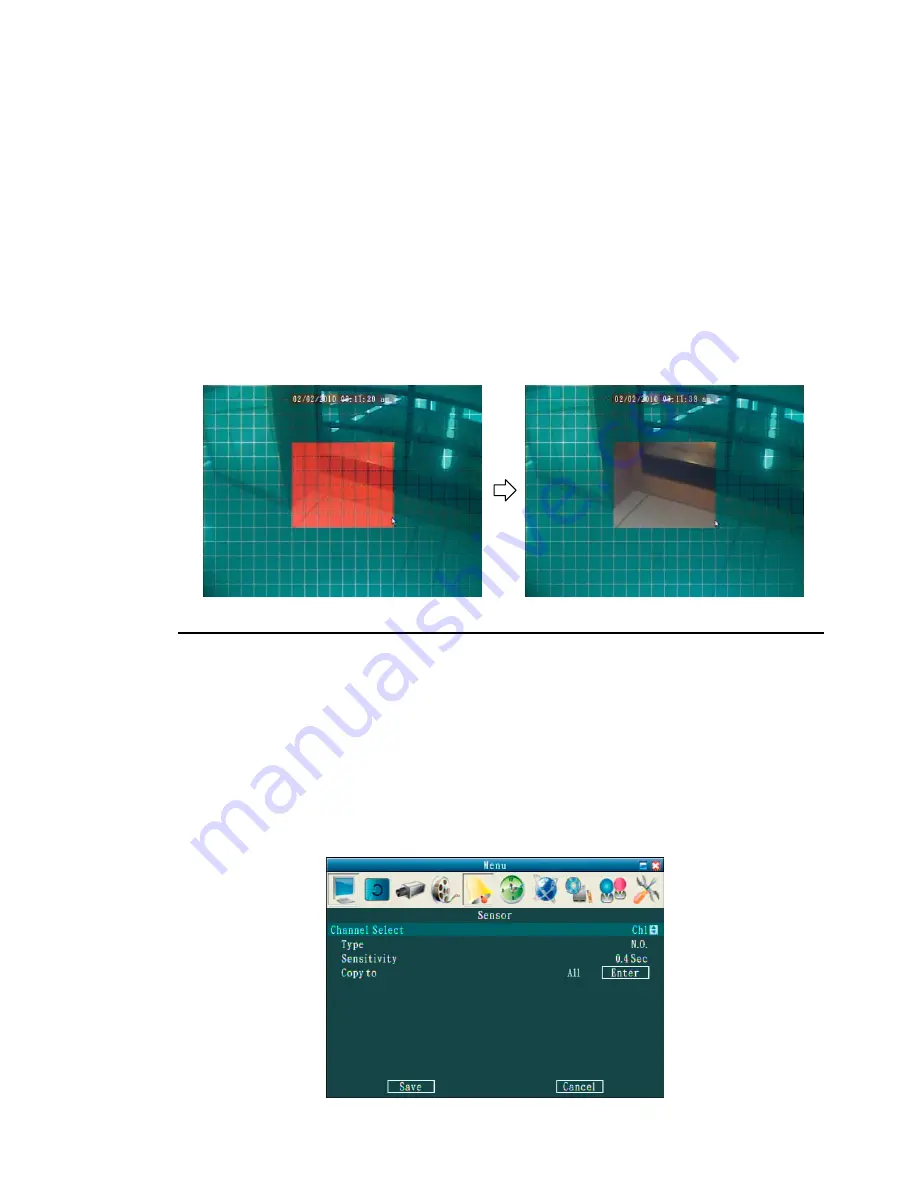
4. Sensor:
Press
Enter
to enter the Sensor setting page.
Summary of Contents for DVR-3254S
Page 2: ......
Page 74: ...72 Figure 7 Verifying IP Address of DVR RMN0400372 V1 2 ...

