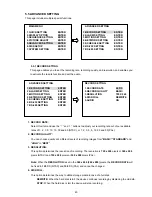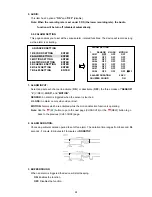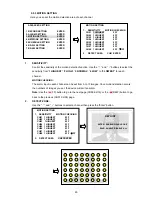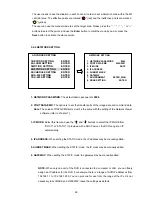
4. SEARCH MODE
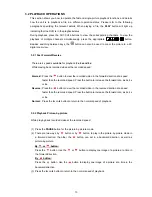
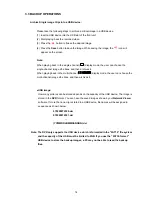
This section shows you how to access recorded video.
4.1 RECORD LIST
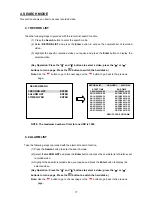
Take the following steps to proceed with the record-list search function.
(1) Press the
Search
button to enter the search mode.
(2) Select
RECORD LIST
and press the
Enter
button
to access the complete list of recorded
video.
(3) Highlight the specific recorded video you require and press the
Enter
button to display the
selected video.
(Key Operation: Press the “
↑
” and “
↓
” buttons to select a video; press the “
←
” or “
→
”
buttons to turn a page. Press the
button to switch the hard disks.)
Note:
Use the
button to go to the next page or the
button to go back to the previous
page.
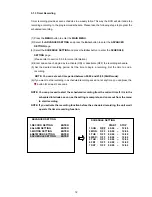
SEARCH MENU
1.RECORD LIST
ENTER
2.ALARM LIST
ENTER
3.TIME FILTER
ENTER
RECORD LIST
HDD:HDD1
0001/0120
START TIME
END TIME
08/15/2006 09:03
08/15/2006 14:25
08/14/2006 19:22
08/14/2006 19:25
08/14/2006 09:30
08/14/2006 16:30
08/13/2006 11:00
08/13/2006 18:00
08/12/2006 15:00
08/12/2006 17:20
08/12/2006 08:03
08/12/2006 14:25
08/10/2006 07:30
08/10/2006 16:05
08/09/2006 10:10
08/09/2006 15:25
08/08/2006 09:10
08/08/2006 14:30
08/07/2006 08:13
08/07/2006 10:25
REW/FF: PAGE UP/DOWN
NOTE: The maximum number of lists for one HDD is 1000.
4.2 ALARM LIST
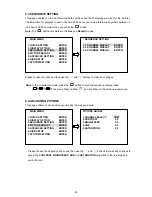
Take the following steps to proceed with the alarm-list search function.
(1) Press the
Search
button to enter the search mode.
(2) Select the
ALARM LIST
and press the
Enter
button to access the complete list of alarm-event
recorded video.
(3) Highlight the specific recorded video you require and press the
Enter
button
to display the
selected video.
(Key Operation: Press the “
↑
” and “
↓
” buttons to select a video; press the “
←
” or “
→
”
buttons to turn a page. Press the
button to switch the hard disks.)
Note:
Use the
button to go to the next page or the
button to go back to the previous
page.
17
Summary of Contents for DVR-3716
Page 2: ......
Page 51: ...Figure 4 Figure 5 49 ...

