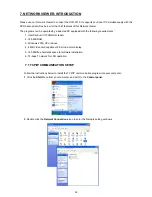
Step 4:
Press the
button to enter the
Network Viewer Setting
window which is shown below.
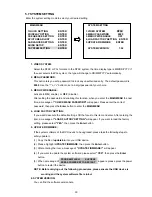
Step 5:
Please type or select the IP address which is set in
Step 2
from the drop-down list. Enter the
password (the default is “
9999
”), then click the
OK
button.
Step 6:
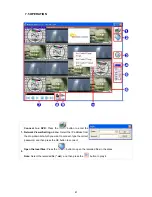
After entering the DVR, you will see the videos of all the cameras as shown below.
Note:
To add more connections of other DVRs, please repeat the above instructions.
Note:
It’s necessary to remove the exit program when you are going to install a new version of Network
Viewer. Every time you update the Network Viewer, the original version must be removed first.
40
Summary of Contents for DVR-3716
Page 2: ......
Page 51: ...Figure 4 Figure 5 49 ...


