background image

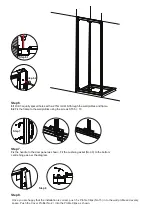
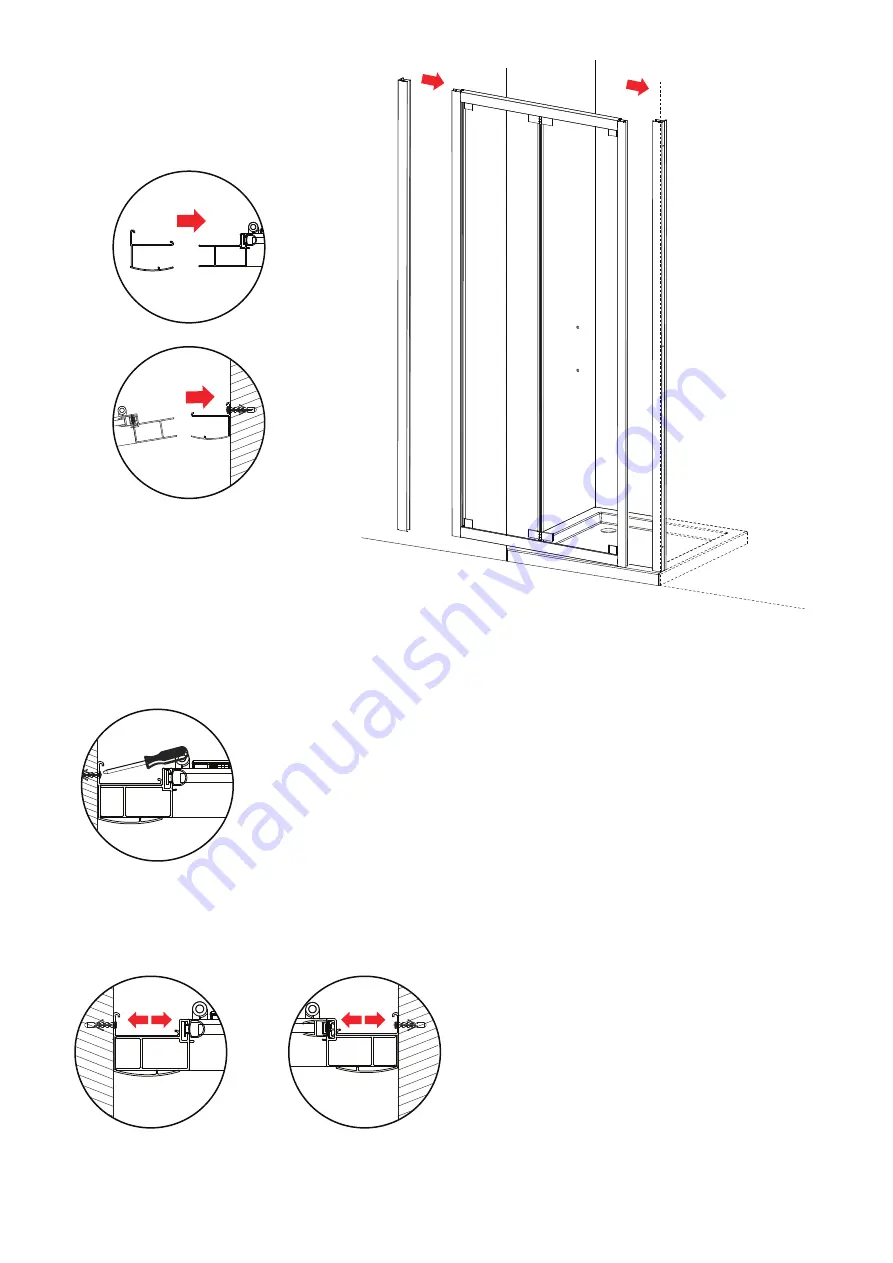
Step 3.

3.1

 Push the other wall profile to the hinged side

.

3.2

 Then insert the frame into the fixed wall profile as shown.

Step 4.

Fix the other wall profile using screws ST4 × 40


Step 5.

Adjust the frame to ensure that it is central between the wall profiles and level against the shower tray at the base.

Step 3.1 & 3.2

Step 5

2

1

Step 3.1

Step 3.2

Step 4

Summary of Contents for identiti

Page 1: ...ril shower tray and are used and maintained in accordance with the manufacturer s instructions guarantee excludes seals and magnets When April enclosures are used with any other shower tray the guarantee period is limited to 10 years Please see our website for full Terms Conditions To activate your Product Guarantee please visit www aprilproducts co uk and complete the online form The screen can b...

Page 2: ...Box Contents COMPONENTS AND BOX CONTENTS 14 13 2 1 3 4 5 6 7 8 9 10 11 12 15 16 17 18 19 20 21 22 23 24 25 26 27 28 29 30 31 32 33 35 34 36 37 ...

Page 3: ...extend at least to the corner of the tray and a minimum of 1 9 meters from the top of the tray FIXING KIT COMPONENTS SITE CONDITIONS FIXING KIT Handle 1 Grip Handle 1 Knob A 1 Knob B 1 Screw Cap A 1 Screw Cap B 1 Washer 4 Countersunk Screw 2 M4 14 Top Cover Cap 1set Cover Cap of Magnetic Profile 1set Bracket x2 Stopper x2 Cushion x2 Pivot Core x2 Gasket x4 Pivot Part A 1 Set Hinge x2 Cushion Gaske...

Page 4: ... Step 1 3 Step 2 1 Step 1 1 1 2 Step 2 2 Step 1 1 1 Position the wall profiles No 1 to wall as shown roughly 10mm from the front of the tray 1 2 Level the frame using a spirit level 1 3 Once you are happy that the frame sits on the tray correctly mark the wall through the 3 pre drilled screw holes in the wall profiles NOTE You may find it easier to mark and drill the wall if you apply masking tape...

Page 5: ... the frame into the fixed wall profile as shown Step 4 Fix the other wall profile using screws ST4 40 Step 5 Adjust the frame to ensure that it is central between the wall profiles and level against the shower tray at the base Step 3 1 3 2 Step 5 2 1 Step 3 1 Step 3 2 Step 4 ...

Page 6: ...ws ST3 5 10 Step 6 1 Step 7 Fix the handle to the door panel as shown Fit the cushion gasket No 30 to the bottom centre hinge as per the diagram Step 7 Step 8 Step 8 Step 6 2 Once you are happy that the installation is correct push 5 x Profile Clips No 15 in to the wall profile and evenly space Push the Cover Profile No 2 into the Profile Clips as shown ...

Page 7: ...top of the wall profile to the bottom on the INSIDE between the wall profile and the wall IMPORTANT Do not apply sealant on inside of the tray Sealing Outside Seal from the top of the wall profile to the bottom between the wall profile and tiles on both sides Also seal along the bottom where the frame meets the tray Seal the joints between the bottom profile and any upright profiles Step 9 ...

Page 8: ...ations are foll o w ed and no harsh or abrasive cleaners are used Aftercare Reapplication Kit To continue the benefits of the Clean Clear glass treatment an aftercare reapplication kit is available at Cleaning Instructions It is important to clean your April shower enclosure after every use Please wipe down all glass and metal with a clean soft cloth Ensure that all residual water on the glass is ...

Reviews: