background image


Telephone Helpline: 130 0225960 


Installation


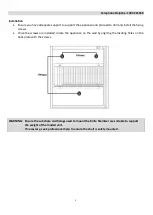
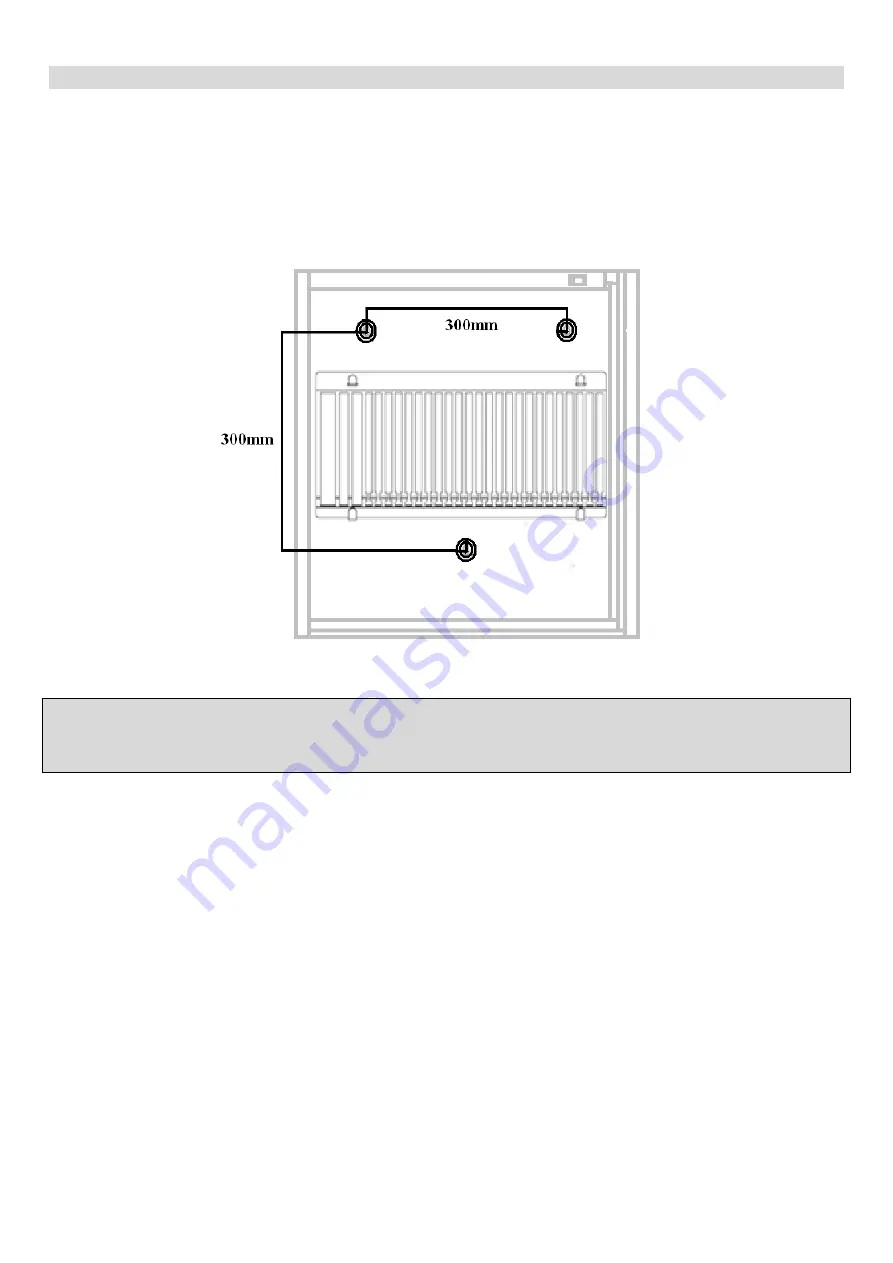
Ensure you have adequate support to support the appliance and proceed to drill and install the fixing 
screws 


Once the screws are installed, locate the appliance on the wall by aligning the locating holes on the 
back plate with the screws. 


WARNING:   Ensure the substrate and fixings used to mount the Knife Steriliser are suitable to support 

the weight of the loaded unit. 

If necessary, seek professional help to ensure the shelf is safely mounted. 


Summary of Contents for DM079

Page 1: ...KNIFE STERILISER INSTRUCTION MANUAL MODEL DM079 A ...

Page 2: ...ispose of the packaging in accordance with the regulations of local authorities If the power cord is damaged it must be replaced by a APURO agent or a recommended qualified technician in order to avoid a hazard This appliance is not intended for use by persons including children with reduced physical sensory or mental capabilities or lack of experience or knowledge unless they have been given supe...

Page 3: ...ixing screws Once the screws are installed locate the appliance on the wall by aligning the locating holes on the back plate with the screws WARNING Ensure the substrate and fixings used to mount the Knife Steriliser are suitable to support the weight of the loaded unit If necessary seek professional help to ensure the shelf is safely mounted ...

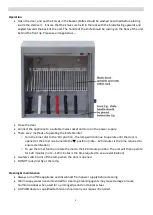
Page 4: ...will continue to operate until the door is opened or the timer is returned to the position note 120 minutes is the time required to ensure sterilisation o To use the timer function rotate the dial to the 120 minute position The unit will then operate for 120 minutes note 120 minutes is the time required to ensure sterilisation A safety switch turns off the lamp when the door is opened DO NOT look ...

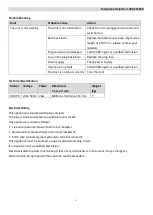
Page 5: ...ut correctly Shut the door Technical Specification Model Voltage Power Dimensions h x w x d mm Weight kg DM079 230v 50Hz 20w 600mm x 510mm x 150 mm 7 Electrical Wiring This appliance is supplied with plug and lead The plug is to be connected to a suitable mains socket This appliance is wired as follows Live wire coloured brown to terminal marked L Neutral wire coloured blue to terminal marked N Ea...

Page 6: ...aste disposal in your area APURO parts have undergone strict product testing in order to comply with regulatory standards and specifications set by international independent and federal authorities APURO products have been approved to carry the following symbol All rights reserved No part of these instructions may be produced or transmitted in any form or by any means electronic mechanical photoco...

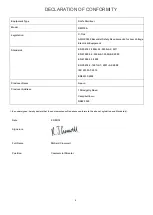
Page 7: ... 2009 A2 2011 EN 61000 3 2 2006 A1 2009 A2 2009 EN 61000 3 3 2008 EN 55014 2 1997 A1 2001 A2 2008 IEC 60335 1 2012 EN62233 2008 Producer Name Apuro Producer Address 15 Badgally Road Campbelltown NSW 2560 I the undersigned hereby declare that the equipment specified above conforms to the above Legislation and Standard s Date 03 09 14 Signature Full Name Richard Cromwell Position Commercial Director...

Page 8: ...7 DM079 A_V3 ...

Reviews: