background image

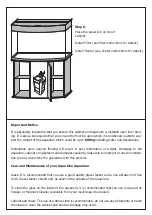
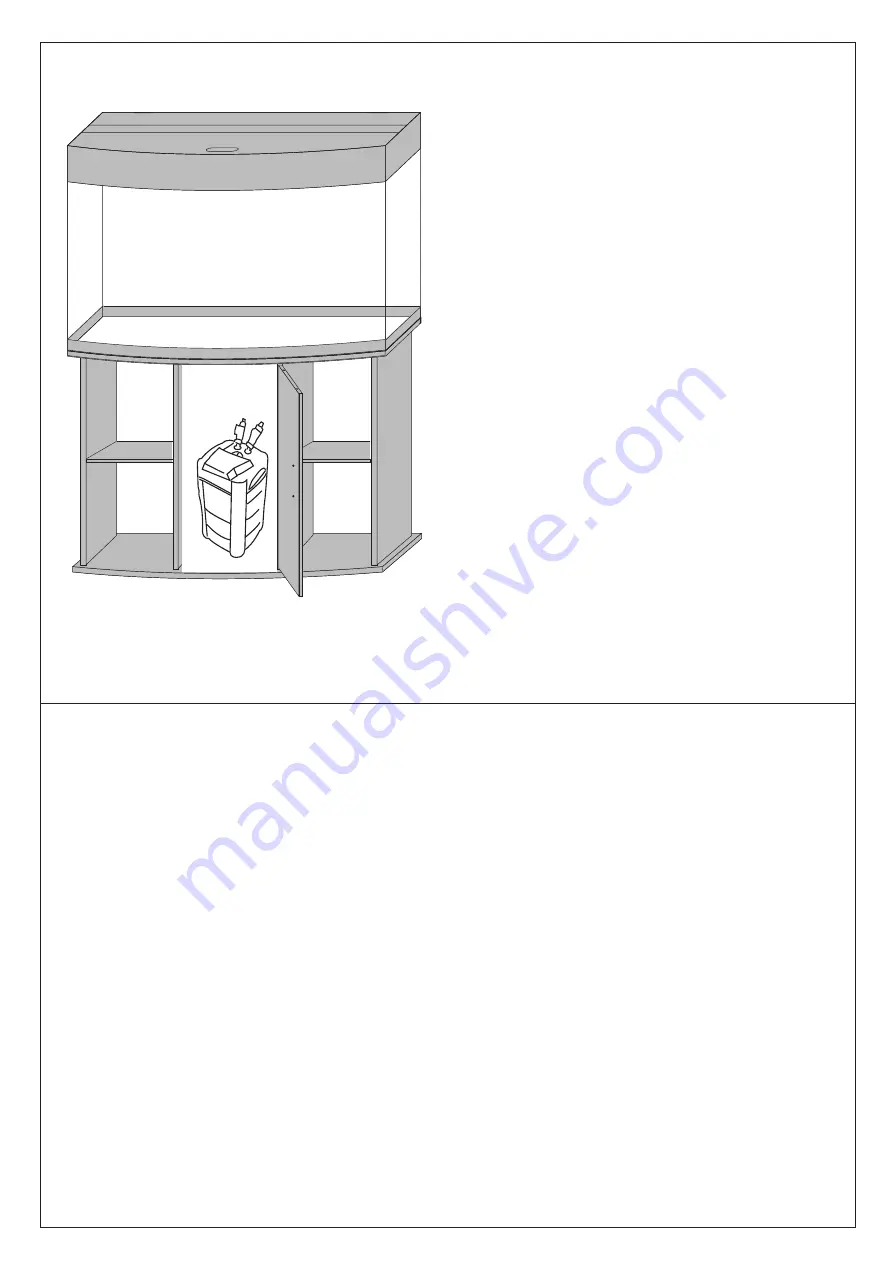
Place the aquarium on top of 

Cabinet. 


Install Filter (see filter instructions for details) 


Install Heater (see heater instructions for details) 


Important Notice 

 
It is absolutely imperative that you ensure this cabinet and aquarium is installed upon level floor-
ing. It is also a prerequisite that you ensure the flooring upon which it is positioned is able to sup-
port the weight of this aquarium which could be up to 

600kg 

including water and decorations. 

 
Installation  upon  uneven  flooring  will  result  in  poor  distribution  of  weight.  Damages  to  the 
aquarium, cabinet or equipment and damages caused by leaks due to improper or uneven installa-
tion are not covered by the guarantee with this product. 
 

Care and Maintenance of your Aqua One Aquarium 

 
Glass: It is recommended that you use a good quality glass cleaner and a non abrasive lint free 
cloth. Glass cleaner should only be used on the outside of the aquarium.   
 
To clean the glass on the inside of the aquarium, it is recommended that you use an Aqua One 
Scraper or Magnetic Cleaner (available from your local Aqua One dealer).  
 
Cabinet and Hood: The use of a damp cloth is recommended, do not use any detergents or harsh 
chemicals to clean the cabinet and hood as damage may occur. 

Step 6. 

Summary of Contents for EuroStyle Bow 120

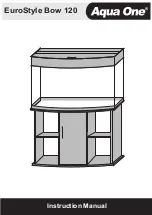
Page 1: ...Instruction Manual EuroStyle Bow 120 ...

Page 2: ...g in contact with the receptacle If the plug or receptacle does get wet do not unplug the appliance Disconnect the fuse or circuit breaker that supplies the power to the appliance then unplug and examine for presence of water in the receptacle 3 Close supervision is necessary when the appli ance is used by or near children 4 Always unplug the aquarium from the electri cal outlet when not in use be...

Page 3: ...ass Aquarium Tools required Screwdriver Philips Head 1 Feet x 8 4 Hinges x 2 3 Panel Screws x 20 2 Feet Screws x 8 5 Handles x 1 Door H C C Top Panel Base Panel B A Back Panel D Left Centre Panels Left Panel Right Panel F G E 6 wood pin x 8 Left shelve Right shelve M L ...

Page 4: ...o C D F G using Parts 3 x 8 Step 2 Install Panel L to C F and M to D G using Parts 6 x 8 than B to C D F G using Parts 3 x 8 2 x 8 1 x 8 Then turn the cabinet over on its feet 3 x2 3 x8 Step 1 Install Panel C to E D to E using Parts 3 x 4 3 x8 A G D C E F M L C 3 x2 B B F C E D G L M B B B 6 x4 6 x4 ...

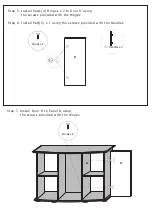
Page 5: ...o Door H using the screws provided with the Hinges Step 6 Install Part 5 x 1 using the screws provided with the Handles Screws x 4 5 Handles x 1 Step 7 Install Door H to Panel D using the screws provided with the Hinges H H Screws x 8 D ...

Page 6: ...ution of weight Damages to the aquarium cabinet or equipment and damages caused by leaks due to improper or uneven installa tion are not covered by the guarantee with this product Care and Maintenance of your Aqua One Aquarium Glass It is recommended that you use a good quality glass cleaner and a non abrasive lint free cloth Glass cleaner should only be used on the outside of the aquarium To clea...

Page 7: ...ing Tank Maintenance DAILY Feed your fish as per instructions on your fish food container WEEKLY Test and adjust pH levels if needed Use Aqua One quality pH test kit available from your local Aqua One Dealer pH is a measure of how acidic or alkaline the water is It is measured on a scale of 0 14 in which 7 is neutral less than 7 is acidic and more than 7 is alkaline Some species require specific p...

Page 8: ...ries and decorations Keep an eye out for these Aqua One products at your local retailer www aquaone com au Aqua One and Kong s are registered trademarks www aquaone com au Aqua One 2006 Instruction V 8 11 06 Precision Manufactured in the P R C Designed in Australia by Aqua One Distributed in Australia by Kong s Aust Pty Limited 48 Williamson Rd Ingleburn 2565 NSW Australia Distributed in New Zeala...

Reviews: