20
chemical instructions we have supplied you with. Poorly balanced water can blister your hardcover and
breakdown the stitching.
Your hardcover must always be locked to the spas cabinet when the spa is not in use. Leaving the cover off
exposes your spa to the elements which can cause permanent damage to the spas acrylic shell and
fittings, it also allows leaves, dust etc. to enter your spa. Debris in the spa can cause blockages or damage
to the equipment.
SYNTHETIC CABINET CARE
Do not use any chemicals to clean your synthetic cabinet. The best way to clean your cabinet is to regularly
wipe it down with a micro fibre cloth and fresh tap water. Where possible try to keep the cabinet from being
exposed to the sun as this causes colour fade in the cabinet and can also cause the cabinet to warp.
Cabinets will have step outs where the cabinet doors do not meet each other. We make the cabinet doors
in smaller panels to make the spa easier to service which causes the step outs you will see.
ACRYLIC SHELL CARE
One a week use a chemical free micro fibre cloth and wipe down the acrylic spa shell in and above the
water line.
EMPTY SPA WARNING
An empty or partially empty spa of water during sunlight hours can cause deforming, melting, crazing,
discolouration, blisters or holes in the spa’s fiberglass, acrylic and fittings, this can happen within minutes of
the spa being emptied or partially empty. Your warranty does not cover deforming, melting, crazing,
discolouration, blisters or holes in the spa’s acrylic and fittings, so it is especially important your hardcover is
on the spa when not in use and the spa is filled with water at all times during daylight hours.
DRAINING THE SPA - USING THE DRAIN FITTING WARNING:
Never drain or partially drain your spa of water in sunlight hours.
Always drain your spa at night time & fully refill your spa with water the same night.
An empty or partially empty spa of water during sunlight hours can cause deforming, melting, crazing,
discolouration, blisters or holes in the spa’s fiberglass, acrylic and fittings, this can happen within minutes of
the spa being emptied or partially empty. Your warranty does not cover deforming, melting, crazing,
discolouration, blisters or holes in the spa’s acrylic and fittings, so it is especially important your hardcover is
on the spa when not in use and the spa is filled with water at all times during daylight
hours.
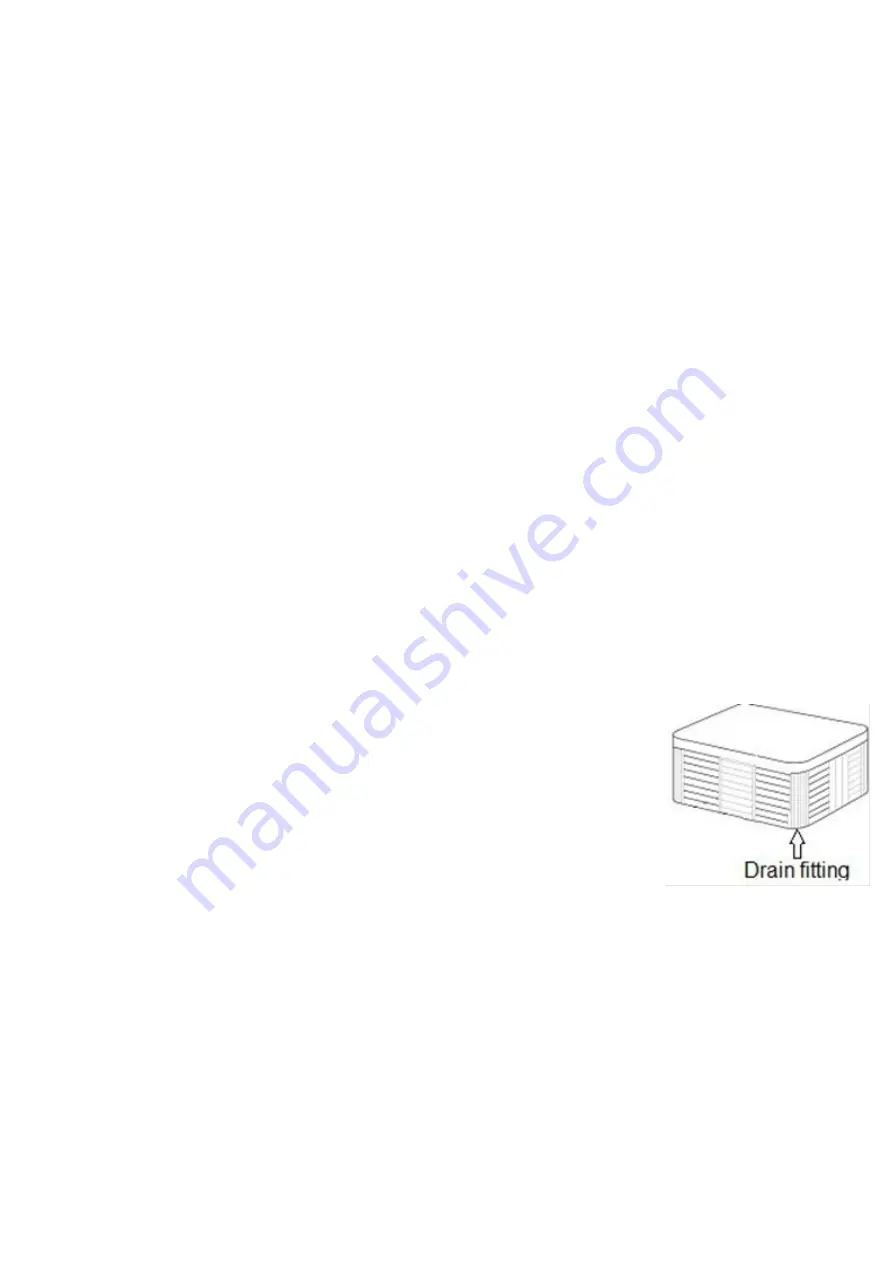
To locate your drain fitting it will be found on the touchpad side of the spa in either
the left or right hand corner of the black fibreglass base underneath the synthetic
cabinet. When you want to operate the drain fitting turn the handle clockwise and
at the same time pull the handle away from the spa to release it from the locking
keyway. When the drain fitting is pulled fully away from the fibreglass base you
can now unscrew and remove the handle by screwing it anticlockwise. With the
handle off you can now connect the supplied hose connection and attach your
garden hose, now push the drain halfway back in toward the fibreglass base and it will begin draining the
spa. Once drained remove the garden hose and garden hose connection. Replace the handle by screwing
it on clockwise and push the drain fitting back into the fibreglass base. Once in the fibreglass base slightly
turn the handle which will prevent it from coming out when you refill the spa with water.
TURNING JETS ON & OFF
The larger jets in your spa can be turned on or off. Turning the jet face clockwise will turn the jet on which
will allow the water to flow through the jet. Turning the jet face anticlockwise will turn the jet off stopping the
water from flowing through the jet. The smaller jets in your spa can not be turned on and off, they will
always remain on.
WATERFALL CONTROL HANDLE
Your waterfall control handle can be located on the spa image on page one.
When using this handle do not apply pressure to the handle at the fully open or fully closed positions you
will break the handle if you do.


