4
Understanding Your Transmitter
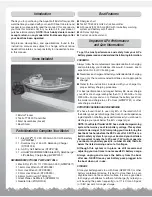
To help you better understand your transmitter and its functions,
here is a picture outlying the operation features.
SERVO REVERSING AND RECEIVER ASSIGNMENTS
CH 1 = Steering (right stick, left and right)
CH 2 = AUX 2 (momentary switch)
CH 3 = Throttle (left stick, up and down)
CH 4 = AUX 1 (left stick, left and right)
Assembly Sequence
INSTALLING THE TRANSMITTER BATTERIES
IMPORTANT NOTE:
The transmitter is not water resistant
and
should never come in contact with water!
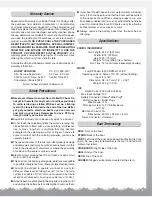
Slide off the battery door from the back of the transmitter and
install 4“AA” batteries into the transmitter in the configuration
molded into the battery floor. Reinstall the battery door.
Turn the transmitter “ON” by shifting the power on switch to the
up position. The battery indicator light (LED) should glow red.
If the light is flashing and the transmitter beeping, the batteries
might be installed incorrectly or are low and need to be replaced.
CHECK THE RADIO SYSTEM
1.
Turn on the TX.
2.
Turn on the ESC. It will beep once to confirm it has
power, then it will pause for 1 second and beep again to
confirm it is armed.
3.
Stand behind the boat and move the rudder stick to
the left. The back of the rudder should move to the left. If
not, flip the CH 1 servo reversing switch to the opposite
position and check again.
4.
Let go of the rudder stick. The rudder should return to
center (pointing straight). If not, adjust the rudder trim.
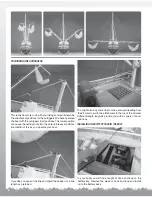
ASSEMBLE THE MASTS
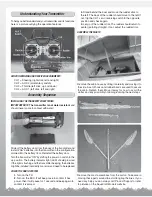
Remove the cabin house by lifting it carefully and moving it to
the side. A set of hooks and rubber bands are used to secure
the cabin. Detach them. Move it away for now to avoid the
clutter and any possibility of damage during the next steps.
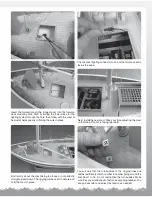
Remove the mast assemblies from the carton. Take care in
moving these parts around to avoid tangling the lines. If you
need any help you can always call Product Support or refer
to pictures on the AquaCraft Models website.


