-11-
7.
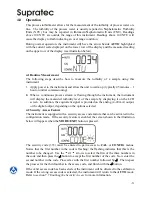
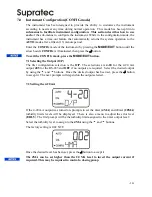
If the alternating
10
and
is not displayed, push the
or
until this display is
shown.
8.
Insert the requested 10.0 NTU standard. Index the standard to the lowest value on the
upper display.
9.
Press the
button to accept the calibration.
10.
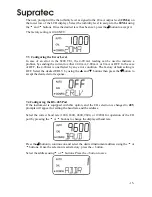
The lower display will count down the progress of the calibration step.
11.
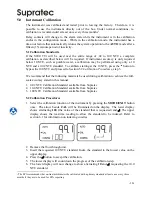
The lower display will now change to show
02
and
, requesting the 0.02 NTU
standard.
12.
Insert the requested 0.02 NTU standard. Index the standard to the lowest value on the
upper display.
13.
Press the
button to accept the calibration.
14.
The lower display will count down the progress of the calibration step.
15.
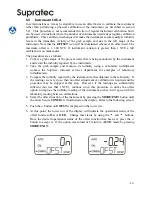
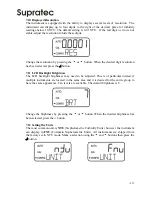
The instrument will return to
AUTO
mode at the end the calibration
.
During calibration, the fan inside the instrument is turned off to extend the life of the
desiccant. The fan will be turned on during calibration countdowns and after
returning to the AUTO mode or after five minutes, which ever comes first. It is
recommended that the measurement chamber be kept covered during the calibration
period and that the flow through cuvette be replaced immediately after the
calibration
to prevent premature saturation of the desiccant.
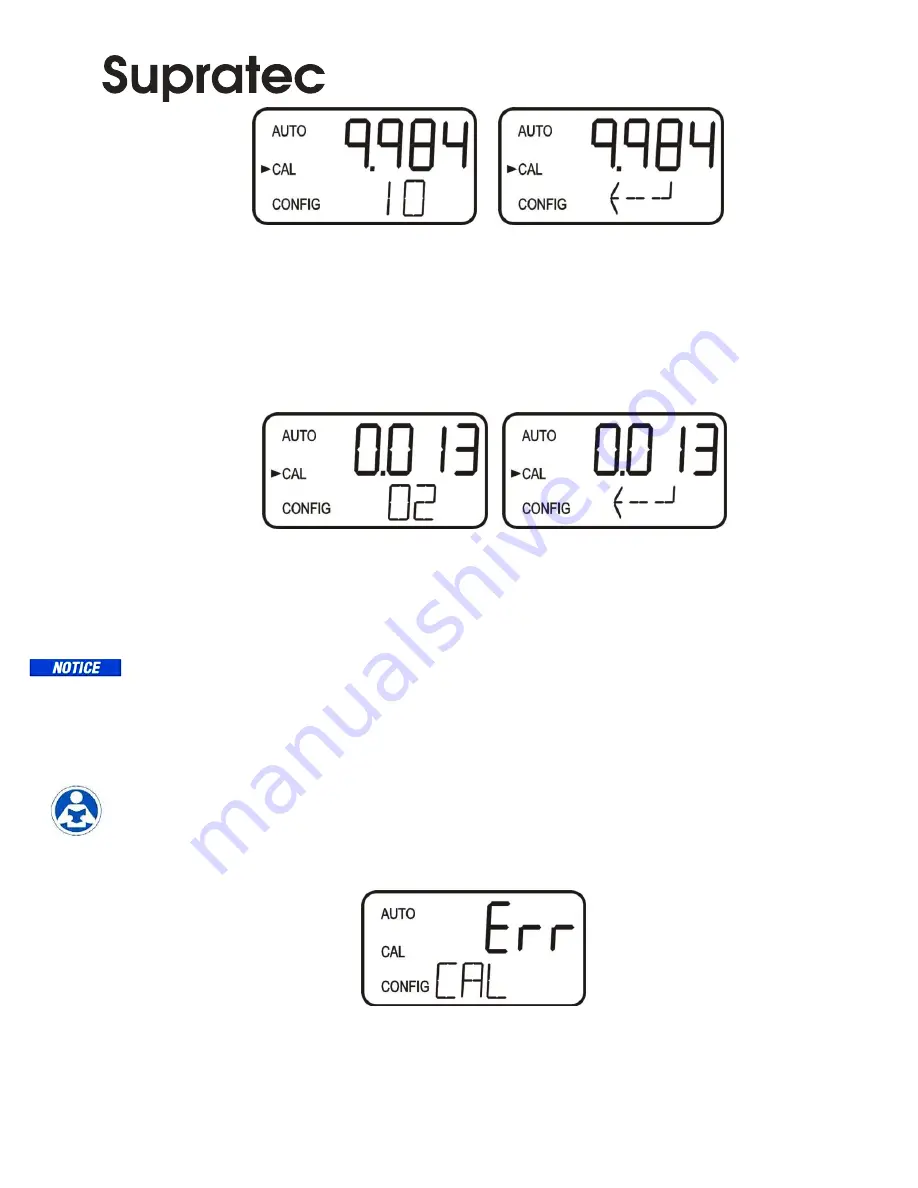
5.3 Calibration Error
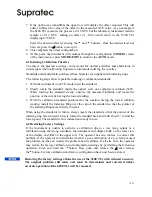
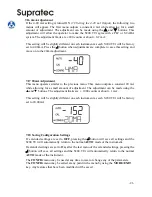
If the screen shown below, is displayed after calibration, the internal diagnostics have
determined that the calibration standards were either bad or that they were inserted in the
wrong order. Either check the standards and recalibrate or restore the factory calibration
see 6.2
Restoring Factory Settings
. The instrument cannot be used without performing one
of these operations.
To recalibrate press the MODE key and start the calibration sequence again. To restore the
factory calibration, push and hold the
button. Now push and release the
then release
the
button
.


