background image

Select a suitable place to set your protein skimmer

To Start

1. 

For best results place the skimmer in 7 to 8 inches of water. Please make sure that the 

skimmer is in no more than 8 inches of water. Otherwise, the Quick- precise adjus�ng 

valve will not func�on properly.

2. 

The pump must be completely submerged underwater when in use

1. 

Plug in the pump.

2. 

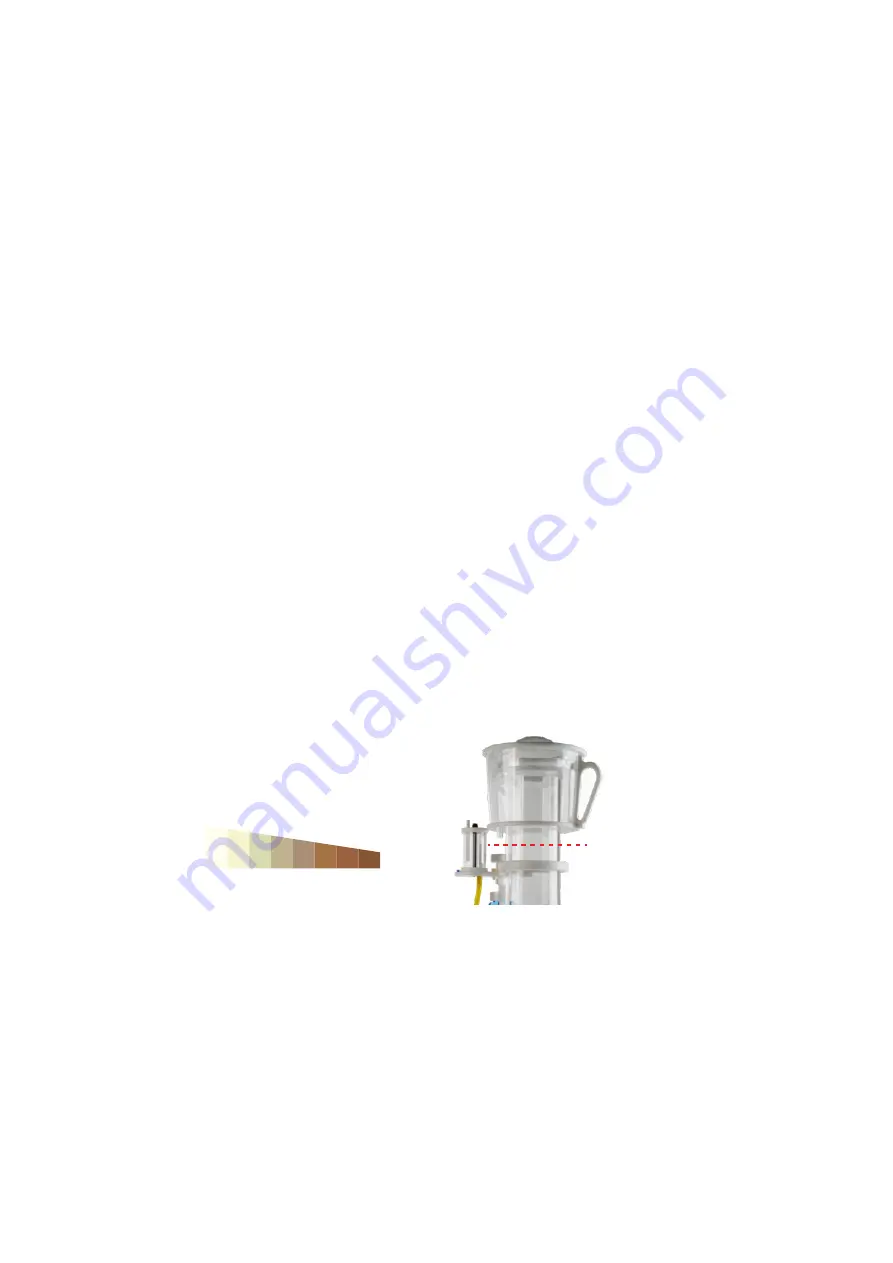
The main chamber will fill with bubbles. Carefully adjust the adjus�ng valve (clockwise 

to close, the water level in the chamber will go up; counter-clockwise to open, the 

water level will go down). Adjust the water level within the skimmer to where the cup 

meets the neck.

3.

Once the bubbles reached the bo�om of collec�on cup, you can start to adjust the 

water level according to your preference. If you prefer wet wastewater, you need the 

high water level; Conversely, if you want dry wastewater, just let your water level 

goes down. 

6

www.aquamaxxaquariums.com

water level

water color

high

low

recommened water level

Summary of Contents for ConeS DFC Series

Page 1: ...ConeS DFC series Protein Skimmer DFC 80 DFC 120 DFC 180 DFC 280 Installation Guide www aquamaxxaquariums com...

Page 2: ...ully and check for damaged or lost parts PARTS INCLUDED Main skimmer body Diffuser with diffuser plate Venturi Body Screws 5 Collection cup and lid Air silencer Air hose Pump Transformer DC pump contr...

Page 3: ...Assembly of the main unit 2 1 Unscrew the body screws from the base plate 2 A ach the pump to the base plate 3 Loosen the lid on the pump for next step to a ach the di user www aquamaxxaquariums com...

Page 4: ...the di usor plate with the center screw 4 Unscrew the center screw to take o the di user plate make sure the di user is in center posi on or the main body cannot be installed the di user plate should...

Page 5: ...8 Install the body screws on the base plate 10 connect the airline tubing from the air silencer to the venturi 9 Install the venturi on to the skimmer pump the valve should leave some space for wire...

Page 6: ...up and lid DO NOT OVER TIGHTEN SKIMMER CUP AS DAMAGE MAY RESULT 13 Connect the pump to the pump controller and the transformer 11 Install the silencer on to the skimmer by thighten the center screw 5...

Page 7: ...h bubbles Carefully adjust the adjus ng valve clockwise to close the water level in the chamber will go up counter clockwise to open the water level will go down Adjust the water level within the skim...

Page 8: ...purchased through an authorized AquaMaxx retailer This warranty does not cover any damages caused by misuse neglect altera ons or improper handling transport maintenance installa on Physical damages...

Reviews: