background image

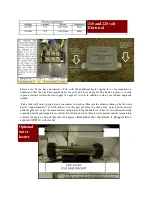
Please  note:  If  you  have  purchased  a  Tub  with  the  additional  heater  option  it  is  very  important  to 
understand  that  the  electrical  requirements  for  your  unit  have  changed.  The  heater  requires  a  second 
separate electrical circuit that can supply 13 amps at 110 volts in addition to what your tub had originally 
needed. 
 
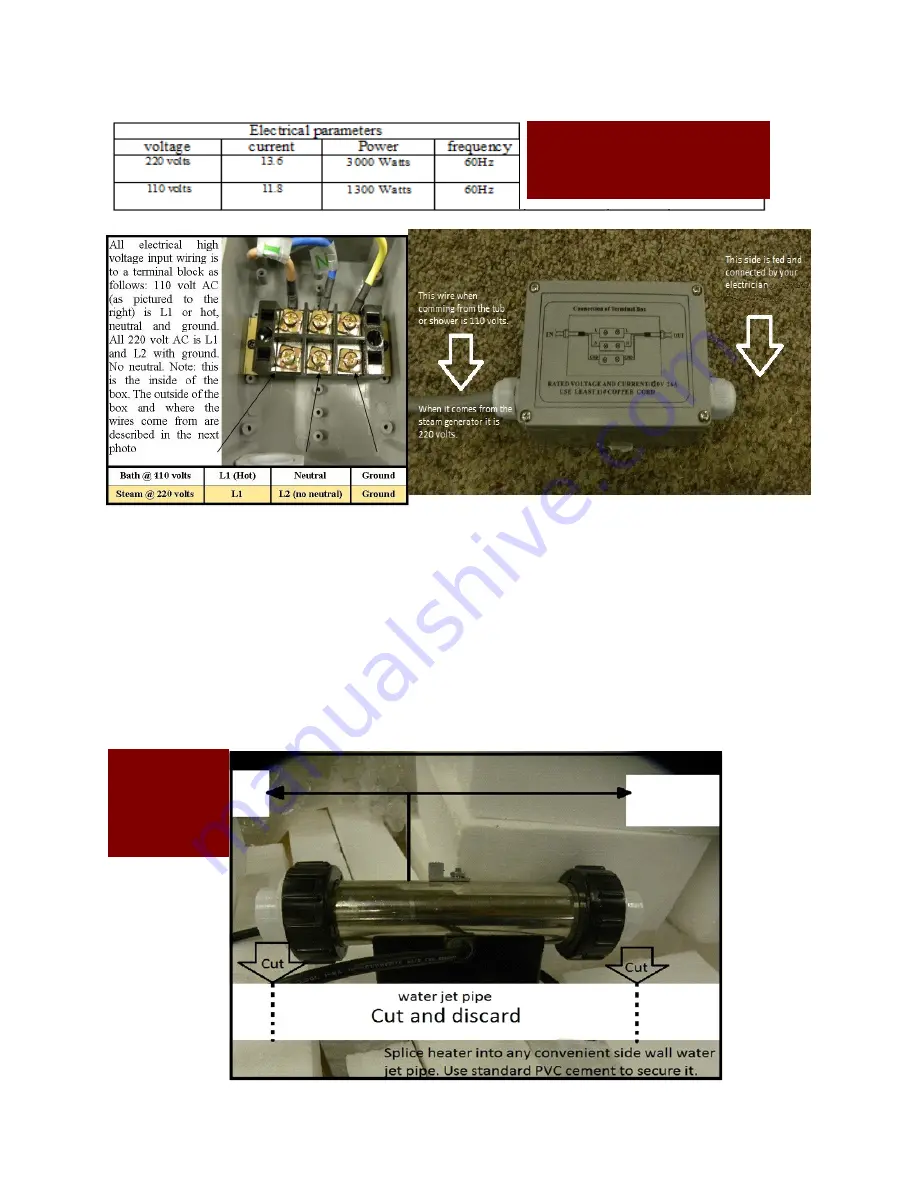
 Pick a side wall water jet pipe that is convenient to work on. Measure the distance taken up by the water 
heater.  (Approximately  7  and  5/8  inches).  Cut  this  part  out.  Glue  the  ends  of  the  water  heater  and  wait 
until the glue sets as per the manufactures instructions. Plug the heater in. It has its own thermostatically 
controlled on/off and temperature controls. It will turn on when there is water present and the temperature 
is below 102degrees and will shut off at 104 degrees. 

Remember  that  this  heater  is  plugged  into  a 

separate GFI 110 volt circuit.  

110 and 220 volt 
Electrical  

Optional 
water 
heater 

Summary of Contents for Mazatlan

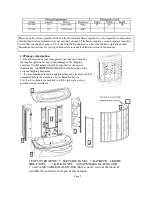
Page 1: ...Mazatlan INSTALLATION MANUAL...

Page 2: ...hould only use this product under adult supervision 3 Users who suffer from heart disease or have high blood presser should exercise greater care when using this product 4 Senior citizens pregnant wom...

Page 3: ...apeutics spa take care to make a thorough inspection for any visible damage to the shipping container Visible damage should be reported toyour carrier immediately All SHIPPING DAMAGE should be noted o...

Page 4: ...Page 3...
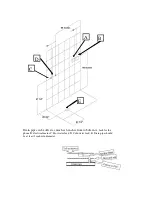
Page 5: ...Drain pipe can be offset as much as 6 inches from tub drain A Jack for the phone B electrical mains C Hot water feed D Cold water feed E Drain pipe should be at least 2 inches in diameter D A E B C...

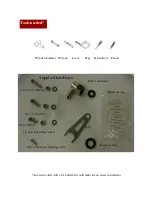
Page 6: ...ch self taping screw 1 4 x 1 1 4 inch bolt 1 4 inch nuts with washers Tool Larger washer Hardware bag 1 4 x 1 inch bolt Wooden hammer Wrench Level Tape Screwdriver Pencil Tools needed An electric dril...

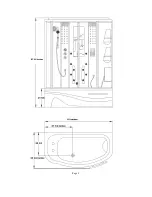
Page 7: ...wn in the drawing It is also very important that the drain line not have a trap It must be a straight drain line as the shower spa has its own built in trap for your convenience Notes 1 The distance f...

Page 8: ...holes of the back panel with the holes drilled into the bathtub Connect the sides of both panels with x 5 8 inch bolts and connect the bottom of the panel to the tub with x 1 inch bolts hand tight 4 A...

Page 9: ...first Step 7 Lift the fixed glass frame onto the bathtub as shown in photo slide it into the aluminum extrusion of the right side panel When it has bottomed out into the vertical extrusion and the bo...

Page 10: ...right sides making sure they bottom out into the vertical extrusions You may have to tap them into place with a rubber mallet the complete glass wall and back panel assembly should be able to stand b...

Page 11: ...onvenient to work on Measure the distance taken up by the water heater Approximately 7 and 5 8 inches Cut this part out Glue the ends of the water heater and wait until the glue sets as per the manufa...

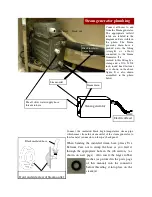
Page 12: ...Connect the insulated black high temperature steam pipe which comes from the steam outlet of the steam generator to the steam jet s connector on the spa s back panel The all silver water supply hose...

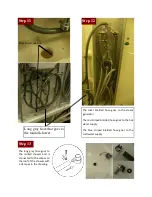
Page 13: ...ower with a clamp as in the drawing Step 11 Step 12 Step 13 Hole for steam hose The silver braided hose goes to the steam generator The red striped braided hose goes to the hot water supply The blue s...

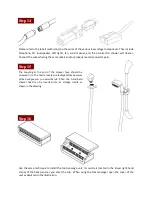
Page 14: ...ing at the end of the sprayer hose should be screwed in to the nozzle located in the high left hand corner of the back panel as you enter the tub Then the hand held shower head can be inserted into it...

Page 15: ...ons The icons label the positions the selector must be turned to so that from the 9 12 and 3 O clock positions the handheld shower head rainfall shower or tub filler can be used The dial below the sel...

Reviews: