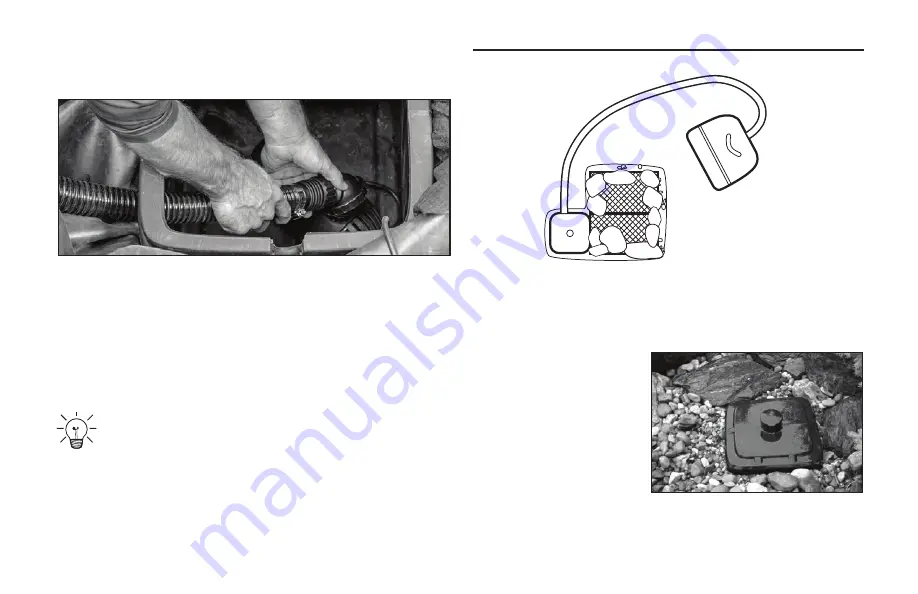
• The kink-free pipe coming from the Waterfall Spillway can
be trimmed to proper length and inserted through the slot
on the side of the Pondless
®
Waterfall Vault.
• Lower the pump into the Pondless
®
Waterfall Vault and
rotate the Rotational Ball fitting to line up with the tubing.
Attach tubing to the fitting and then tighten hose clamp to
secure tubing onto the fitting.
• The cord from the pump can be buried just beneath the
stone and gravel and run to the electrical supply.
Please note:
In some instances the tubing/hose may
be tight and difficult to use with hose fitting. If this is
the case heat the hose with the use of a hair dryer
or simply dip the hose for a few seconds in very hot
water. Lubrication can also be used, such as silicone
grease or vegetable oil.
STEP 12
ADD ROCK AND GRAVEL
• Set larger boulders (6” – 18”) around the perimeter of the
basin on top of the AquaBlox
®
to support the edges of the
basin.
• Add 1 ½” to 2” size
gravel to cover the
AquaBlox
®
in the
basin.
• A finishing layer of
decorative gravel can
be added to the top if
desired.
15
☎
CAN 1-866-766-3426 |
☎
US 1-866-877-6637
Summary of Contents for DIY Waterfall Kit
Page 1: ...DIY Waterfall Kit INSTRUCTION MANUAL ...
Page 21: ...STEP 20 ENJOY 21 CAN 1 866 766 3426 US 1 866 877 6637 ...
Page 43: ...ETAPE 20 À VOUS D EN PROFITER MAINTENANT 43 CAN 1 866 766 3426 US 1 866 877 6637 ...
Page 65: ...PASO 20 DISFRUTE 65 CAN 1 866 766 3426 US 1 866 877 6637 ...
Page 68: ...86240 Rev 1 16 2015 Aquascape Inc All Worldwide Rights Reserved ...


