13
AQUASURE
PREMIER SERIES
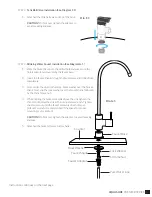
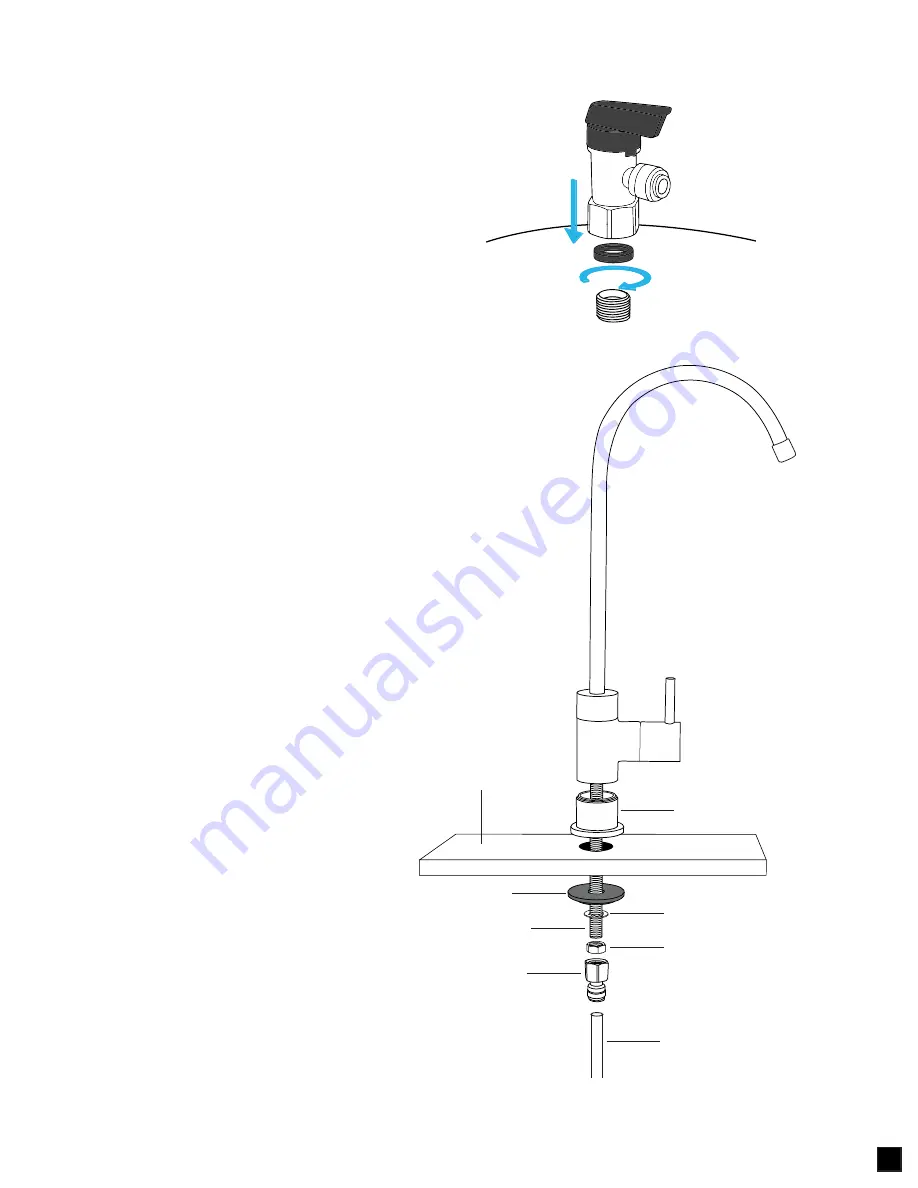
1.
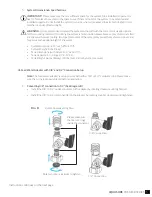
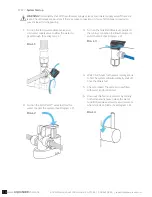
Place the faucet base over the drilled hole and make sure the
hole is completed covered by the faucet base.
2.
Insert the faucet shank through the faucet base and drilled hole
completely.
3.
From under the sink slip the large, black washer over the faucet
shank. Next, slip the lock washer over the faucet shank followed
by the thin chrome nut.
4.
While holding the faucet assembly above the sink tighten the
chrome nut below the sink with an adjustable wrench. Tighten
the chrome nut until the faucet assembly does not move.
(A faucet wrench is recommended if the space for proper
mounting is very limited)
CAUTION!
Do Not over tighten the adapter to avoid breaking
and leak.
5.
Attached the faucet adapter to the shank.
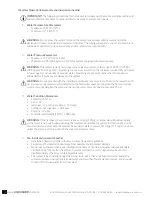
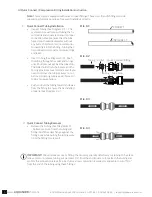
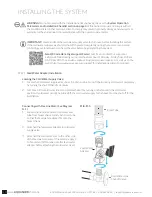
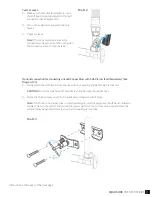
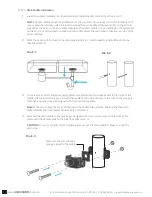
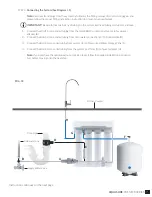
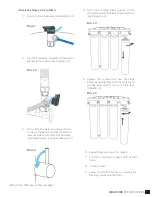
1.
Attached the tank ball valve on top of the tank.
CAUTION!
Do Not over tighten the adapter to
avoid breaking and leak.
Dia. F-1
STEP 4.
Drinking Water Faucet Installation (See Diagram G-1)
STEP 3.
Tank Ball Valve Installation (See Diagram F-1)
Instruction continues on the next page
Faucet Shank
Black Washer
Counter
Lock Washer
Chrome Nut
Faucet Adapter
Faucet Base
Pure Water Line
Dia. G-1
Summary of Contents for AS-PR100E
Page 1: ...PREMIER SERIES DRINKING WATER SYSTEM OWNER S MANUAL FOR MODEL NO AS PR50S AS PR75A AS PR100P ...
Page 2: ......
Page 11: ...9 AQUASURE PREMIER SERIES ...
Page 23: ...21 AQUASURE PREMIER SERIES ...
Page 30: ......
Page 31: ......


