17
EN
2.3
Instructions on the battery and charger
3.1
Scope of delivery
The
AQUATEC
E-VIP
is supplied with the following
parts (fig. 1):
1
Head support
2
Operating instructions
3
Chest belt
4
Seat plate
5
Pins (4 x), safety clips (4 x), clips for footrests
(2 x), cable tie (1 x) packed in a bag
6
Footrests with heel loops (2 x)
7
Frame with hand control and control box with bat-
tery box and drive mechanisms
8
Seat frame with backrest cover and armrests
9
Charger
10 Drive for tilt adjustment
3.2
Technical data
Dimensions
Width
730 mm
Depth
1,010 mm
Height (without head support)
1,070-1,620 mm
Seat width
480 mm
Seat depth
450 mm
Seat height
500-1,050 mm
Min. distance between floor
and holder for the sanitary pan
420-970 mm
Dimensions
Weight
approx. 39 kg
Load capacity
150 kg
Performance data
Operating voltage
24 V
Rated current
8 A
Rechargeable battery type
Lead-acid
Charger input
230-240 V AC, 50-60 Hz
Charger output
24 V DC, 12 VA
Charge time as from
low-voltage warning
approx. 5-6 h
Protection ratings
Commode
IP 66 W
Charger
IP 40
The label (fig. 17) provides important information.
The label is attached to the left rear side of the side
bar.
You can easily disassemble the commode into its com-
ponent parts (section 3.1) for transport.
To disassemble the device, follow the assembly steps
described in section 5 in reverse order.
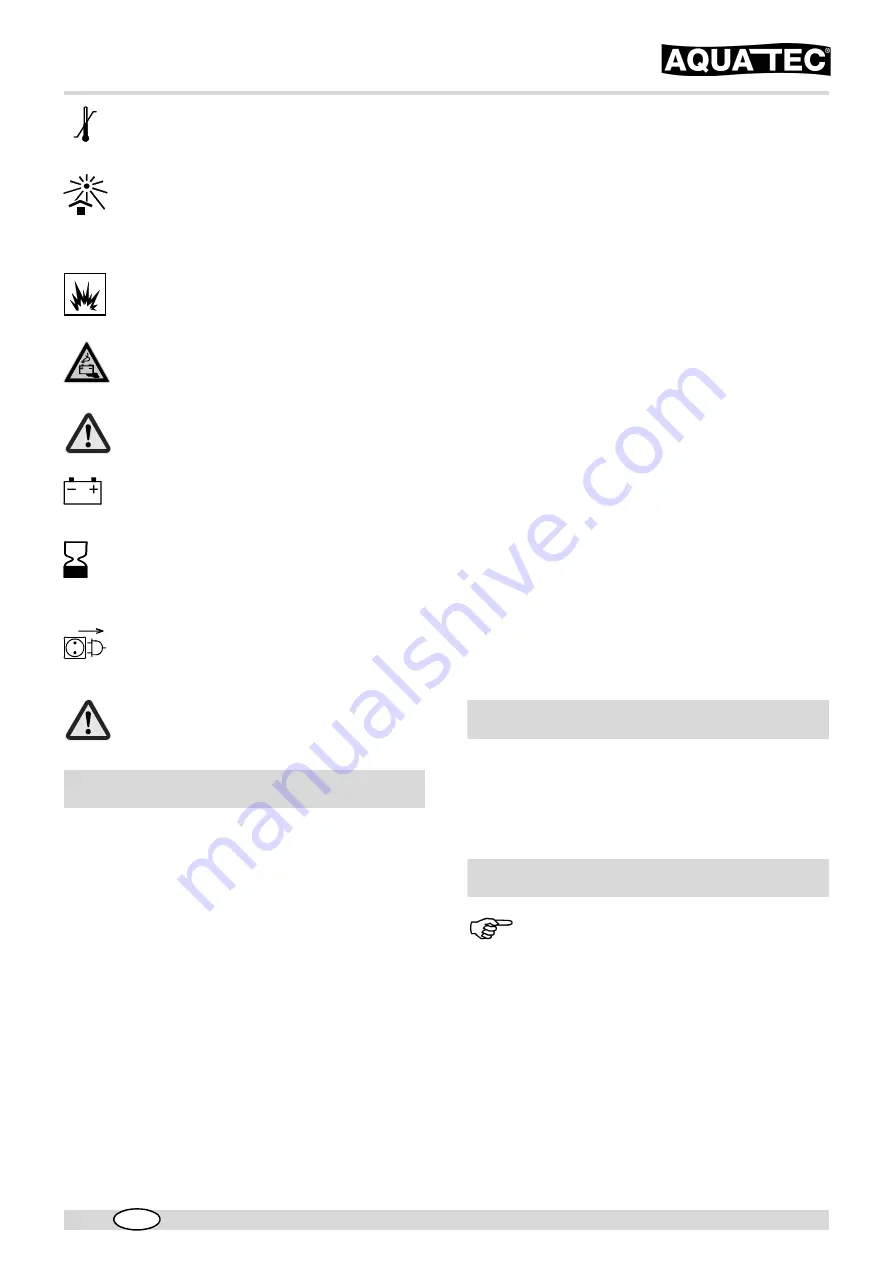
Never store the product directly next to heat
sources.
Never expose the product to direct sunlight.
Never throw the battery box into a fire. Do
not store it near naked flames.
Do not open the battery box. The warranty
expires if it is opened!
Use only the charger provided to recharge
the rechargeable battery in the battery box.
Recharge the battery in the battery box as
soon as possible after use.
To preserve the service life of the battery
when not in use for prolonged periods,
please observe the instructions in
section 7.3.
Only plug the charger into the mains when
the battery box is connected to the charger.
Except when charging the rechargeable bat-
tery, the battery box socket must always be
sealed with the cap.
3
Description
Important!
●
Before setting up, inspect all parts for dam-
age during transport.
●
This section describes the assembly. Disas-
sembly is carried out in reverse order.
●
During assembly, make sure the parts are
positioned correctly in relation to each other
(fig. 1).
4
Transport
5
Setting up
Summary of Contents for ocean e-vip
Page 3: ...3 7 1 4 6 10 8 9 13 11 12 14 2 5...
Page 4: ...17 16 15...


