www.araxfoto.com
- medium format cameras, lenses, accessories, services
2
2. MAGAZINE LOADING
To load the film pack, the Polaroid back must not be mounted on the camera.
Before loading, check that the steel rollers are clean. Dirt on the rollers may
cause a number of picture problems, such as repeated spots and bars on the
pictures, poor colors or jammed film.
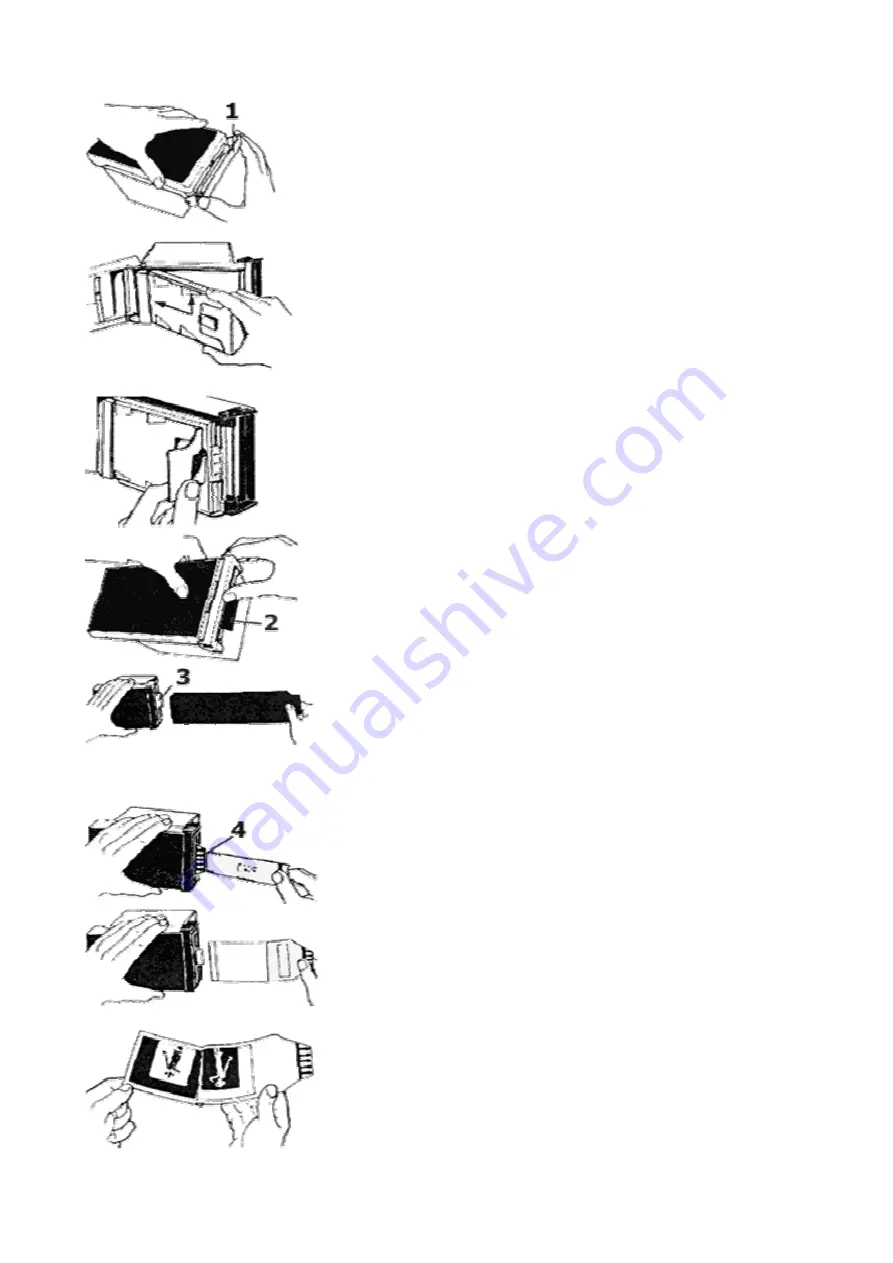
Pulls open both ends of the latch 1 and open the door.
Hold the film pack by the edges only. Insert the closed end of the pack at
an angle, then push the pack down into position.
Check that the white tabs are free, as shown, not caught between the pack and
the film chamber.
Hold the door closed and push the latch up over the end of the proofing
back so that it snaps into position.
The end of the black safety cover 2 must extend out from the back. If it
does not, reopen the door and straighten the tab.
Grip the black tab firmly and pull it straight, all the way out of the back.
When the safety cover is removed, a small white tab 3 should protrude
from the slot. If not, carefully open the door and free the tab. Close and
latch the door, with the white tab extending outside.
3.
PREPARING THE MAGAZINE FOR SHOOTING AND EXPOSING
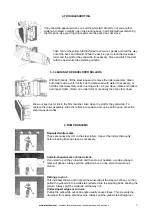
Load the proofing back on the camera and remove the dark slide.
Make your exposure.
Grasping the small white tab, pull it straight and all the way out. This
will cause a large yellow tab to appear. If no yellow tab appears, follow
the instructions under "Troubleshooting".
Grip the yellow tab firmly in the center and pull it straight, in once
smooth continuous motion all the way out of the proofing back. You
may need to hold the back to prevent the camera from moving during
this step. The picture is now developing, so start timing (the
recommended development times are specified in the film instructions).
Do not disturb the print while the image is developing. After the full
development time, separate the print from the negative, starting at the
corner nearest the yellow tab. Do not allow the print to drop back onto
the damp negative.


