PO Box 2750 ANN ARBOR, MI 48106 WWW.ARBORSCI.COM 800-367-6695
©2012 ARBOR SCIENTIFIC ALL RIGHTS RESERVED
Page 2 of 2
2.
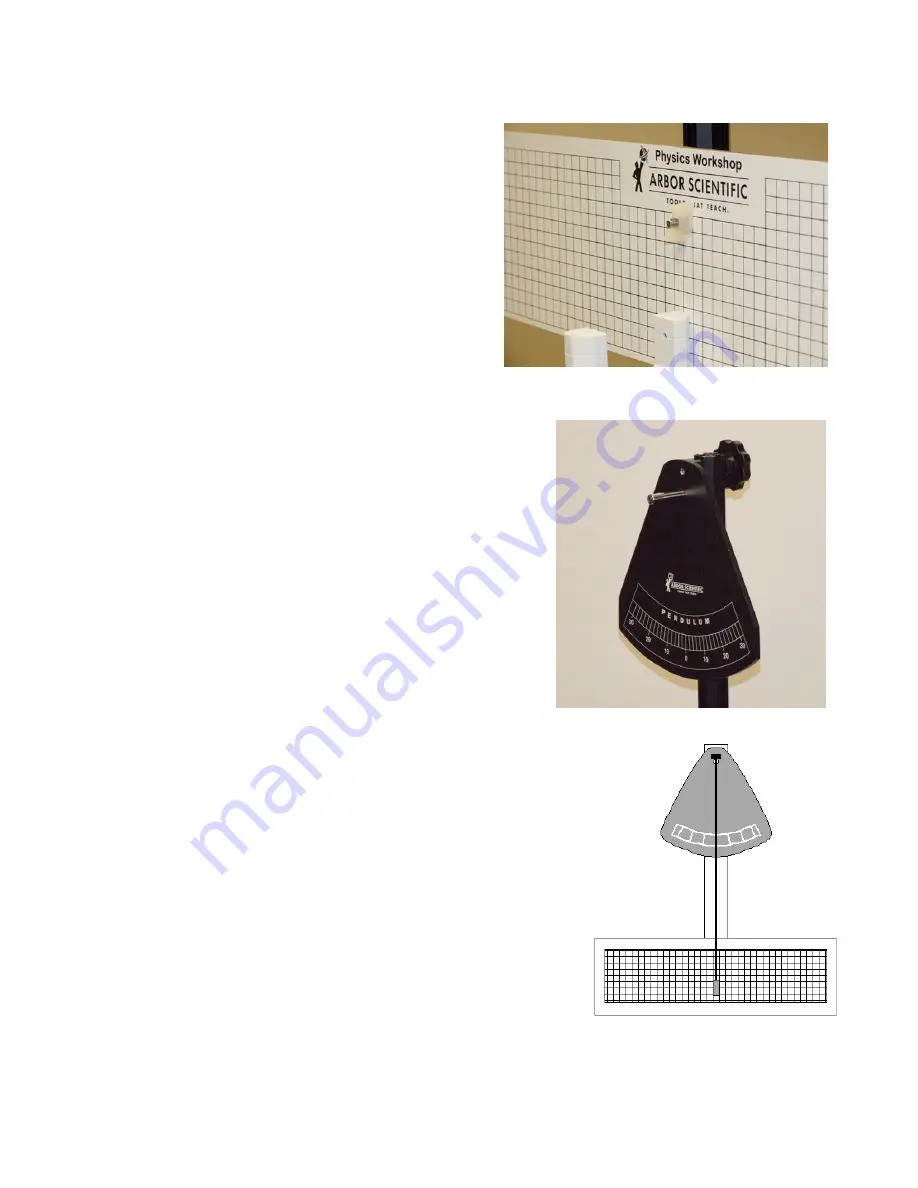
Grid Board (for selected experiments): Slide
the small attachment bolt (AD021c) down the
channel in the workshop stand which is on the
same side as the pendulum is mounted on.
Insert the protruding bolt through the hole in
the grid board, slide it up or down in the
workshop stand channel to the desired height,
and tighten firmly with the nylon wing nut
(AD021d).
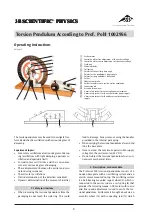
3.
Push the largest thumb bolt through the top hole of
the Workshop Stand.
4.
Screw the bolt into the back of the Pendulum, so that
the printed side faces out.
5.
Use the pinch clamp to support the string, and attach
one of the cylindrical bobs to the string. Adjust the
pinch clamp to create the desired pendulum length.
6.
Align the Pendulum Face and Grid Board by using the string
as a plumb bob. Face the stand, close one eye, and turn
the pieces as needed so that the vertical lines are aligned
with the string. Adjust the stand leveling bolts if necessary.


