6.
Installation of LED Assembly
6.1
Be sure to follow all recommended practices prior to
removing the new LED assembly from its ESD
protective packaging.
6.2
Verify that the correct equipment is available prior to
starting work. This includes an ESD matt and wrist
band which should be worn at all times.
6.3
If previously removed, ensure that the cable entry
gland is reinstalled in the wiring compartment and
fully seated with the bottom.
6.4
To install a new LED assembly, insert the new
assembly into the front of the unit until it is fully
seated. Carefully install the lens cap assembly until
it bottoms out with the body. Secure hand tight only.
6.5
From the rear of the unit, carefully remove the driver
and the wire bundle from within the LED heatsink by
pulling gently on the assembly until it is removed.
Note the position of the wires for proper reassembly.
6.6
Identify the driver AC input leads - black and white
leads with an orange connector.
6.7
Connect the AC input leads from the cable entry
gland to the driver AC input connector.
Note: Do not
tamper with the LED driver output connector. This
connection supplies DC power to the LED COB.
6.8
With the wire bundle carefully packaged and
secured to the driver using the recommended wire
tie, carefully place back into the LED heatsink
paying special attention to how the wires are seated.
6.9
Prior to installing the rear cover, check that the O-
ring (item 9) is properly installed and that there is no
visible damage to the O-ring. Confirm that there are
no pinched wires and install the rear cover until it is
seated flush with the body. Secure hand tight only.
6.10
Test the light with the appropriate AC input voltage
to ensure it is operating properly.
6.11
If at any point assistance is required, contact Archon
Industries for guidance.
PRECAUTIONS:
•
Verify the shipped contents are correct. Do not
proceed with the installation if damage is found.
Contact ARCHON Industries in such an event.
•
Verify that the correct seals, mounting brackets,
accessories, parts and all other necessary
hardware are available prior to starting work.
•
All work should be performed by a qualified
electrician in accordance with the National
Electrical Code, applicable local codes and
ordinances. Always check with the Authority
Having Jurisdiction (AHJ) to confirm acceptable
procedures.
•
Confirm the operating voltage of your system
found on the manufacturers label of the luminaire
and driver/power supply.
•
Do not operate beyond the maximum
recommended temperature.
•
Do not look directly into the LED light source.
•
Do not touch the LED light source.
•
Do not allow contact of any type with the LED
light source.
•
Do not modify or operate with dimmers or other
non-approved control circuits unless the luminaire
is equipped with that option.
•
This luminaire is designed to operate in an open
environment. Operating in enclosed spaces
without air circulation will reduce its lifespan and
may void the warranty.
•
Do not operate luminaire in packing carton.
•
Power must be off during the installation. Turn off
and lock-out the breaker for the circuit. Affix a
warning label on the electrical panel before
proceeding.
•
Use supplied original packing for protection when
transporting luminaire.
•
Do not put excessive force on wire connectors.
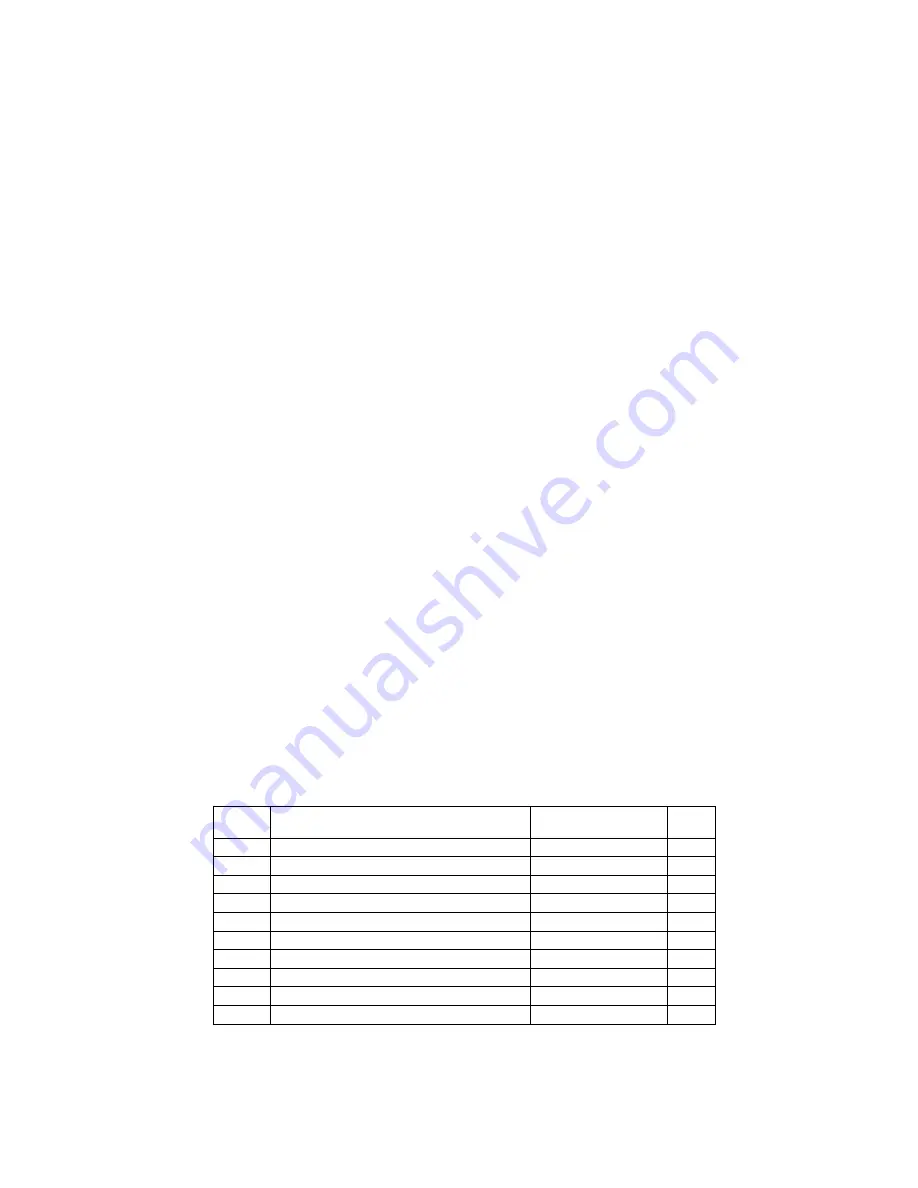
ITEM
NO.
DESCRIPTION
MATERIAL
QTY.
1
BODY, EX99-LED
ALUMINUM
1
2
LED ASSEMBLY
----
1
3
LENS CAP, EX99-LED
ALUMINUM
1
4
LENS, EX99-LED
BOROSILICATE
1
5
REAR COVER, EX99-LED
ALUMINUM
1
6
COVER, WIRING COMPARTMENT
ALUMINUM
1
7
CONDUIT CONNECTION – 1/2" NPT
STEEL
3
8
O-RING (56343-003) SHORE A 70
BUNA
1
9
O-RING (56M2.5080-003) SHORE A 70
BUNA
2
10
O-RING (56152-003) SHORE A 70
BUNA
1
See the following page for isometric exploded views (Figures 2 & 3)


