


1
2
▲
!
1
2
English
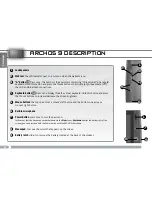
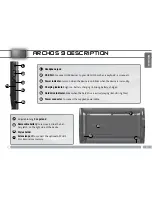
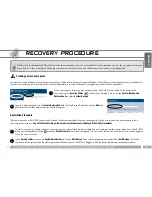
RecoveRy pRoceduRe
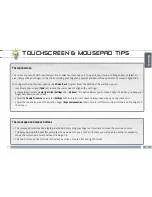
While you’re in the recovery, DOS or BIOS modes, the touchscreen control is not available. Use the mousepad to move the on-screen cursor or to
move from one item to another. Use the top mouse button as the Enter key, and the bottom mouse button as the Escape key.
Creating your recovery point
You must first create a Windows® recovery point so that you will be able to recover and reinstall Windows® later if your system cannot correctly run Windows®.
If you do not create your own recovery point, it will not be possible to re-install Windows®. We suggest you do this as soon as possible.
While creating your recovery point, make sure your ARCHOS 9 is connected to the power cable.
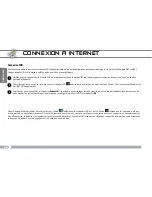
Start the program
Security Center
found on the desktop. Click on button
System Backup and
Restoration
then select
System Backup
.
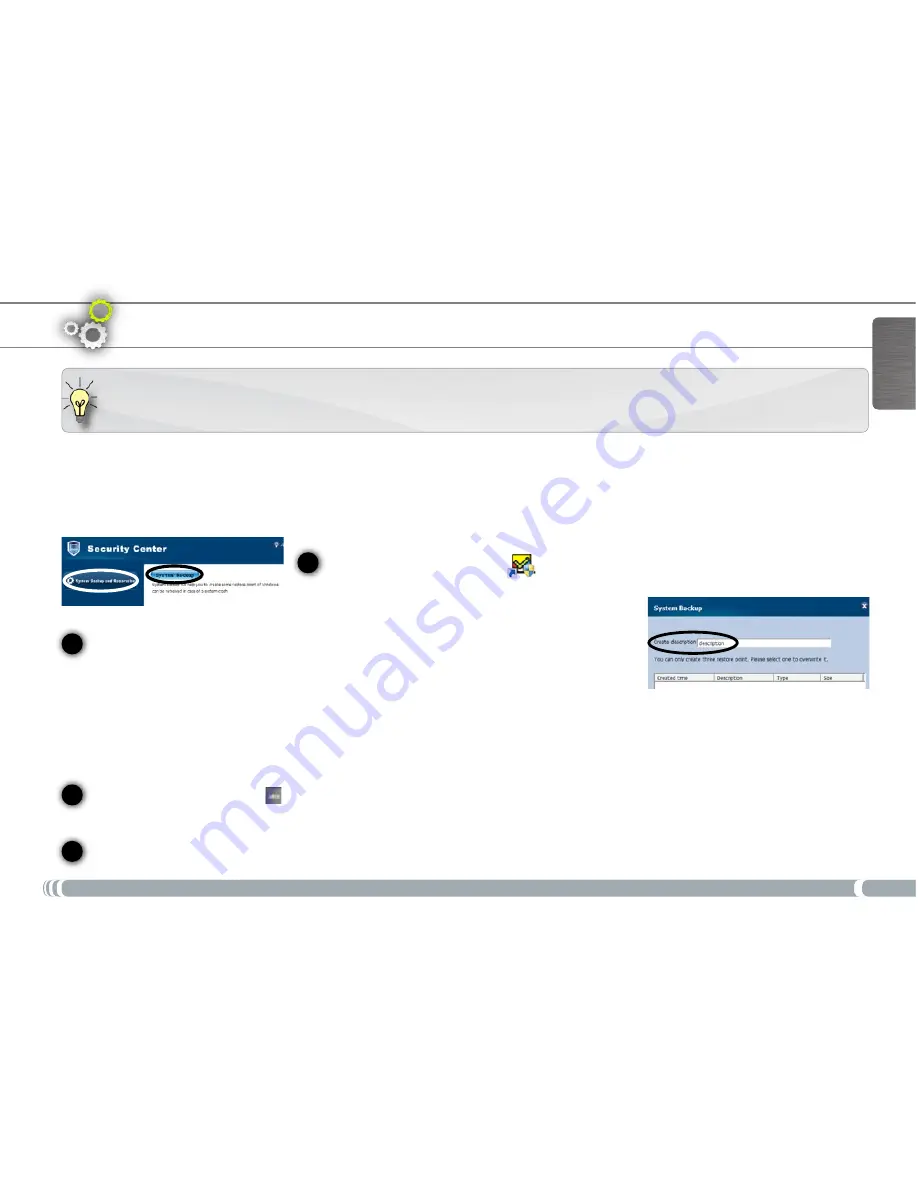
Type in a descriptive name in the
Create Description
field (ex: “My Backup”) and then click on
Next
. Be
patient as this will take several minutes. Exit the program.
Restoration Procedure
If for some reason your ARCHOS 9 cannot start Windows® or has severe problems that you cannot get rid of by normal means, then you may need to do a
complete system recovery.
Any data files that were on the hard drive will be erased, including all files in My Documents.
To start a recovery procedure, make sure your computer is connected to the power cable and not running on battery power alone. Start the ARCHOS
9, and press the keyboard button
while the
Security center
blue screen is displayed. It is ok to press this button a few times as this screen appears
for only a short moment.
In the
Security center
screen, select
System Restoration
, and click on
Start Rescue
. Then, select a restoration point and click on
Start Rescue
. It will take
some time for the system to do the recovery procedure. Make sure your ARCHOS 9 is plugged in with the power cable during the entire procedure.
To access the BIOS, start the ARCHOS 9, and press the “A” button while the ARCHOS logo is displayed.


