37
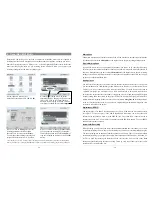
Download the CJBM.AJZ file
When you click on the link to download the new OS
file( the file name is CJBM.AJZ ), your browser may
warn you that the contents of the download may harm
your computer. This is because the Windows
®
system
does not know what a .AJZ file is. Be assured that
Archos has made every effort to ensure that the file
does not contain viruses. Click on the option
Save
to
download this file to a convenient place, such as
My
Documents
, in order to later copy this file to your
AV300. If your AV300 is connected to your PC, you can even save it directly to the AV300.
Read the History.txt File
You will also find next to the firmware download, a text file (Firmware History.txt) which details
the list of changes from the previous version of the OS.
Copy to AV300 root and Update
When updating your Operating System, you must keep the AC charger/adapter plugged into the
AV300 so that it will not shut down due to low batteries while you are performing the update.
Connect your AV300 to your computer (see chapter 5), and then copy the CJBM.AJZ file to the
root directory of the AV300. The root directory is the top most level of the directory hierarchy.
Just drag this .AJZ file onto the AV300 Hard drive in your file manager and it will place it in the
top most directory. If there is already an older version of the CJBM.AJZ file on your AV300,
Windows® will ask if you want to overwrite the current file. Click on Yes. Once this file is
copied, safely disconnect the AV300 from the computer (see chapter 5).
Next, go to the system parameters and then scroll down to
Update
Firmware
and click on it. The AV300 will search for the .AJZ file and
will ask you to click
Yes
, to start the update. Follow the on-screen
instructions. When completed, the AV300 will restart itself and you will see the new OS version
displayed on the bottom right of the screen.
38
8
Playing MPEG4 Video Files
The AV300 series can play video files of sizes up to 640 by 368 pixels in European
standard. The AV300 will not directly play files of type .mov, .mpg, .mpeg, nor .avi files
created with codecs other than XviD and DivX™. If you have some of these other file
types that you would like to view on your AV300, you must use the software on the included CD
to re-encode them into the proper XviD or DivX™ MP4 with an MP3 sound stream. See chapter 9
for more details.
Like a music file, you simply select the file from
the Browser mode and then click on PLAY/GO
!
.
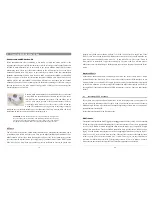
To send the video signal out to a television, first
connect the supplied A/V cable to your television’s
auxiliary inputs. The yellow lead of the cable is the
video signal, the Red for Right stereo and White
for left stereo. Switch your television to auxiliary
video input (often found just below channel 1 –
sometimes called L1 or L2). Press and hold the
Play button for three seconds. The built-in AV320
screen will go blank and a video signal will be sent out to the television. If you don’t see a clear
image, you may have to set your AV320 to your local television standard.
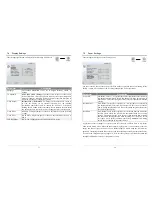
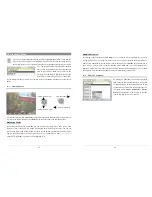
You will have to stop your video and go to the
Display Settings
in the
Setup
menu. Click on
Displa
y, then select NTSC for North American
televisions or PAL for European televisions. Press and hold the ON
button
!
for 4 seconds to switch back to viewing on the built-in screen.
While viewing a video file, you can:
•
Use the Play/Go button to pause/unpause the video
•
Use the Joystick Up/Down to control the volume
•
Use the Joystick Right/Left to fast forward or fast rewind through the video
•
Click a function button to display time information about the currently running video.

