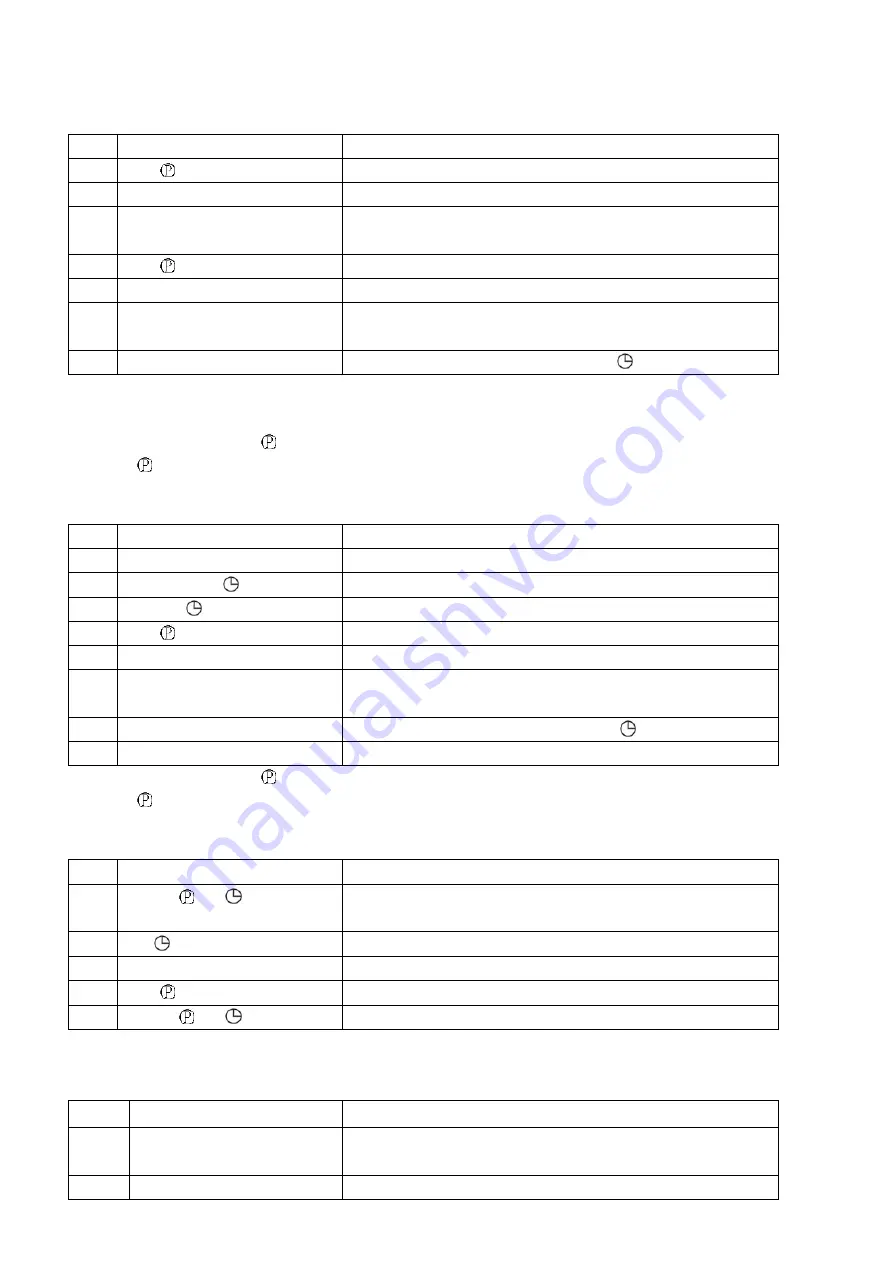
2.Timing settings (2.1,2.2 and 2.3 three functions can not be used at the same time)
2.1 20 groups setting of on/off function
:
Step
Button
Programming
1
Press
Enter into timing ON setting (display 1 ON)
2
Press
H+
and
M+
Set ON time, press
H +
to set the hour, press
M +
to set the minute
3
Press
D+
Same setting every day, MO-FR, MO-SA, SA-SU, MO-WE, TH-SA, MO WE FR, TU
TH SA (if it is same every day, do not press
D+
and skip this step)
4
Press
Enter into timing OFF setting (displays 1 OFF)
5
Press
H+
,
M+
Set OFF time, press
H +
to set the hour, press
M +
to set the minute
6
Press
D+
Same setting every day, MO-FR, MO-SA, SA-SU, MO-WE, TH-SA, MO WE FR, TU
TH SA (if it is same every day, do not press
D+
and skip this step)
7
Repeat step 1-6
Set the ON/OFF time of 2nd to 20th groups(or press
to exit)
a. The ON/OFF program group can not setting overlap but should according to the time sequence.(If setting same ON/OFF time after contact 15
seconds, will have ring bell function ect,)
b. When setting is finished, press
to view the set number of ON/OFF and the time, it be modified follow the appropriate setup steps.
c. Press
enter to the interface ON or OFF program, press "MANUAL" to clear the ON or OFF time of current group and then display “--
:
--”.
2.2 20 pulsation function setting ("P" flashes on screen when opening)
Step
Button
Programming
1
Hold both
H+
and M+ for 3 sec
Enter into the pulse width setting, display as 0:00 and
P
2
Press
H+, M+
and
at the same time
Set the pulse width: min / s (max 59 min 59 sec)
3
Press both
and
Manual
The pulse width setting is completed, the
P
on the screen flashes
4
Press
Enter into timing pulsation ON(Display 1 ON)(Press again for the second pulse time)
5
Press
H+
/
M+
Set ON time
6
Press
D+
Same setting every day, MO-FR, MO-SA, SA-SU, MO-WE, TH-SA, MO WE FR, TU
TH SA (if it is same every day, do not press
D+
and skip this step)
7
Repeat step 4-6
Set the pulsation time of 2nd to 20th groups(or press
to exit)
Press both
H+
and
M+
Exit the pulsation function, the display
P
will be disappeared
a. When setting is finished, press
to view the set number of pulsation and the time, it be modified follow the appropriate setup steps.
b. Press
enter to the interface pulsation program, press "MANUAL" to clear the pulsation time of current group and then display “--
:
--”.
2.3 Countdown function setting ("d" displayed at bottom left corner of screen)
Step
Buttion
Programming
1
Hold both
and
for 3 sec
Enter into the countdown setting, "d" displayed at bottom left corner, displayed as
0:00
2
press
and
H+
/
M+
at the same time
Set the min and sec of countdown respectively
(
duration range
:
1sec~99min59sec
)
3
Press
MANUAL
Start the countdown function
4
Press
Halfway reset and wait to start the countdown again
5
Hold both
and
for 3 sec
Exit the countdown setting, "d" at bottom left corner will be disappeared
3. Manual daylight saving time (DST) display time setting
:
Step
Button
Programming
setting
Hold both
H+
and
M+
for 3 sec
The present time will increase 1hour(“1h” displayed at the bottom left corner of the
screen)
cancel
Hold both
H+
and
M+
for 3 sec again
DST will be canceled and back to the present time


