3. As you can tell from the above images, we’ve added one still image file (JPG), one movie file (AVI)
and one audio file (WAV). What we’ll do is combine them to form one movie file, with a soundtrack.
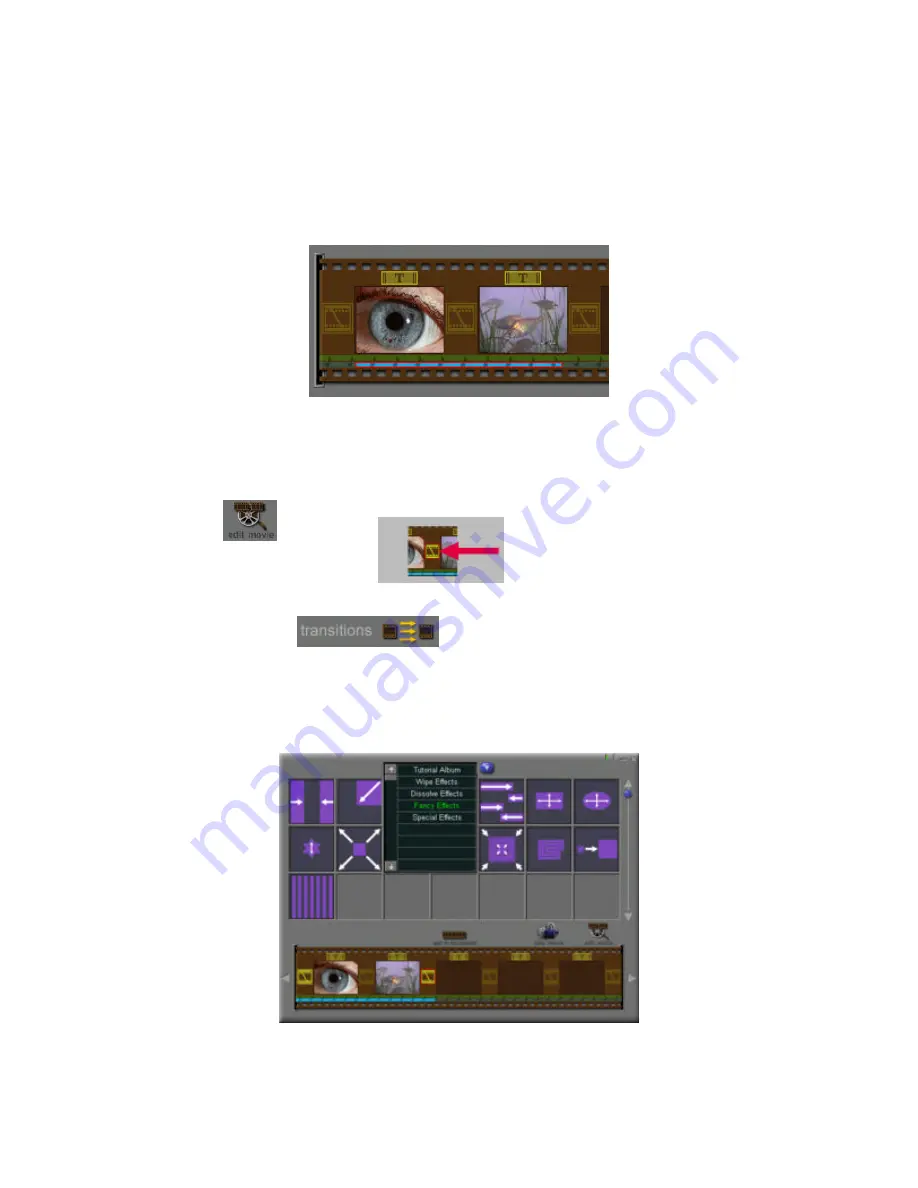
You can run two audio files simultaneously (in our example, we’ll only use one). Below is a diagram
of the
Storyboard
. The
Storyboard
is the frame for your project; in it you’ll place all the components
that you want to create your movie or presentation. Add to your
Storyboard
by clicking and dragging
a thumbnail from an album to the board. Alternately, click on the thumbnail you’d like to add, and
then click on the
Add to Storyboard
icon. Here, we’ve added all of the files.
4. You can add
Transitions
between components on the
Storyboard
. Transition effects an vary from
“wipe” and “dissolve” effects to special effects, such as “fire” and “magic mirror.” To add a
Transition
:
1. Click on
Edit Movie
.
Alternately, you can double-click on a
Transition
icon on the
Storyboard
.
2. Click on
Effect
.
3. You’ll be taken to the
Transitions
screen. From here, you can add
Transitions
by clicking on the
Add to Storyboard
icon after selecting the desired
Transition
. Alternately, you can click and
drag a
Transition
to the
Storyboard
.
4. After you’ve finished adding your
Transitions
, you can go back to the
Album
screen by clicking
on the
Edit Movie
icon.


