5. Text and text effects can be added to your presentation. From the
Album
screen, click on the
Storyboard
component (image or movie file) that you want to add text to. After it’s highlighted, click
on the
Edit Movie
icon. From here, you can adjust the brightness/contrast of the image, and add
Transitions
and
Text
(which is what we want). Click on the
Text
icon.
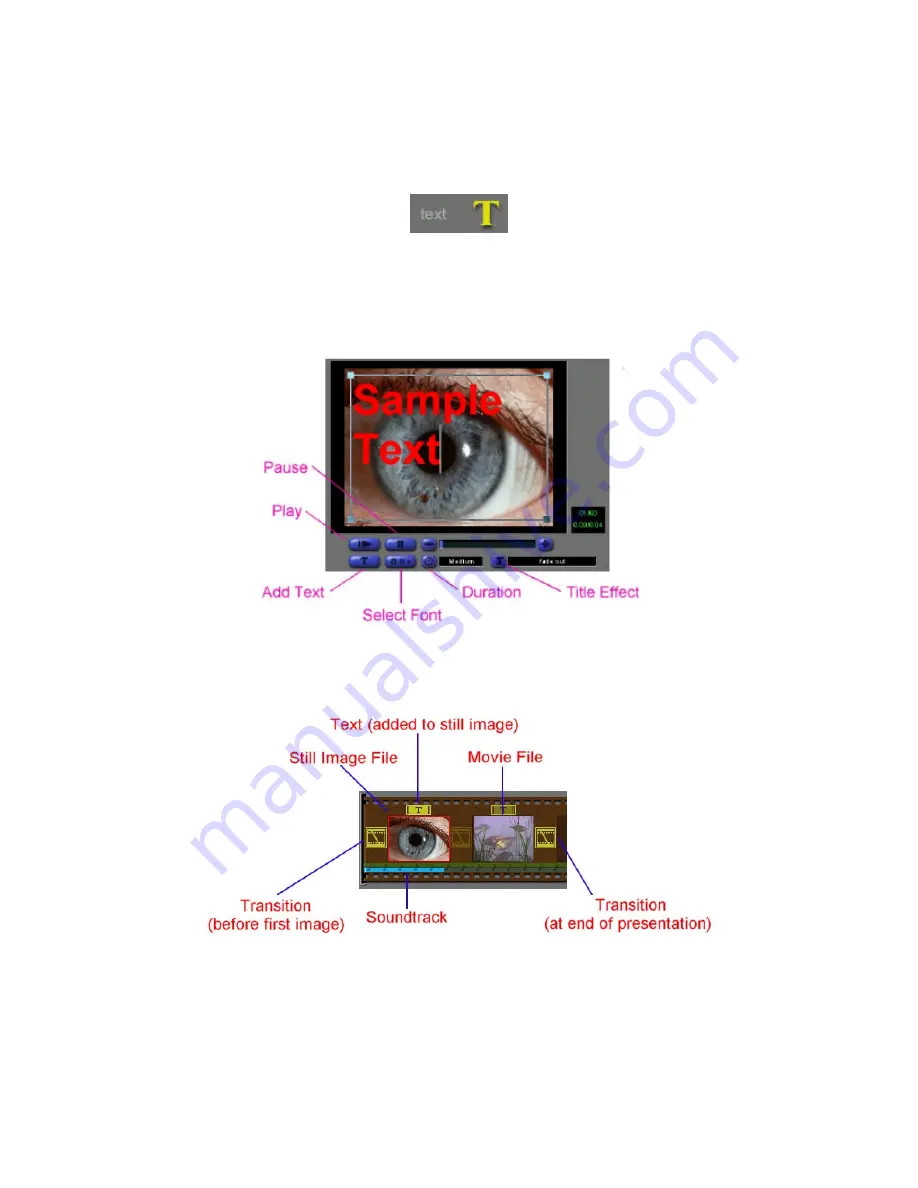
6. Below, the various text options are diagrammed. Click on the
Play
button to preview your text effect.
After you’ve added your text and effect (if applicable), you can do a variety of things. You can go back
to the
Album
screen, you can go to the
Transitions
screen, or you can play your movie (click on the
Play Movie
icon).
Let’s take a look at our
Storyboard
now:
* Remember that you can drag and drop components of your
Storyboard
(i.e. swap image positions,
change
Transition
locations, etc.).
7. When you’re ready to save or play your completed project, click on the
Play Movie
icon. From here,
you’ll have playback and save options available. You can also email your project if you have a MAPI-
compliant mail program.


