DIV
ISION
II -
OPER
A
T
ION
/
MAINTENANC
E
57
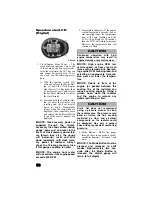
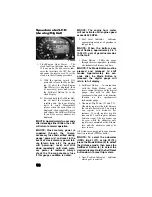
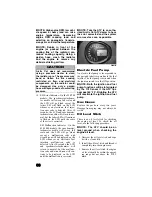
4. Set/Reset Button - In conjunction
with the Mode Button, sets and
resets various displays on the digital
gauge. Also used to shift from
speedometer function to tachometer
function on the speedometer/
tachometer gauge.
5. Fuel Level Indicator - Indicates
approximate amount of gasoline in
the gas tank.
NOTE: When the bottom seg-
ment flashes, approximately 3.5 L
(0.92 U.S. gal.) of gasoline remains
in the tank.
6. Low Oil Pressure - Will be displayed
during self-test at start-up. It will not
be displayed during normal opera-
tion as oil pressure is not monitored
on these models.
7. Odometer/Trip Meter - Odometer
registers the total distance the vehi-
cle has traveled. The trip meter is
resetable and can be used to measure
trip or trip legs. The odometer can-
not be reset.
NOTE: To shift between the
odometer (ODO) or trip meter
(TRIP), press the Mode Button (3)
to select the distance mode; then
press the Set/Reset Button (4) to
select the desired display. Hold the
Set/Reset Button down to reset the
trip meter.
8. Gear Position Indicator - Indicates
which gear is selected.
• R (reverse)/N (neutral)/L (low
range)/H (high range).
NOTE: An E will be displayed if
there is an error caused by a no-
shift position signal.
9. High Beam Indicator - The High
Beam icon will appear only when
the headlights are on high beam.
10. 4WD Lock Indicator - Displays
LOCK when the front differential
lock has been engaged.
11. Drive Select Indicator - Displays
4WD when selected by the drive
select switch or when the 4WD lock
is engaged. The display is blank
when in 2WD.
12. Speedometer - Indicates the approxi-
mate vehicle speed in miles per hour
(MPH) or kilometers per hour (km/h).
NOTE: To change mph/km/h dis-
play, press and release Mode But-
ton (3) until the icon (MPH/km/h)
appears; then press the Set Button
(4) to change the display.
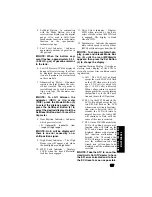
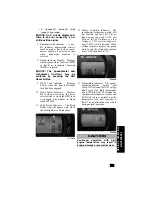
Condition Warning Display - Uses odom-
eter/trip meter display of the LCD to
warn of a system error condition requir-
ing attention.
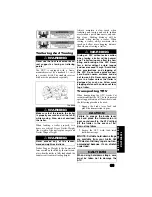
A. Volt - The LCD will go blank
except the word VOLT will flash
on the LCD whenever a low volt-
age (< 9 DC volts) or a high volt-
age (> 16 DC volts) is detected.
When voltage returns to normal,
the gauge must be reset by turning
the ignition key to the OFF posi-
tion and then to the ON position.
B. EFI - On the 550/700 models, the
LCD will go blank except the let-
ters EFI will flash on the LCD
whenever an electronic fuel injec-
tion error is detected. After 30
seconds, the LCD will return to
normal; however, the letters EFI
will continue to flash until the
cause of the error is corrected.
C. EFI - On the 450/1000 models, the
LCD will go blank except a mal-
function code will flash on the
LCD and a wrench icon will be
displayed whenever an electronic
fuel injection malfunction is
detected. After 30 seconds, the
LCD will return to normal; how-
ever, the malfunction code and
wrench icon will continue to be
displayed until the malfunction is
corrected.
NOTE: Take the ATV to an autho-
rized Arctic Cat ATV dealer to have
the EFI error corrected and to have
the ECU reset as soon as possible.

