9-3
9
PR342B
PR342C
INSTALLING
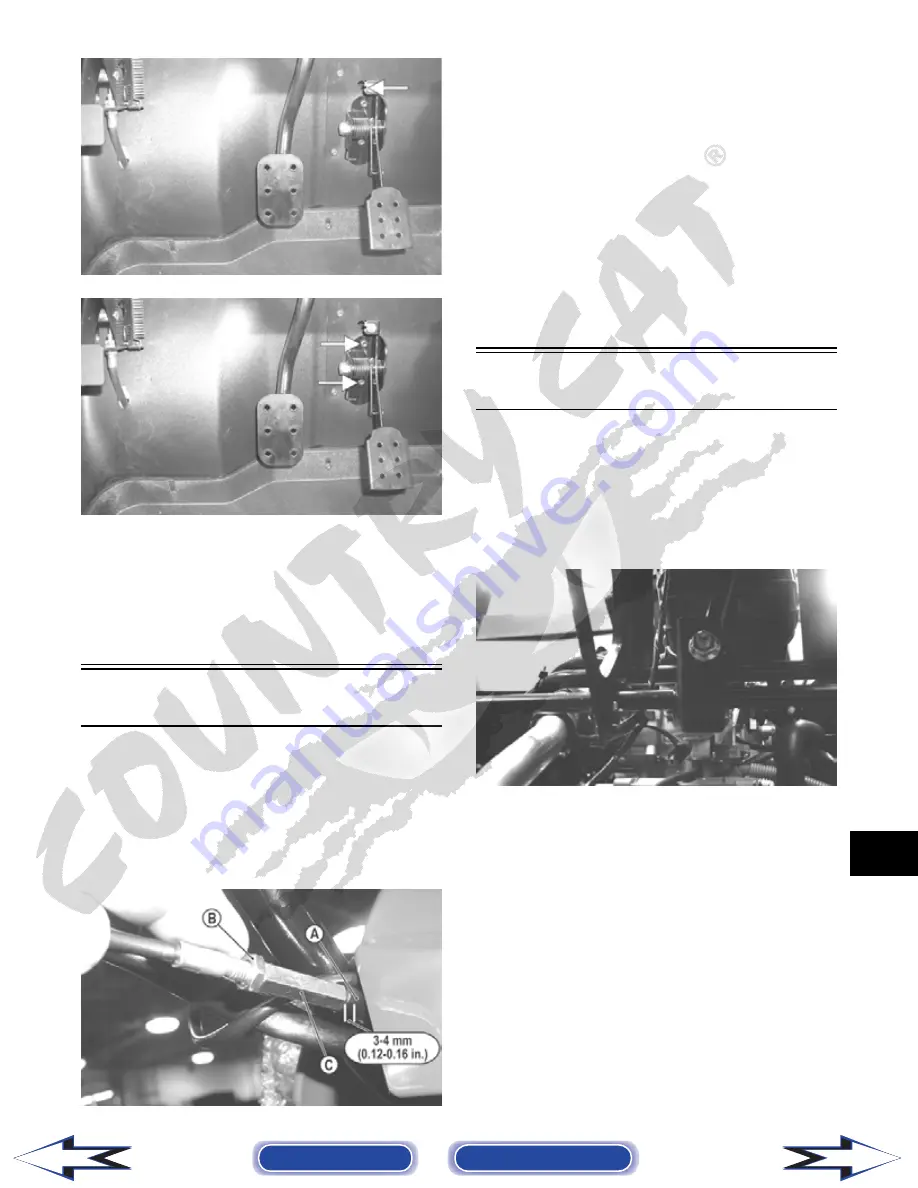
Align the mounting holes with the holes in the splash
panel and secure with the two torx-head screws and
nuts; then snap the throttle cable holding grommet into
the actuator arm.
Front Differential Lock
ADJUSTING CABLE
1. With the toggle in the pushed-in position, slide the
rubber protector sleeve (A) off the cable near the
toggle; then loosen the jam nut (B) and turn the
cable adjuster (C) to achieve 3-4 mm (0.12-0.16
in.) free-travel measured at the toggle.
CD560B
2. Select the 2WD position on the 2WD/4WD selec-
tor switch; then turn the ignition switch to the ON
position and select the LOCK position on the tog-
gle. The front drive actuator should operate engag-
ing four-wheel drive.
NOTE: It may be necessary to turn the steering
wheel or to rock the vehicle forward and backward
to align the differential lock splines and allow
engagement.
3. Return the toggle to the pushed-in position and lis-
ten for the front drive actuator to operate.
4. Turn the ignition switch to the OFF position.
Tighten the jam nut securely; then install the pro-
tector sleeve on the adjuster assembly.
Shift Lever
REMOVING
1. Remove the seats and center console.
2. Remove the flange nut and shoulder screw from
the shift lever pivot; then remove the shift lever.
Account for the shifter spring.
PR340
INSTALLING
1. With the shifter spring in place on the shift lever,
install the shift lever onto the shifter axle.
2. Install the shoulder screw and secure with the
flange nut. Tighten to 20 ft-lb.
Back to TOC
Back to Section TOC
Next
Back


