4-4
CC749
CC750
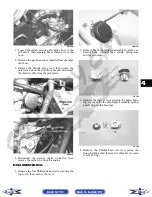
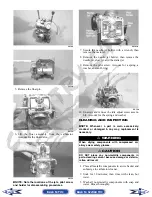
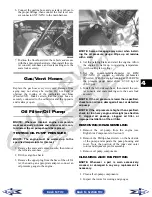
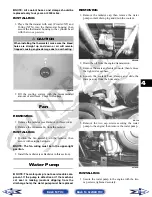
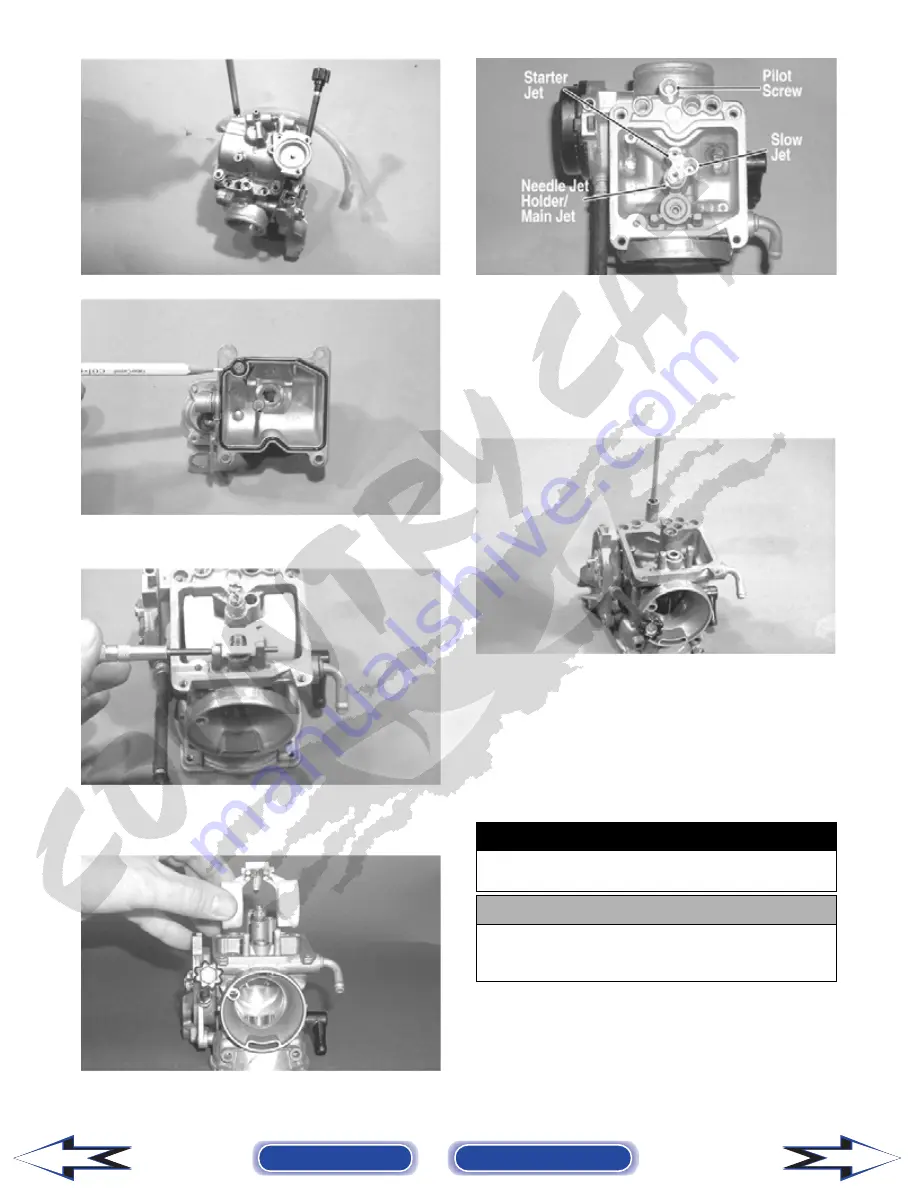
5. Remove the float pin.
CC752
6. Lift the float assembly from the carburetor.
Account for the float valve.
CC753
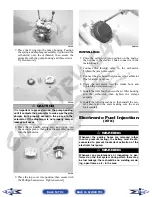
NOTE: Note the locations of the jets, pilot screw,
and holder for disassembling procedures.
CC761A
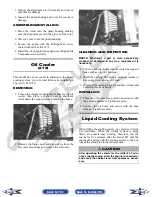
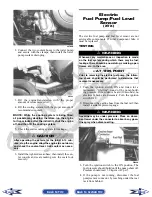
7. Secure the needle jet holder with a wrench; then
remove the main jet.
8. Remove the needle jet holder; then remove the
needle jet, slow jet, and the starter jet.
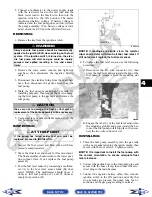
9. Remove the pilot screw. Account for a spring, a
washer, and an O-ring.
CC758
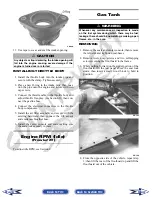
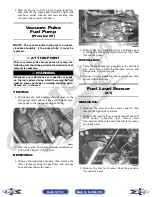
10. Unscrew and remove the idle adjust screw assem-
bly. Account for the spring and washer.
CLEANING AND INSPECTING
NOTE: Whenever a part is worn excessively,
cracked, or damaged in any way, replacement is
necessary.
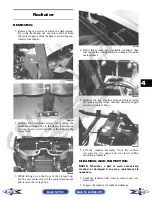
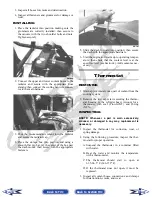
1. Place all metallic components in a wire basket and
submerge in carburetor cleaner.
2. Soak for 30 minutes; then rinse with clean, hot
water.
3. Wash all non-metallic components with soap and
water. Rinse thoroughly.
! WARNING
When drying components with compressed air,
always wear safety glasses.
! CAUTION
DO NOT place any non-metallic components in
parts-cleaning solvent because damage or deterio-
ration will result.
Back to TOC
Back to Section TOC
Next
Back


